

Leather car seats are best cleaned with a gentle method, not harsh soap or heavy scrubbing. In most vehicles sold in the United States, the leather has a protective coating. Use a vacuum, a soft microfiber cloth, and a cleaner approved for automotive leather. Work in small areas, keep moisture away from seams and electronics, then dry the seats fully.
The right process depends on the seat material. Some seats use real leather, while others use vinyl, synthetic leather, or a mix of materials. Check your vehicle owner’s manual before applying any cleaner.

What You Need Before You Clean Leather Car Seats
Gather a few basic supplies before you start:


- A vacuum with a soft brush attachment
- Two or more clean microfiber cloths
- A soft interior detailing brush
- A leather cleaner made for automotive seats
- A separate leather conditioner, if the vehicle maker allows one
- Clean water in a small bowl or spray bottle
- A dry towel
- Cotton swabs for seams and tight gaps
Choose a cool, shaded place. Direct sun can heat the leather and make cleaner dry too fast. Open the doors if you can, and allow fresh air to move through the cabin.
Check the seat material first
Look at the owner’s manual for care instructions. The manual may list the seat material as:
- Leather
- Premium leather
- perforated leather
- Leather-trimmed
- Vinyl
- Synthetic leather
- Polyurethane, often called PU leather
- Leatherette
“Leather-trimmed” does not always mean every part of the seat is leather. The side panels, backs, headrests, and seat sides may use vinyl or synthetic material.
This matters because a product made for one material may leave another material dull, sticky, or stained. If the manual does not give clear advice, test any product on a hidden spot first.
Avoid these common supplies
Do not reach for household products unless your vehicle maker specifically approves them. Avoid:
- Bleach
- Ammonia
- Acetone
- Nail polish remover
- Glass cleaner
- Strong degreasers
- Abrasive powders
- Rough scrub pads
- Undiluted dish soap
- Alcohol-based cleaners
- Melamine foam “erasers”
These products can remove the finish, dry the surface, or change the color. A strong cleaner may appear to work at first but leave a permanent dull patch later.

How to Clean Leather Car Seats Step by Step
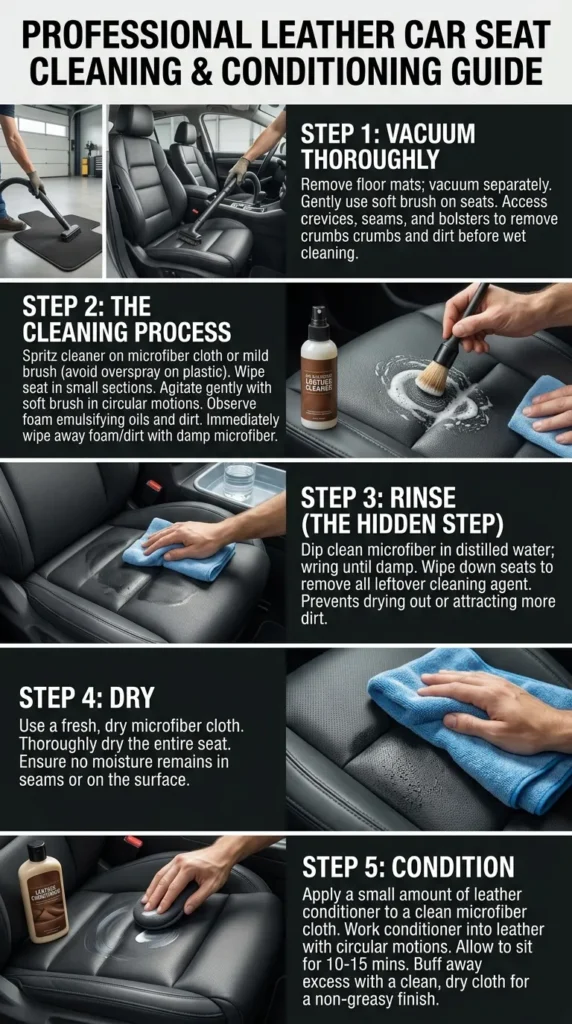
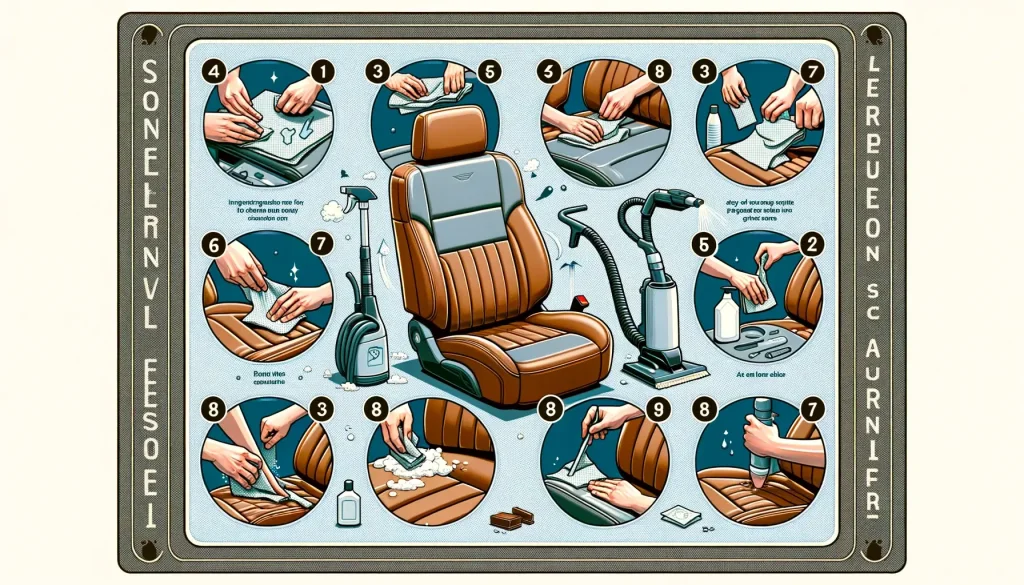
Follow this order: remove loose dirt, test the cleaner, clean gently, wipe away residue, and dry the surface.
1. Remove child seats and loose items
Take out child safety seats, seat covers, floor mats, bags, and other items. This gives you full access to the seat and prevents trapped dirt from spreading.


If you remove a child safety seat, reinstall it according to the seat and vehicle instructions. Never use the cleaning process as a reason to alter the way the seat is secured.
2. Vacuum the seats
Vacuum the seat surface, seams, gaps, and the area between the seat cushion and backrest. Use a soft brush attachment when possible.
Do not drag a hard plastic vacuum nozzle across the leather. It can scratch the coating. Use a cotton swab or soft brush to lift dirt from stitching and narrow seams.
Pay extra attention to:
- Crumbs near the seat belt buckle
- Sand along the seat edge
- Dust in perforated leather
- Dirt beneath the front seat
- Pet hair in the seat crease
Vacuuming first is important. Loose grit can act like fine sandpaper when you wipe the seat.
3. Test the cleaner
Apply a small amount of cleaner to a hidden area, such as the lower side of the seat or an area beneath the seat cushion if the material is accessible.
Wait until the spot dries. Check for:
- Color change
- Sticky or oily residue
- A rough or swollen texture
- Loss of shine
- Dye transfer onto the cloth
- Cracking or peeling
If you see a change, stop using that product. A product labeled “leather cleaner” is not automatically safe for every automotive finish.
4. Apply cleaner to the cloth or brush
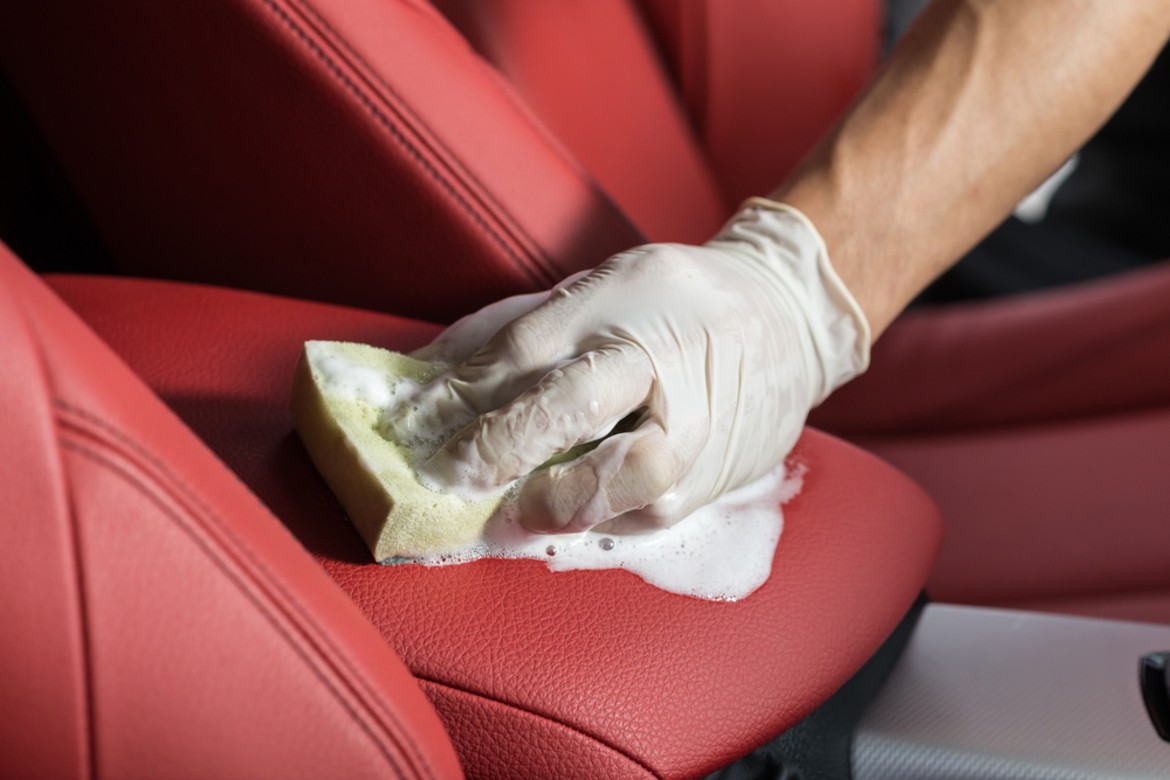
Apply a small amount of cleaner to a microfiber cloth or soft brush. Do not soak the seat.
Spraying directly onto the seat can force liquid into:
- Perforation holes
- Seat seams
- Heating elements
- Ventilation systems
- Seat controls
- Wiring and sensors
A damp cloth is safer than a wet one. The seat should never look saturated.
5. Clean one small section at a time
Start with a section about the size of a hand. Wipe with light pressure. Use slow, overlapping strokes rather than hard scrubbing.
For textured leather, a soft brush can help lift dirt from the grain. Move the brush gently in small circles. Do not press hard enough to bend the leather or force cleaner into the holes.


Clean in this order:
- Seat back
- Seat cushion
- Headrest
- Outer seat bolster
- Inner seat edge
- Side panels and plastic trim
The outer bolster often collects skin oil and clothing dye. It may need more than one light pass. Several gentle passes are safer than one forceful scrub.
6. Wipe away the cleaner
Use a second clean, slightly damp microfiber cloth to remove cleaner and lifted soil. Turn the cloth often so you do not spread dirt back onto the seat.
Follow with a dry towel. Check the seams and perforations for moisture. If you see liquid in a hole or gap, blot it with a dry cloth. Do not use a sharp object to clear it.
7. Let the seats dry
Leave the doors open for a short time, or run the vehicle’s ventilation system with the engine running in a safe outdoor location. Keep the seats out of direct hot sun while they dry.
Do not use a heat gun, hair dryer, or strong heater. High heat can dry the surface unevenly and may affect adhesives, coatings, or foam.
The seats should feel dry, not cool and damp, before you use a conditioner.

How to Clean Perforated Leather Seats
Perforated leather has tiny holes that allow air to move through the seat. It needs less liquid and more care than smooth leather.
Use this method:
- Vacuum the seat with a soft brush.
- Put cleaner on a cloth, never into the holes.
- Clean with light pressure.
- Wipe with a barely damp cloth.
- Blot the seat dry.
- Inspect the holes before leaving the vehicle.
If cleaner enters the perforations, it can reach the seat’s ventilation parts or remain trapped below the surface. Do not use a pin, toothpick, or metal tool to clear blocked holes. That can enlarge the holes or damage the material below them.
For stubborn dirt in the holes, use a soft detailing brush with very little product. If the holes remain blocked, a professional detailer may be safer than repeated wet cleaning.

How to Remove Common Stains From Leather Car Seats
The safest stain method is to remove the spill early. Blot first, then clean. Do not rub a fresh spill across a larger area.
| Stain or problem | Safer first step | What to avoid |
|---|---|---|
| Water or coffee | Blot with a dry cloth, then use approved cleaner | Saturating the seat |
| Grease or oil | Blot, then use a leather-safe cleaner | Kitchen degreaser |
| Food residue | Lift solids, soften the rest with a damp cloth | Scraping with a sharp tool |
| Ink | Contact a professional if light cleaning does not work | Acetone or alcohol |
| Blue jean transfer | Use approved cleaner in small passes | Hard scrubbing |
| Gum | Cool it with a wrapped ice pack, then lift gently | Cutting the seat |
| Pet mess | Remove solids, blot, and clean promptly | Bleach or strong disinfectant |
| Mildew odor | Dry the cabin and seek professional treatment if it persists | Masking the smell with fragrance |
Oil and grease
Blot oil with a clean cloth. Do not spread it by rubbing. Then use a cleaner designed for automotive leather and follow its label.
Some greasy marks may remain because oil can move into the finish or material. Repeated scrubbing can cause more damage than the stain itself. Stop if the color or finish begins to change.
Ink and dye transfer
Ink is difficult to remove from leather safely. Blue dye from jeans may also become permanent, especially on light-colored seats.


Use only a product approved for the seat material. If the mark remains after one or two gentle attempts, contact an automotive upholstery professional. Strong solvents can dissolve the protective finish and make the repair more expensive.
Gum and hardened substances
Place ice in a sealed plastic bag and hold it against the gum for a short time. Once the gum becomes firm, lift it carefully with a plastic edge.
Do not use a knife, razor, or metal scraper. If the material begins to lift with the gum, stop.
Should You Use Leather Conditioner?
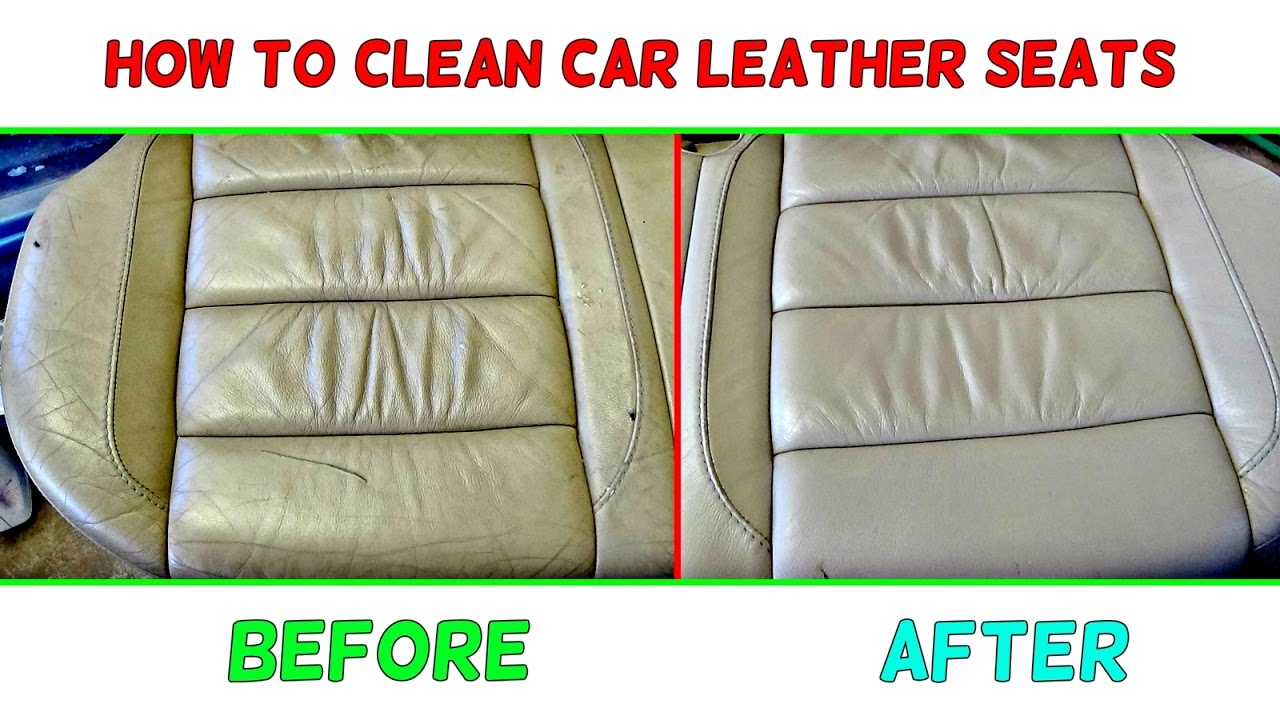
Use leather conditioner only when the vehicle maker or product instructions support it. Many modern automotive leather surfaces have a protective topcoat, so they may need cleaning more often than conditioning.
A conditioner may help a compatible, finished leather surface feel less dry. However, too much product can leave seats greasy. That residue can attract dirt, transfer to clothing, or make the surface slippery.
Before conditioning:
- Clean the seat.
- Let it dry fully.
- Test the conditioner in a hidden area.
- Apply a thin, even layer.
- Buff away excess product with a clean cloth.
Avoid putting conditioner on:
- Steering wheels
- Gear shifters
- Pedals
- Seat belt webbing
- Floor mats
- Suede-like inserts
- Alcantara-style material
- Unfinished or cracked surfaces without professional advice
A slippery steering wheel or pedal is a safety concern. Seat belt webbing should be cleaned only as directed by the vehicle or restraint maker.

How Often Should You Clean Leather Car Seats?
Clean leather seats when they look dirty or feel oily, rather than following a rigid calendar. Many drivers can use a light wipe every few weeks and a deeper clean every few months.
Your schedule may need to change based on:
- How often you drive
- Whether children ride in the vehicle
- Pets and muddy gear
- Hot, humid weather
- Dry winter air
- Light-colored upholstery
- Frequent use of sunscreen or hand lotion
- Work clothes that carry grease or dust
Wipe spills as soon as possible. Routine light cleaning is usually safer than waiting for heavy buildup and then using strong pressure.
Keep the cabin shaded when possible. A windshield sunshade can reduce heat and light exposure, but it cannot replace cleaning. Avoid leaving wet items on the seats for long periods.
What to Do If Cleaning Goes Wrong
Stop cleaning if the seat changes color, becomes sticky, develops a rough patch, or begins to peel. Do not apply another product to “fix” the first one.
If the seat feels greasy
Use a clean microfiber cloth lightly dampened with water, if the owner’s manual permits it. Wipe away excess product, then dry the surface. Do not add more conditioner.


If the leather looks dull
Dullness can come from cleaner residue, wear, or damage to the finish. Try one gentle residue-removal pass with a damp cloth. If the dull spot remains, stop scrubbing.
If the color transfers to the cloth
Some dye transfer may occur, especially on older or worn surfaces. Continued wiping can remove more color. Stop and seek advice from an automotive upholstery repair professional.
If the leather is cracked or peeling
Cleaning will not repair cracked leather or a damaged topcoat. Heavy rubbing may make the damage worse. A professional may be able to repair, recolor, or replace the affected panel.
If there is a strong odor
First remove the source, vacuum the area, and allow the cabin to dry. Do not cover a damp or moldy smell with an air freshener. Persistent mildew, chemical, or biological odors may need professional cleaning.
Common Mistakes to Avoid
The most common mistake is using too much liquid. Leather seats have seams, holes, controls, and electrical parts that do not benefit from soaking.
Avoid these errors:
- Cleaning in direct hot sun
- Skipping the vacuum step
- Spraying product into perforations
- Using one dirty cloth for the whole interior
- Scrubbing stains with force
- Applying conditioner before cleaning
- Using household disinfectants without approval
- Cleaning seat belts with leather products
- Ignoring the owner’s manual
- Mixing different cleaners
- Leaving residue on the seat
- Using heat to dry the leather
Do not assume that a shiny seat is a clean seat. Shine may come from oil, residue, or a dressing. A clean seat should feel dry and natural, with no slippery film.
A Simple Decision Guide
Use this quick guide when you are unsure what to do:
- Dust, crumbs, or light dirt: Vacuum and wipe with an approved cleaner.
- Fresh liquid spill: Blot at once, then clean lightly.
- Grease: Blot and use a leather-safe cleaner.
- Perforated seat: Use very little liquid and avoid direct spraying.
- Ink or heavy dye transfer: Stop after gentle cleaning and seek professional help.
- Peeling or cracked surface: Do not scrub; arrange an upholstery assessment.
- Unknown seat material: Check the manual and test a hidden spot.
- Strong odor after drying: Find the source before applying more products.
The best method is usually the least aggressive one that removes the soil.
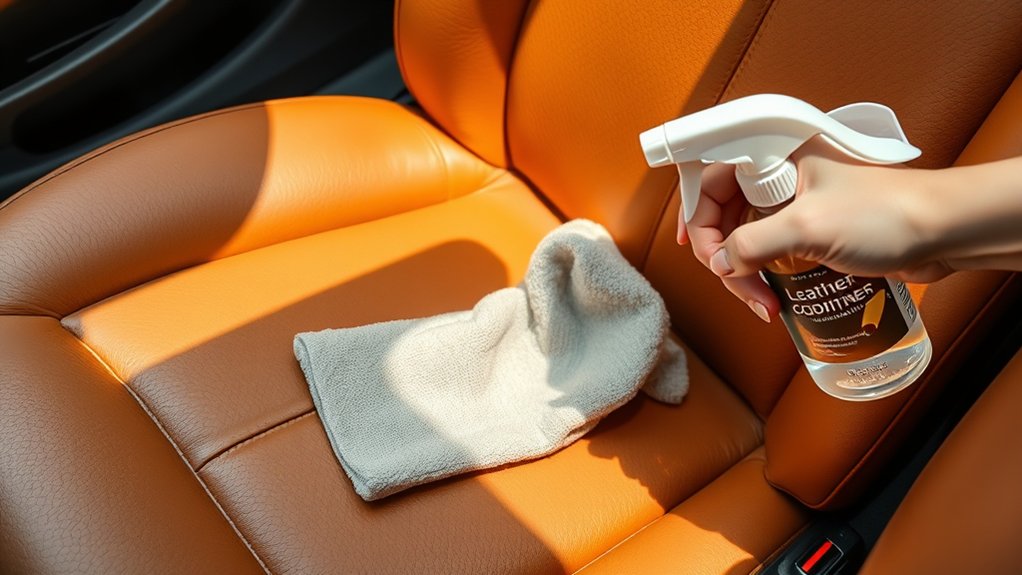
What the Vehicle Manual and Leather-Care Guidance Establish
Vehicle manuals are the first source for care instructions because seat materials, coatings, ventilation systems, and restraint systems vary by model. For example, automakers commonly warn owners to avoid excess liquid around electrical parts and to use approved methods for seat belts and heated or ventilated seats.
General leather-care guidance supports several practical points:
- Test a cleaner before broad use.
- Use a soft cloth rather than an abrasive pad.
- Avoid excess water.
- Keep solvents away from finished surfaces.
- Treat coated automotive leather differently from unfinished leather.
- Use professional repair when the finish or color is damaged.
These recommendations do not mean every leather cleaner works in every vehicle. Product labels and the specific vehicle manual still control the final choice.

Frequently Asked Questions
Can I use dish soap to clean leather car seats?
A small amount of mild soap may be allowed for some materials, but it is not a universal choice. Dish soap can leave residue and may remove oils or finish from some surfaces. Use an automotive leather cleaner unless your owner’s manual gives different instructions.


Can I use baby wipes on leather seats?
Do not assume baby wipes are safe. Some contain fragrance, oils, alcohol, or preservatives that may leave residue or affect the finish. Check the ingredients and vehicle guidance, then test a hidden area first.
Can I use vinegar to clean leather car seats?
Vinegar is acidic and is not a dependable universal leather cleaner. It may affect the finish or leave an odor. Use a product made for automotive upholstery instead.
How do I clean white leather car seats?
Vacuum first, then clean small areas with a compatible automotive leather cleaner. Use light pressure and change cloth sections often. Avoid bleach and aggressive scrubbing, which can yellow or remove the surface finish.
How do I clean leather seats with built-in ventilation?
Use very little liquid and apply it to the cloth, not the seat. Keep cleaner away from perforations and controls. If liquid enters the holes, stop and allow the seat to dry fully before using the ventilation system.
Final Takeaway
To clean leather car seats safely, vacuum first, test the product, use a small amount of approved cleaner, and wipe gently in sections. Keep moisture away from perforations, seams, controls, and seat wiring. Dry the seats fully and use conditioner only when the vehicle maker or product instructions support it.
Start with the mildest method. If the leather peels, cracks, loses color, or stays wet, stop cleaning and contact an automotive upholstery professional.