

Introduction
For most cars in the United States, the safest way to wash a car seat is to vacuum first, spot-clean with mild soap, use very little water, and dry the seat fully. Do not flood the cushion. Water can reach seat belts, wiring, sensors, heaters, and side airbags.
The right method depends on the seat material. Cloth seats need gentle fabric cleaning. Leather needs a damp cloth and a leather cleaner. A child safety seat needs extra care because the harness, buckle, foam, and cover may have different cleaning rules.
This guide explains how to clean car seats at home without causing stains, odors, mold, or damage.
Before You Wash a Car Seat
Check the owner’s manual before you use water or cleaner. Car makers use different fabrics, coatings, foams, sensors, and seat designs. Your manual may list approved cleaners or warn against certain products.


You should also check the seat itself. Look for:
- Cloth, vinyl, leather, or synthetic leather
- Heated or cooled seat controls
- Side-airbag labels
- Seat belt buckles and anchors
- Power-seat controls
- Open seams or torn fabric
- Stains from food, oil, ink, or pet waste
If a seat has a tear, exposed foam, loose wiring, or a damaged airbag cover, do not soak it. Ask a dealer or qualified auto upholstery shop for help.
Supplies you may need
Gather these items before you start:
- Vacuum with a soft brush
- Two or three clean microfiber cloths
- Soft interior brush
- Bowl or spray bottle
- Warm water
- Mild dish soap or an approved car interior cleaner
- Leather cleaner and leather conditioner, if needed
- Soft dry towels
- Cotton swabs for seams
- Baking soda for odor control
- Nitrile gloves for dirty or biological messes
Use a clean, light-colored cloth when possible. A dark or dyed cloth may transfer color to pale upholstery.
Test the cleaner first
Test every cleaner in a hidden spot. Apply a small amount. Wait until the area dries. Check for:
- Color loss
- A water ring
- Sticky residue
- Rough or hard leather
- Faded trim
- A strong odor
If the test area changes, stop using that product.

How to Wash Cloth Car Seats
Cloth car seats are usually made from woven fabric over foam. They can hold dust, crumbs, sweat, and spills. The key is to clean the fabric without soaking the foam below it.
Step 1: Remove loose items
Move the car to a shaded place. Open the doors. Remove floor mats, toys, papers, and other items.


If possible, work on a dry day. Good air flow helps the seat dry faster.
Step 2: Vacuum the seat
Vacuum the seat from top to bottom. Use a soft brush on the fabric. Reach into:
- Seat seams
- The gap near the backrest
- The space beside the center console
- Around the seat belt buckle
- Under the front edge
- The crease between the seat and backrest
Do not skip this step. If you wet loose dirt, it can turn into mud and spread.
For stuck crumbs, use a soft brush. Do not use a sharp tool that could cut the fabric or damage wiring.
Step 3: Blot fresh spills
blot liquid with a dry towel. Press down and lift. Do not rub in circles. Rubbing can spread the stain and push it deeper into the foam.
For thick spills, lift the material with a spoon or dull edge. Then blot the rest.
Step 4: Mix a mild cleaning solution
Start with a weak solution:
- About 2 cups of warm water
- A few drops of mild dish soap
A stronger mix is not always better. Too much soap can leave a film. That film attracts more dirt.
You may use a car upholstery cleaner if the product label says it is safe for your seat fabric. Follow the label. Never mix cleaning products.
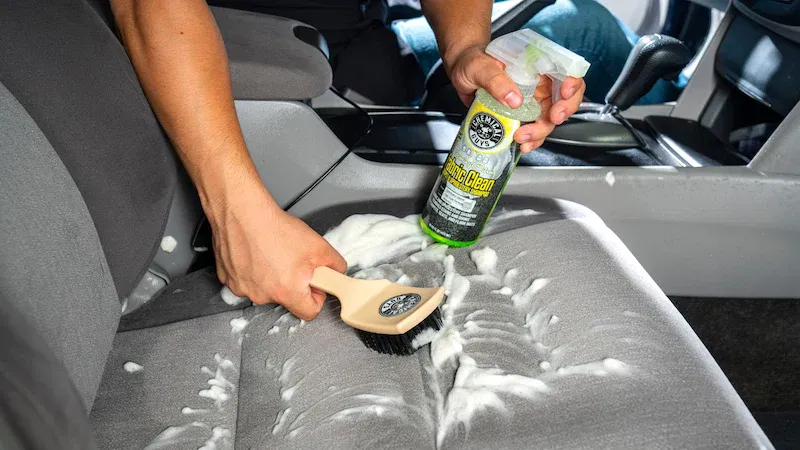
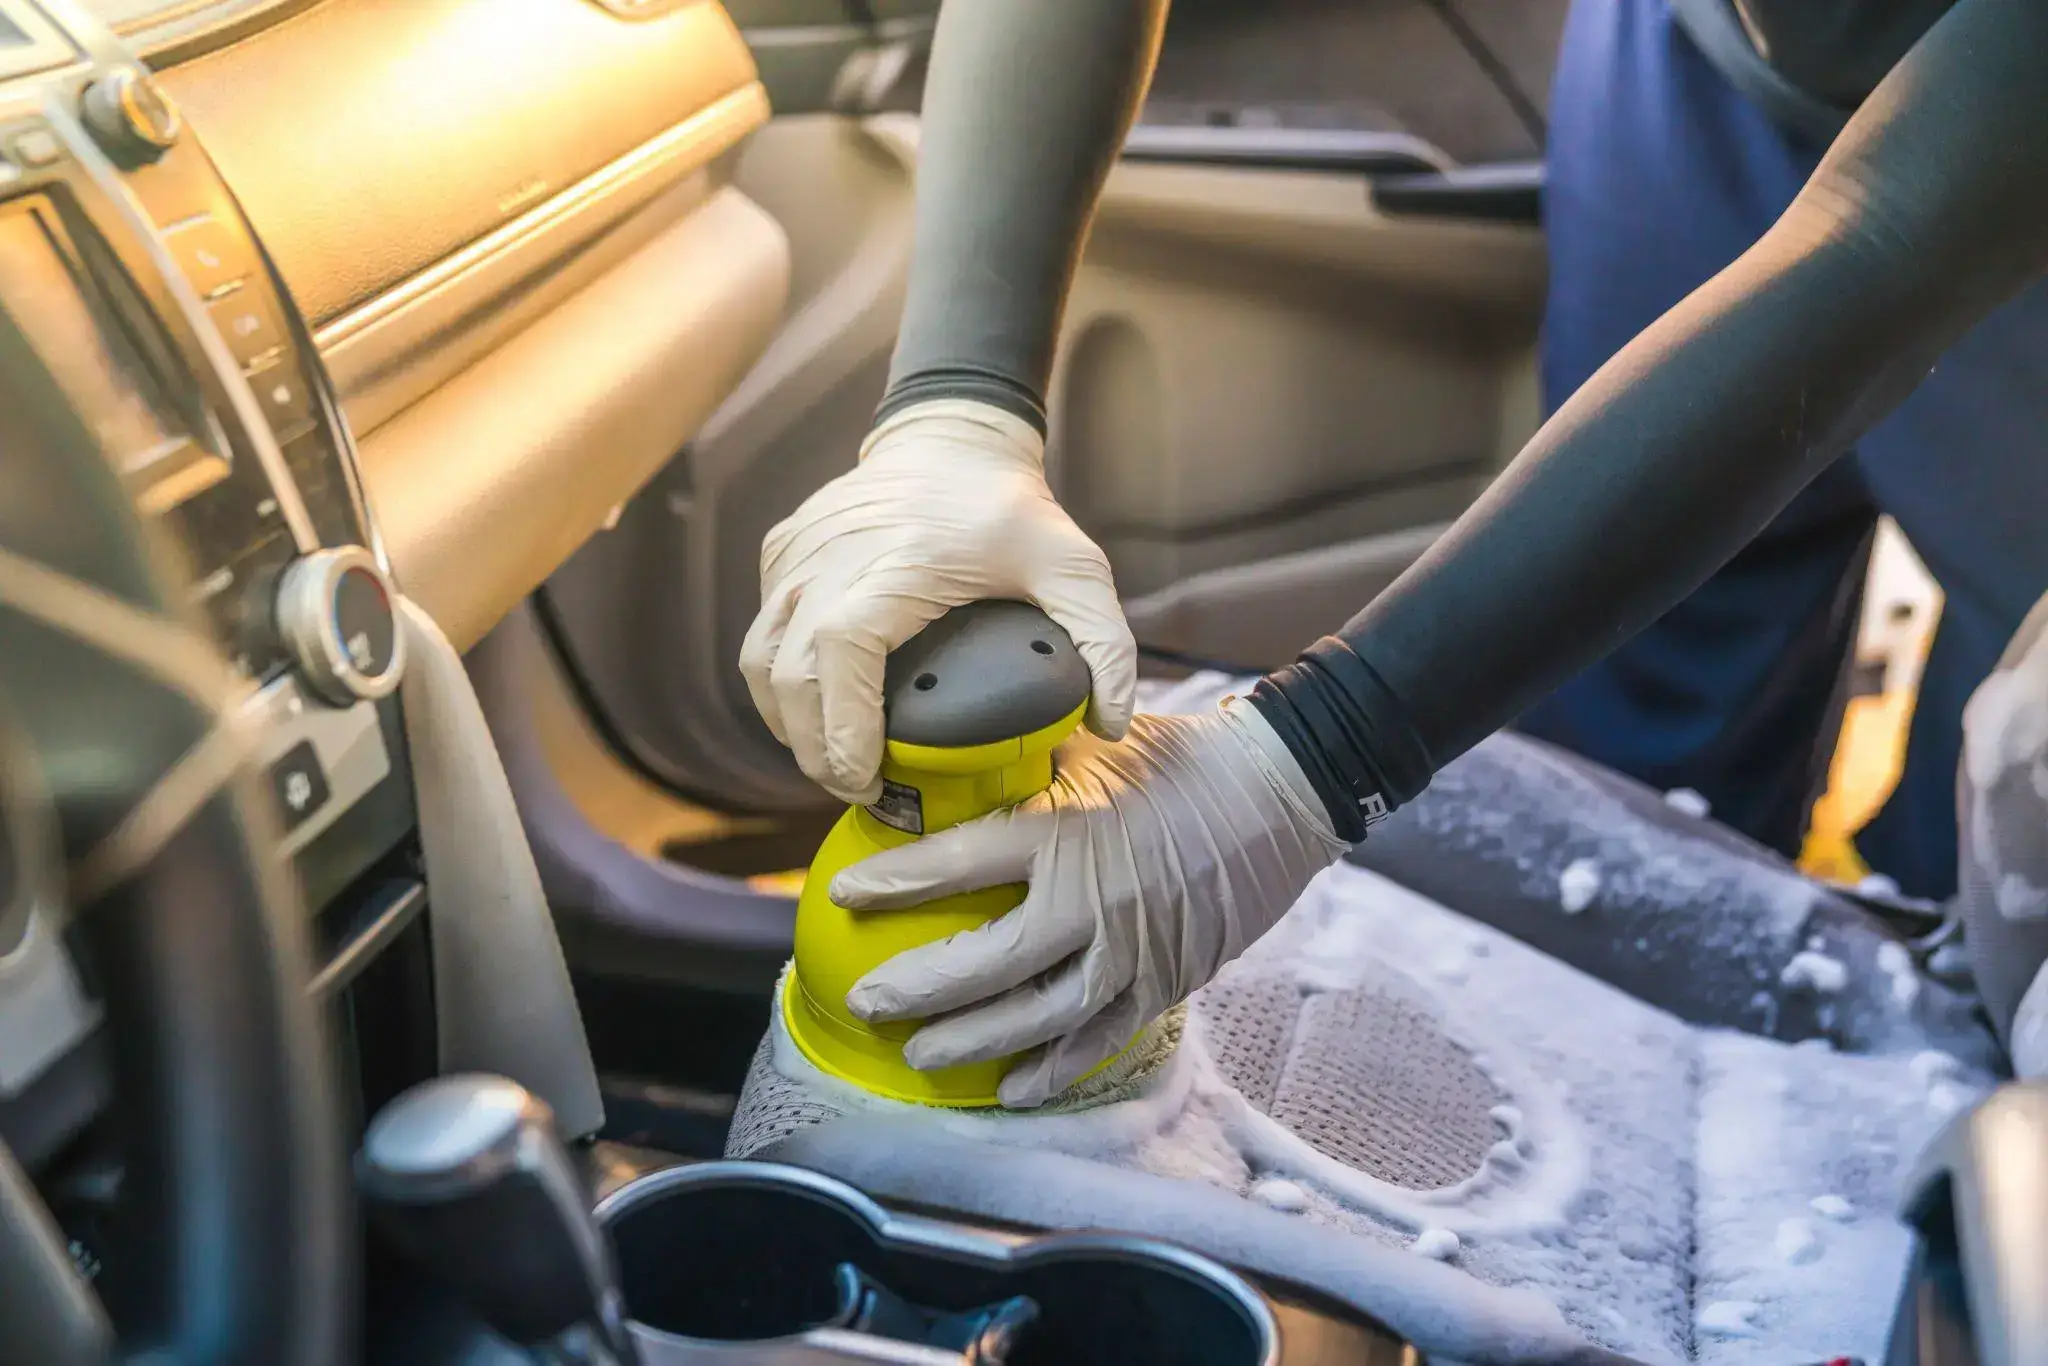
Step 5: Clean small areas
Dip a soft brush into the solution. Squeeze it well. The brush should be damp, not dripping.
Work on one small section at a time. Brush gently in short strokes. Avoid heavy pressure. Clean the face of the cushion, then the sides and seams.
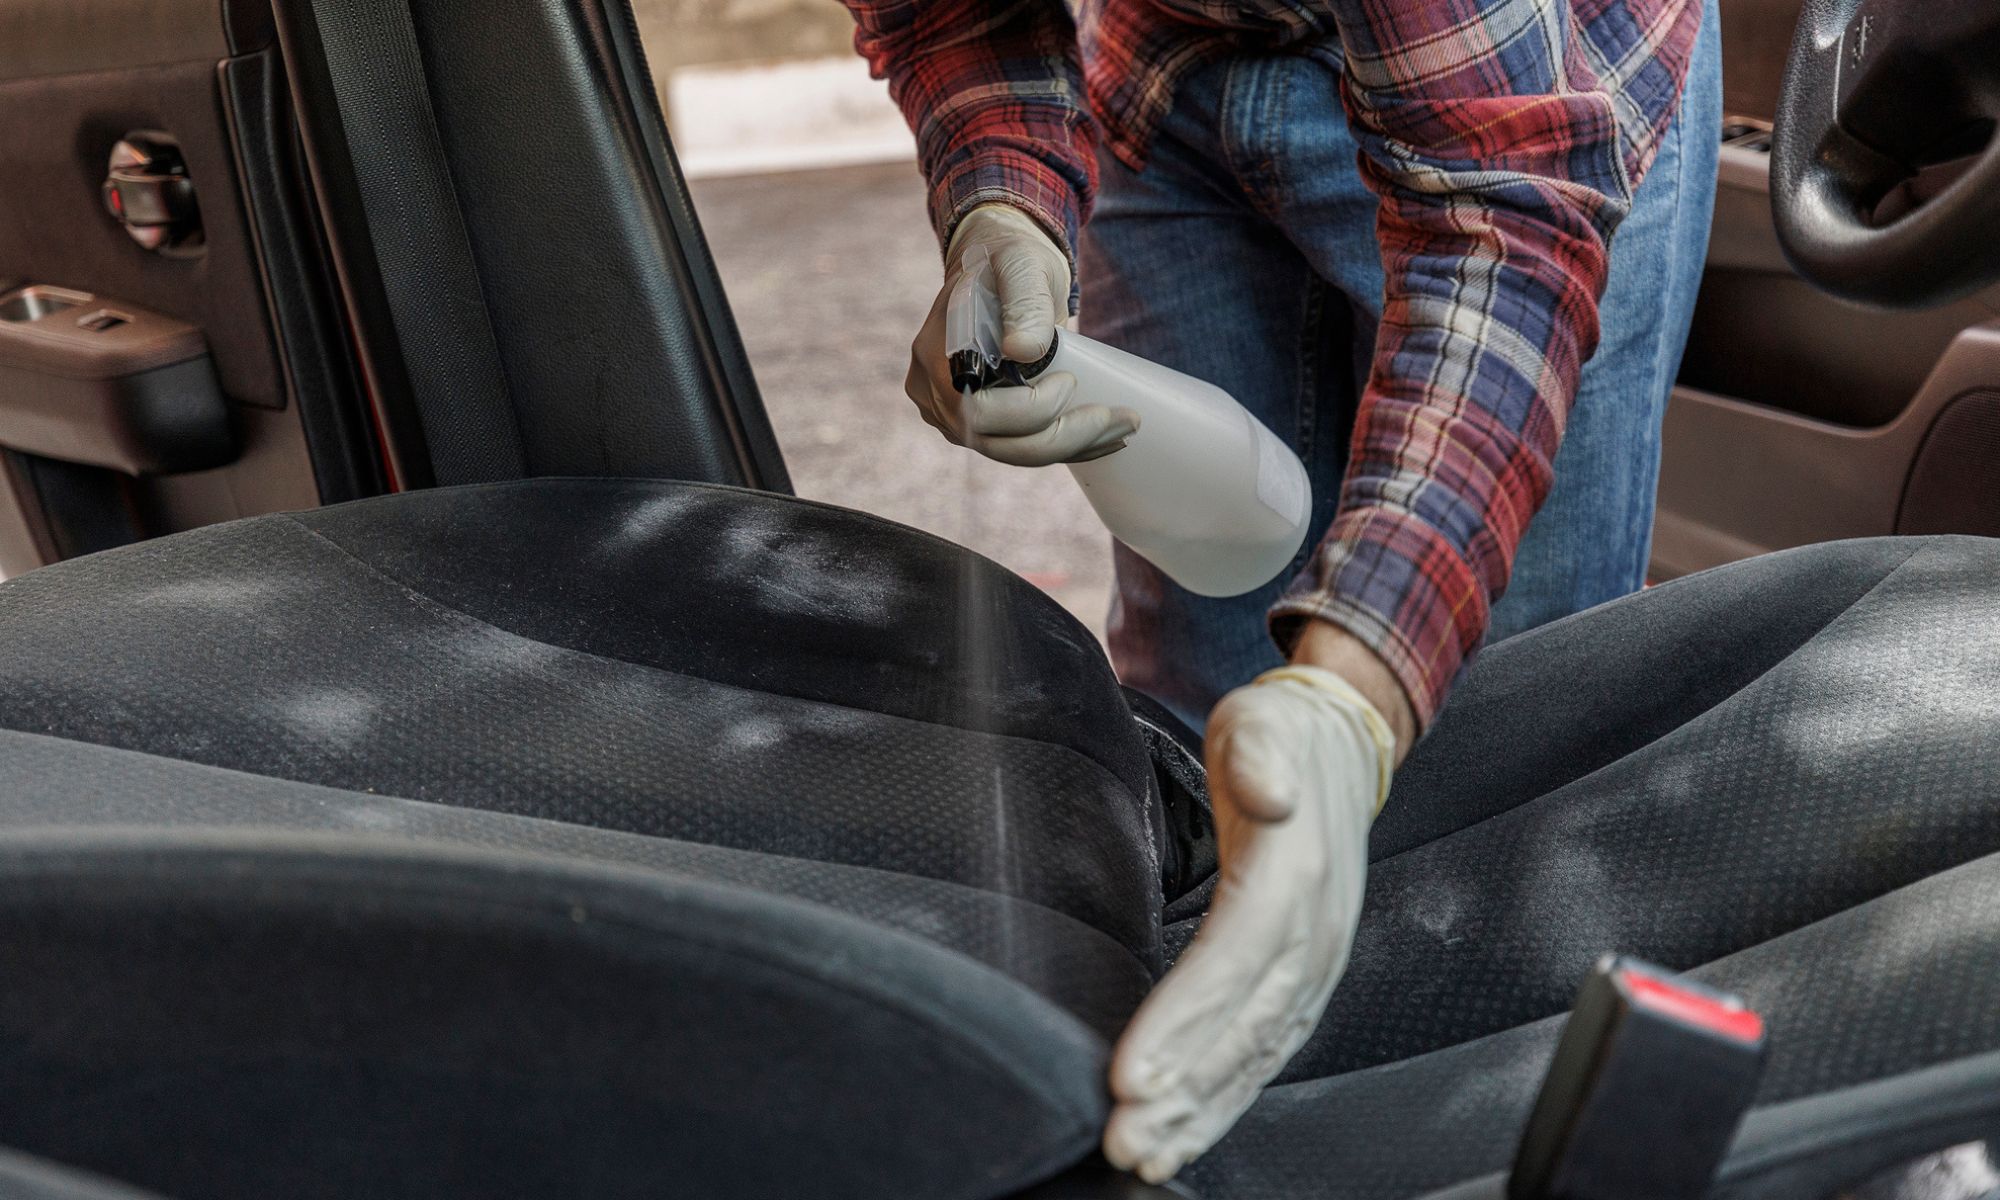
For a simple spill, a damp microfiber cloth may be enough. Use the least amount of water that works.
Step 6: Remove soap residue
Wipe the area with a clean, damp cloth. Rinse the cloth often. This removes leftover soap.


Do not pour water over the seat. Do not use a hose. Do not saturate the cushion.
Step 7: Dry the seat fully
Press dry towels into the seat. Replace them when they become damp. Leave the doors open in a safe place until the seat is fully dry.
A fan can help. Avoid high heat from a hair dryer or heat gun. High heat may damage fabric, foam, plastic, or wiring.
The seat should feel dry to the touch. It should not feel cool or damp in the seams. If a musty smell appears later, moisture may still be trapped inside.
How to remove common cloth-seat stains
| Stain | First step | What to avoid |
|---|---|---|
| Coffee or soda | Blot, then use mild soapy water | Rubbing hard |
| Grease | Lift excess grease, then use a fabric-safe cleaner | Spreading the oil |
| Mud | Let it dry, vacuum, then clean | Wetting mud first |
| Ink | Blot carefully and use a product labeled for the fabric | Bleach or strong solvent |
| Pet accident | Remove solids, blot, then use an enzyme cleaner made for upholstery | Flooding the cushion |
| Gum | Harden it with ice in a bag, then lift gently | Pulling hard on fabric |
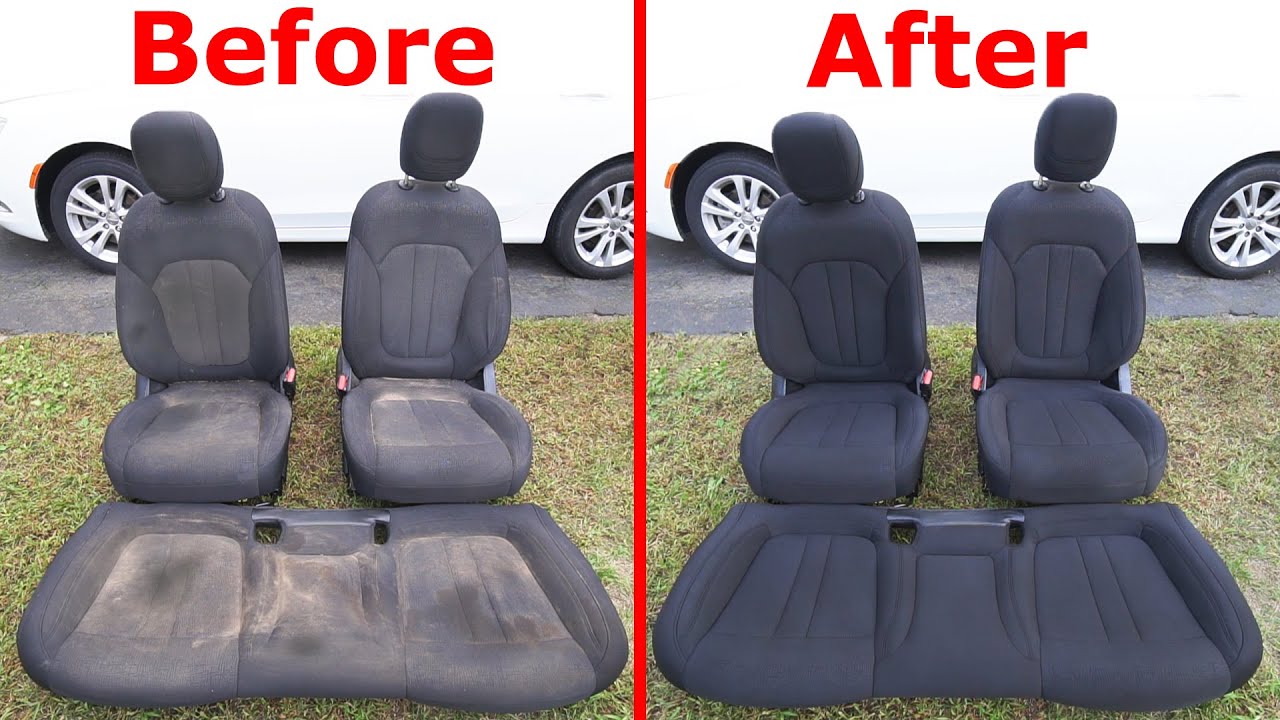
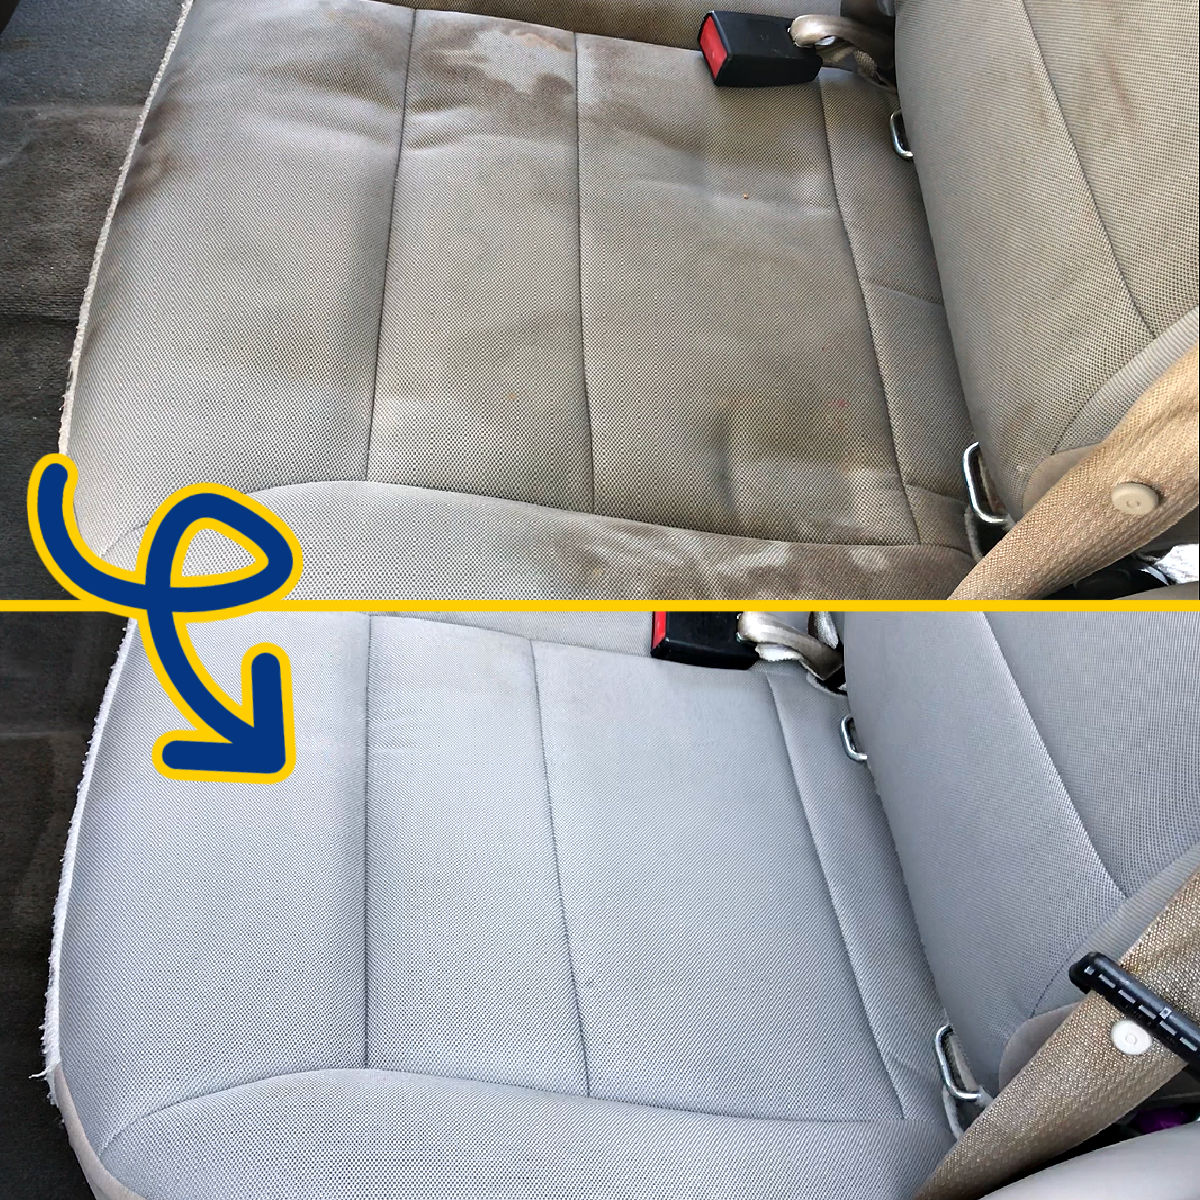
A stain may not come out fully if it has reached the foam. A professional detailer or upholstery shop may be needed.
How to Clean Leather or Vinyl Car Seats
Leather and vinyl are not the same. Leather is a natural material with a protective finish. Vinyl is a plastic-based surface. Both can be damaged by harsh cleaners, excess water, and strong heat.
Do not treat leather like cloth. Do not scrub it with a stiff brush.
Step 1: Vacuum the seat
Use a soft vacuum brush. Remove grit from seams and folds. Small bits of sand can scratch leather when you wipe the seat.
Step 2: Wipe with a damp cloth
Dampen a microfiber cloth with plain water. Wring it out well. Wipe a small area first.
If light dirt comes off, continue with the damp cloth. This is often safer than using a strong product.
Step 3: Use a suitable leather cleaner
For heavier dirt, use a cleaner made for finished automotive leather. Apply the product to the cloth or brush, not directly into the seams.
Work in small areas. Use light pressure. Wipe away the cleaner with a clean, damp cloth.
Avoid household products such as:
- Bleach
- Ammonia
- Alcohol-based sprays
- Disinfectant wipes unless the manual allows them
- Furniture polish
- Abrasive powders
- Strong degreasers
These products may dry the finish, remove color, or leave a slippery surface.
Step 4: Dry the surface
Use a dry microfiber cloth. Let the seat air-dry away from strong sunlight and high heat.


Step 5: Condition only when appropriate
Some leather seats benefit from a conditioner. Use one labeled for finished automotive leather. Apply a thin layer. Wipe off excess product.
Do not assume every leather seat needs conditioner. Modern coated leather may not absorb much of it. Too much conditioner can create a greasy surface and make the seat slippery.
Vinyl usually does not need leather conditioner. Use a vinyl-safe interior product instead.
What about perforated leather?
Perforated leather has small holes for ventilation. Use very little product. Keep liquid away from the holes. Wipe across the surface with a damp cloth, then dry it.
Do not push cleaner into the perforations. A small amount of moisture can reach the seat’s ventilation parts or foam.
How to Clean a Child Car Seat
A child car seat is a safety device, not just a small car seat. Clean it only according to the child restraint maker’s instructions.
The National Highway Traffic Safety Administration advises parents to follow the child seat manufacturer’s instructions for cleaning and use. You can also check NHTSA’s car seat guidance at NHTSA.gov.
Start with the child seat manual
Find the model name and date of manufacture. The label is often on the side or bottom of the seat.
The manual should tell you:
- Whether the cover may go in a washing machine
- Water temperature
- Drying instructions
- Whether the cover may go in a dryer
- How to clean the harness
- How to clean the buckle
- Which parts must not be removed
If the manual is missing, look for a replacement manual on the manufacturer’s official website. Do not guess.
Clean the removable cover
Remove the cover only as the manual shows. Take photos before removal if the process is complex.
Many covers can be washed in a machine on a gentle cycle. Some require cold water and air drying. The exact rule differs by model.
Do not return the cover while it is damp. A wet cover can cause odor and may affect how the seat fits the child.
Clean the harness carefully
Do not machine-wash, bleach, soak, iron, or use harsh chemicals on a harness unless the manufacturer clearly allows it.
A harness must keep its strength. Strong cleaners and rough treatment may damage its fibers.


In many cases, the safe method is to wipe the harness with a damp cloth and mild soap. Follow the specific manual for your seat.
Clean the buckle
Food and dirt can stop a buckle from locking or releasing correctly. Use the method listed by the manufacturer.
Do not force a sharp object into the buckle. Do not use oil. Do not spray cleaner into it unless the manufacturer says to do so.
After cleaning, test the buckle several times. It should click into place and release as designed.
Never use a damaged child seat
Replace the seat if:
- The harness is frayed, cut, or melted
- The shell is cracked
- A buckle does not work correctly
- The seat was in a crash, unless the maker says it is safe to keep
- Parts are missing
- The seat is expired under the maker’s policy
- You cannot confirm its history after a secondhand purchase
A clean child seat is not enough. It must also be intact and installed correctly.

How to Remove Odors From Car Seats
Remove the source of the odor before using a deodorizer. A spray may cover the smell for a short time, but it will not remove milk, food, sweat, mold, or pet waste trapped in the cushion.
For a mild odor:
- Vacuum the seat.
- Wipe or clean the affected area.
- Dry the seat fully.
- Leave the car open in a safe, dry place.
- Place a small container of baking soda in the car overnight.
Keep baking soda off child seat harnesses and buckles. Do not scatter powder into seat seams.
If the smell returns after cleaning, moisture may be inside the foam. Mold, spilled milk, or pet waste may need professional extraction. A detailer can assess whether the cushion can be cleaned or must be replaced.
How to Clean Car Seats After Vomit, Urine, or Blood
Wear gloves when cleaning bodily fluids. Remove solid material with paper towels or a disposable scraper. Place used materials in a sealed bag.
Blot liquid. Do not press hard enough to force it deeper into the foam. Use a cleaner labeled for automotive upholstery and suitable for the type of spill.
Do not mix bleach with ammonia, vinegar, or other cleaners. Chemical fumes can harm you.
For blood, use cool water first. Hot water can set some protein-based stains. For urine or vomit, an enzyme cleaner may help on cloth upholstery, but test it first and follow the label.


If the fluid reached a seat belt, airbag area, wiring, or deep foam, seek professional cleaning advice. For a child car seat, contact the manufacturer before using any disinfectant or enzyme product.

What Not to Do When Washing Car Seats
Avoid these common mistakes:
Do not pressure-wash the seats
Pressure can force water into foam, wiring, switches, and sensors. It can also damage fabric and leather finishes.
Do not use a carpet cleaner without checking first
A carpet extractor may leave a large amount of water in a car seat. It may also pull at fabric or affect adhesives.
If you use an extractor, check the vehicle manual and the machine instructions. Use low moisture and extract as much water as possible.
Do not steam every seat
Steam may damage leather coatings, adhesives, foam, plastic, and electronic parts. Use it only if the vehicle maker or seat material instructions allow it.
Do not remove seat covers that contain airbags
Some seat covers are linked to side-airbag systems. Do not cut, pull, or remove a sewn panel marked for an airbag. Ask a dealer or qualified upholstery professional.
Do not use household disinfectants by default
Many disinfectants can fade fabric, damage leather, or weaken plastics. Use one only when the product label and seat instructions support it.
Do not dry seats with extreme heat
High heat can warp plastic, dry leather, damage foam, and affect adhesives. Air movement is safer than intense heat.
How Often Should You Wash Car Seats?
Clean spills as soon as possible. Vacuum car seats every few weeks or whenever crumbs build up.
A deeper clean may be useful:
- Every three to six months for a regularly used family car
- More often with children or pets
- After a large food or drink spill
- After a beach trip or dusty outdoor activity
- When the seat feels sticky or smells stale
The best schedule depends on use. A car used for commuting alone needs less frequent deep cleaning than a family vehicle used every day.
Cleaning too often with water can also cause problems. Frequent wet cleaning may leave moisture in the foam or wear the surface. Use dry vacuuming for routine care and wet cleaning only when needed.
When Home Cleaning Is Not Enough
Call a professional detailer or upholstery shop when:
- The stain reaches deep foam
- The seat smells musty after drying
- Mold is visible
- The seat has major grease or dye transfer
- The upholstery is torn
- The seat has built-in cooling, heating, or massage parts
- Water reached electrical controls
- A side-airbag seam is damaged
- A child safety seat has a harness or buckle problem
Ask what method will be used. Tell the cleaner about heated seats, airbag panels, leather, perforations, and child restraints.
A professional clean cannot repair a damaged safety system. A dealer or qualified repair shop should inspect safety-related parts.
Quick Decision Guide
Use this simple guide before you begin:
| Seat type or problem | Best first choice | Main risk |
|---|---|---|
| Cloth with crumbs | Vacuum | Grinding dirt into fabric |
| Cloth with a fresh drink spill | Blot, then use mild soap | Soaking the foam |
| Leather with light dust | Damp microfiber cloth | Scratching with grit |
| Vinyl with sticky residue | Vinyl-safe cleaner | Using harsh solvent |
| Perforated leather | Small amount of approved cleaner | Filling the holes |
| Heated or cooled seat | Manual-approved low-moisture cleaning | Wetting electrical parts |
| Child seat cover | Manufacturer-approved wash method | Shrinking or damaging the cover |
| Child seat harness | Manual-approved wipe method | Weakening the harness |
| Strong odor | Remove source and dry fully | Covering the odor only |
Frequently Asked Questions
Can I use dish soap to wash car seats?
You can use a few drops of mild dish soap in warm water on many cloth seats, but test it first. Use very little soap. Remove the residue with a clean damp cloth. Do not use dish soap on leather unless the leather maker or vehicle manual allows it.
Can I use a washing machine for car seat covers?
Only if the vehicle or child seat maker says the cover is machine washable. Follow the listed cycle, water temperature, and drying method. Never assume a removable cover can go in the washer.
How do I dry a car seat fast?
Press dry towels into the cushion, use a fan, and keep the doors open in a safe place. Do not use high heat. Do not drive with a wet child seat cover or a damp seat belt.
Can I use an upholstery cleaner on leather car seats?
Not unless the label says it is safe for automotive leather. Cloth and leather need different products. Test the product in a hidden area first.
Why does my car seat smell worse after cleaning?
The seat may still be damp, or the cleaner may have left residue. Let it dry fully. If the smell returns, the spill may be inside the foam and may need professional extraction.
Final Takeaway
The safest way to wash car seats is to use low moisture, mild products, gentle tools, and complete drying. Vacuum first. Test the cleaner. Clean small areas. Keep liquid away from seat belts, electronics, airbag seams, and child-seat harnesses.
For a child car seat, the manufacturer’s manual is the final guide. If a seat has damage, deep contamination, or safety-related parts, stop cleaning and seek qualified help.