

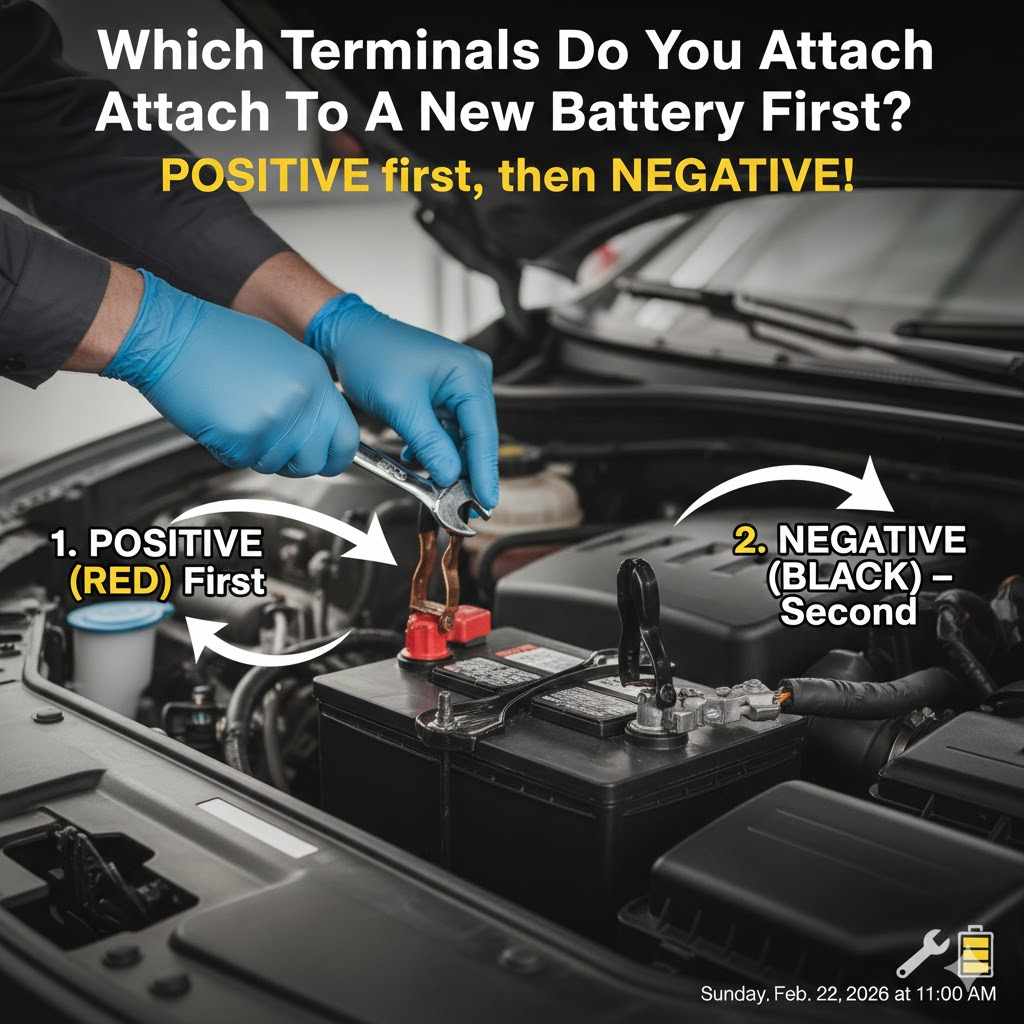
In the United States, connect the positive (+) terminal first and the negative (–) terminal second when installing or reconnecting a 12-volt car battery. This order lowers the chance of a short circuit, spark, or damage to the vehicle’s electrical system.
When removing a battery, reverse the order:
- Disconnect the negative (–) terminal first.
- Disconnect the positive (+) terminal second.
This guide explains why the order matters, how to reconnect a battery safely, and what changes when you are jump-starting a car.


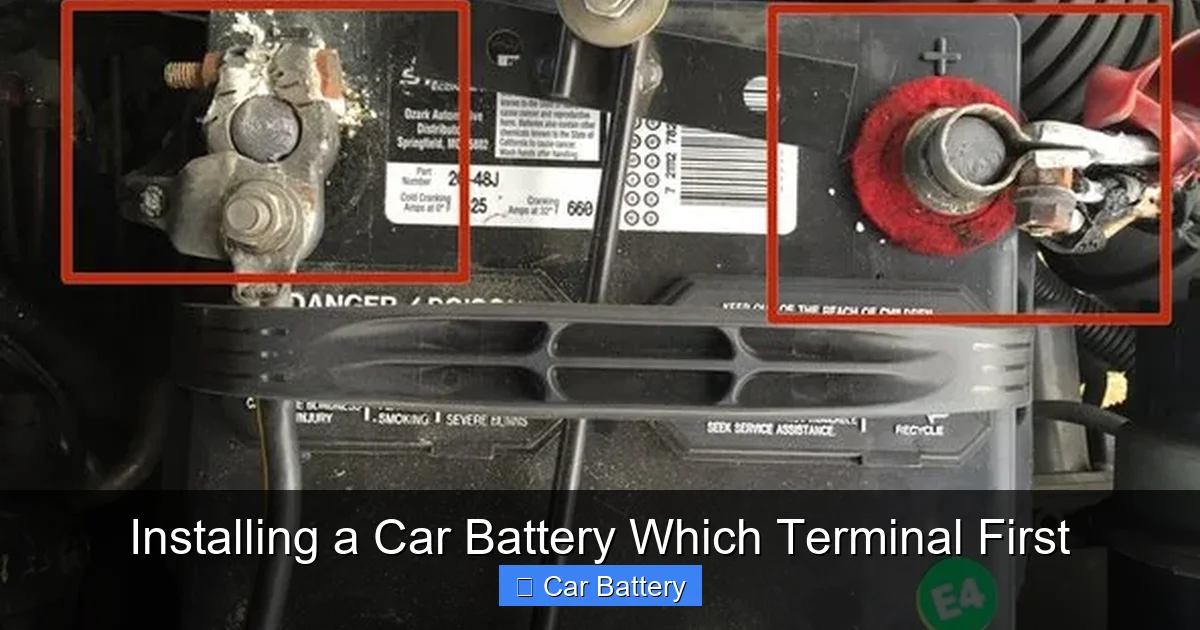
The short answer: positive first, negative second
The safe battery connection order is:
- Turn off the vehicle and remove the key.
- Connect the positive cable to the positive battery post.
- Connect the negative cable to the negative battery post.
- Tighten both connections and check that they do not move.
The safe removal order is the opposite:
- Remove the negative cable first.
- Remove the positive cable second.
The negative cable usually connects the battery to the vehicle’s metal body, called the chassis. This means much of the car can act as part of the negative circuit. If your wrench touches the positive battery terminal and any bare metal while the negative cable is still connected, the wrench can complete the circuit.
That can cause a large spark, heat the tool, damage parts, or even make the battery explode. Disconnecting the negative terminal first removes the main return path through the vehicle.
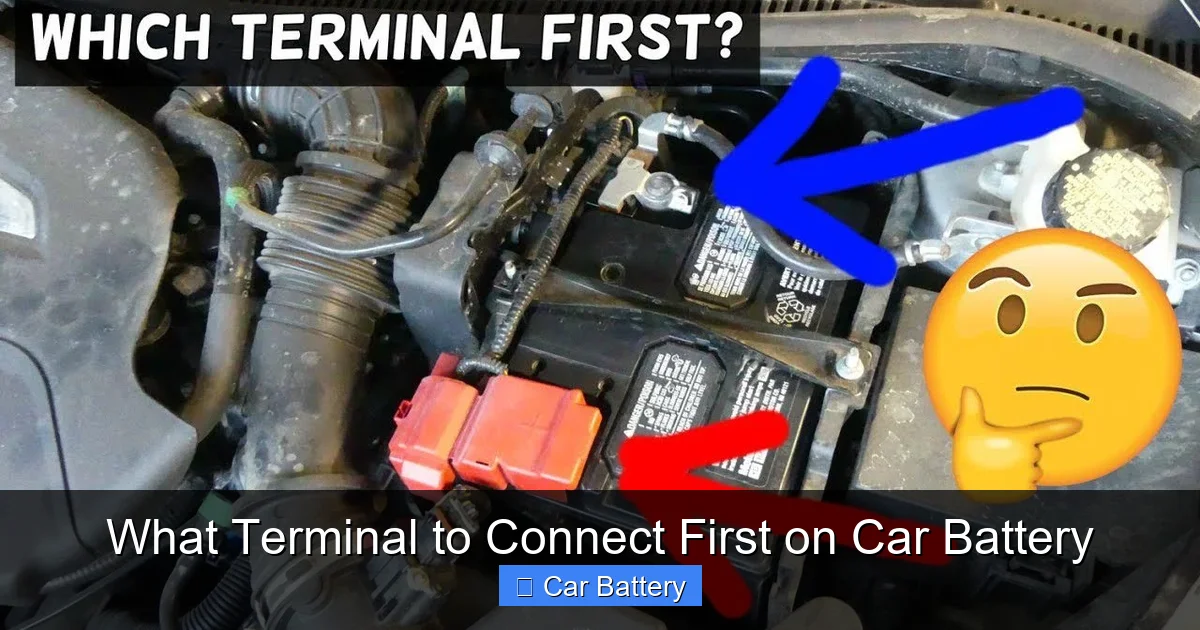
Why the positive terminal goes on first
Connecting the positive terminal first helps prevent an accidental short between the positive terminal and the car’s metal body.
Imagine using a metal wrench on the positive terminal. If the negative cable is already attached and the wrench touches the body or another grounded metal part, current can flow through the wrench. The tool may spark or become hot very quickly.
With the negative cable disconnected, that path is interrupted. The positive cable can then be attached with much less risk of creating a short through the chassis.
After the positive cable is secure, connect the negative cable. A small spark may occur when the negative cable first touches the post, especially if the vehicle’s computers or other systems draw a small amount of power. A large spark, smoke, heat, or a strong crackling sound is not normal. Stop if that happens.
Battery terminal order at a glance
| Task | First | Second |
|---|---|---|
| Install or reconnect battery | Positive (+) | Negative (–) |
| Remove or disconnect battery | Negative (–) | Positive (+) |
| Connect a standard jump-start cable | Positive connections | Negative connection last |
| Remove jump-start cables | Negative connection first | Positive connection last |
Always check the owner’s manual before working on a modern vehicle. Some cars have battery sensors, special ground points, or procedures for battery replacement.


How to reconnect a car battery safely
Before you begin, park on a level surface, switch off the ignition, set the parking brake, and keep cigarettes, flames, and sparks away from the battery.
You may need:
- Safety glasses
- Work gloves
- The correct wrench or socket
- A battery terminal brush
- A battery hold-down tool, if the battery was removed
- The vehicle owner’s manual
Do not wear loose jewelry while working near the battery. A metal watch, ring, or bracelet can create a dangerous electrical path.
Step 1: Confirm the correct battery and terminals
Check that the replacement battery has the correct size, terminal layout, and rating for the vehicle. The positive post may be marked with a plus sign (+), a red cover, or a larger cable. The negative post may be marked with a minus sign (–), a black cover, or a cable that leads to the vehicle body.
Do not rely on cable color alone. Follow the symbols on the battery and the instructions in the owner’s manual.
Step 2: Make sure the ignition is off
Turn off the engine, lights, radio, climate controls, and accessories. Remove the key or keep the key fob away from the vehicle if the car uses push-button start.
Wait a few minutes if the owner’s manual says the vehicle needs time to shut down its electronic systems.
Step 3: Secure the battery
Place the battery in its tray. Make sure it sits flat and in the correct direction. Reinstall the hold-down bracket before driving.
A loose battery can move while the car is in motion. Movement can damage the case, terminals, cables, or nearby parts.
Step 4: Connect the positive terminal
Place the positive cable clamp on the positive battery post. Tighten the nut until the clamp is secure.
Do not force the clamp down with excessive pressure. The clamp should sit fully on the post and should not twist by hand after tightening.
Step 5: Connect the negative terminal
Attach the negative cable clamp to the negative battery post. Tighten it until secure.
Keep the wrench from touching the positive terminal, the positive cable, and grounded metal at the same time.
Step 6: Check the result
The connection is likely correct if:
- Both clamps are tight.
- No cable can be pulled off by hand.
- There is no smoke or melting plastic.
- The battery remains firmly held in its tray.
- The vehicle powers up normally.


Start the vehicle only after checking the cables and battery hold-down.
What changes when you are removing a car battery?
When removing a battery, disconnect the negative terminal first. This is the reverse of the installation order.
Use this sequence:
- Turn off the vehicle and remove the key.
- Loosen and remove the negative cable.
- Position the negative cable so it cannot spring back onto the battery post.
- Loosen and remove the positive cable.
- Remove the hold-down bracket.
- Lift the battery out with care.
Do not allow the positive cable to touch the battery tray, body, engine, or tools while the negative cable remains connected.
Car batteries are heavy. Lift with both hands, keep the battery level, and avoid dropping it. A cracked battery can leak corrosive electrolyte.
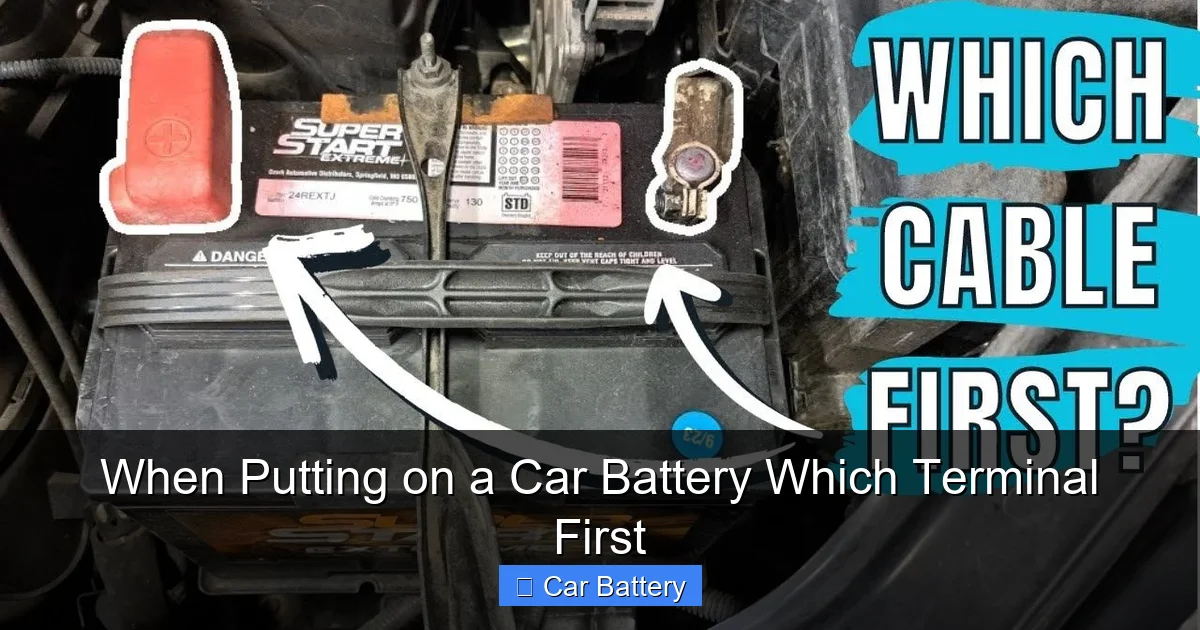
Is the battery connection order the same for a jump-start?
No. A jump-start uses cables between two electrical systems, so the order is slightly different.
For a typical 12-volt vehicle, connect the jumper cables in this order:
- Connect the red cable to the positive (+) terminal of the dead battery.
- Connect the other red clamp to the positive (+) terminal of the donor battery.
- Connect the black cable to the negative (–) terminal of the donor battery.
- Connect the other black clamp to an unpainted metal ground on the disabled vehicle, away from the battery.
The last connection should usually be made to a solid engine or chassis ground on the vehicle with the dead battery. This can reduce the chance of a spark near the battery.
Some vehicle makers specify a remote positive terminal or ground point. Use those points if the owner’s manual identifies them.
Removing jumper cables
Remove the cables in the reverse order:
- Remove the black clamp from the grounded metal on the disabled vehicle.
- Remove the black clamp from the donor battery.
- Remove the red clamp from the donor battery.
- Remove the red clamp from the previously dead battery.
Keep the clamps from touching each other or any metal part while they are connected to a battery.
Do not jump-start a battery that is cracked, leaking, frozen, badly swollen, or visibly damaged. Do not use a 12-volt jump-start method on a vehicle that requires another voltage.
Common mistakes to avoid
Connecting the negative terminal first
This is the most common mistake when installing a battery. It may not cause immediate damage, but it leaves the car’s metal body connected to the battery’s negative side while you work on the positive terminal.


The safer method is positive first, negative last.
Reversing the positive and negative cables
Never connect a positive cable to the negative post or a negative cable to the positive post. Reverse polarity can damage fuses, control modules, alternators, sensors, and other electrical parts.
If you connect the cables backward, do not turn on the ignition. Disconnect the negative cable first, then the positive cable. Have the vehicle inspected if there was a spark, smoke, a loud pop, or any loss of electrical function.
Using the wrong battery
A battery can fit in the tray but still be wrong for the vehicle. Check the battery group size, terminal position, cold-cranking rating, reserve capacity, and technology, such as AGM or standard flooded lead-acid.
Some vehicles require battery registration or programming after replacement. The owner’s manual or a qualified repair shop can confirm this.
Leaving the battery loose
The hold-down bracket is not optional. Vibration can damage the battery and its cables. It can also cause the battery to short against nearby parts.
Cleaning terminals while the battery is connected
For routine cleaning, disconnect the negative cable first. Then disconnect the positive cable if needed. Use a terminal brush and keep corrosion debris away from your eyes and skin.
Do not use excessive force on a corroded terminal. A damaged post or cable may need professional repair.

What if the car does not start after reconnecting the battery?
If the car has no power, check the simple items first:
- Confirm that the positive and negative cables are on the correct posts.
- Check that both clamps are tight.
- Inspect the main fuse and battery fuse.
- Confirm that the battery hold-down is not pressing on a cable.
- Test the battery voltage with a suitable meter.
- Try a proper jump-start only if the battery is safe to use.
If the lights work but the engine only clicks, the battery may be weak, the terminals may be dirty, or the starter circuit may have a problem.
If the engine turns normally but does not run, reconnecting the battery may not be the cause. Fuel, ignition, security-system, sensor, or engine-control issues may need diagnosis.
Some vehicles lose radio presets, clock settings, window calibration, or idle settings after battery power is removed. Certain vehicles may also need a steering-angle, throttle, or battery-management reset. Follow the factory procedure rather than guessing.
Stop and seek professional help if you see:
- A swollen or cracked battery
- Battery acid or liquid leakage
- Smoke or a burning smell
- Repeated heavy sparking
- Melted cables or connectors
- A warning light that remains on
- A hybrid or electric vehicle high-voltage warning


Special cases: hybrids, EVs, and vehicles with battery sensors
The positive-first and negative-last rule applies to many ordinary 12-volt battery systems. It does not replace the service procedure for a hybrid or electric vehicle.
Hybrid and electric vehicles can contain high-voltage battery packs. Those packs may remain dangerous even when the vehicle is switched off. Do not open, disconnect, or service high-voltage components unless you are trained and equipped to do so.
Some newer vehicles also use a battery monitoring sensor on the negative cable. Do not bypass, cut, or relocate that sensor. It helps the charging system measure battery condition.
Vehicles with start-stop systems often require the exact battery type specified by the manufacturer. A replacement battery may also need registration through a scan tool.
The deciding rule is simple: work only on the low-voltage battery points described in the owner’s manual. For anything beyond that, use a qualified technician.

Frequently asked questions
Do I connect red or black first when installing a battery?
Connect the red or positive cable first. Connect the black or negative cable second. When removing the battery, remove black or negative first.
Why does my car spark when I connect the negative terminal?
A small spark can happen when the vehicle’s computers, lights, or other circuits begin to draw power. A large spark, loud snap, smoke, heat, or melting indicates a problem. Disconnect the cable and check the polarity, accessories, and vehicle instructions.
Can I connect a car battery while the engine is running?
No. Turn the engine and ignition off before connecting or disconnecting a battery. Working on the battery with the engine running can cause sparks and may damage electrical components.
Do I need to disconnect the battery before changing it?
Yes. Disconnect the negative terminal first, then the positive terminal. Remove the battery only after both cables are disconnected and the hold-down is released.
Will disconnecting the battery erase everything?
It may erase clock settings, radio presets, learned settings, or diagnostic information. Some vehicles need electronic resets or battery registration after replacement. Check the owner’s manual before disconnecting the battery.
Can I use the car’s metal frame as the negative connection?
For a normal battery installation, connect the negative cable to the negative battery post unless the manufacturer gives another instruction. For a jump-start, the disabled vehicle’s unpainted engine or chassis ground is often recommended, but the owner’s manual takes priority.
Key takeaways
- Connect positive (+) first, then negative (–).
- Disconnect negative (–) first, then positive (+).
- Use the symbols on the battery and the owner’s manual to identify the terminals.
- Keep tools away from the positive terminal and grounded metal.
- For a jump-start, connect the negative cable to a proper ground on the disabled vehicle when the manufacturer permits it.
- Do not work on cracked, leaking, swollen, frozen, hybrid, or high-voltage batteries without proper training.
Conclusion
When reconnecting a standard car battery, attach the positive terminal first and the negative terminal second. This order reduces the chance that a tool will create a short between the positive terminal and the vehicle’s metal body.
When removing the battery, reverse the order. If the vehicle has a battery sensor, start-stop system, hybrid system, or high-voltage equipment, follow the factory service instructions or ask a qualified technician for help.
Sources for further verification
- U.S. Department of Labor: OSHA electrical safety
- National Highway Traffic Safety Administration: Vehicle safety
- Interstate Batteries: Battery installation and safety information
- The vehicle manufacturer’s owner’s manual and battery replacement instructions