

The safest way to clean a car seat is to follow its manual, remove crumbs first, wash only the parts the manufacturer allows, and use mild soap with cool or warm water. Never use bleach, harsh chemicals, abrasive tools, or unapproved products on the harness, buckle, foam, or seat shell.
In the United States, car seats must still work as designed after cleaning. That means the harness must lie flat, the buckle must latch and release, and the seat must remain installed correctly. The National Highway Traffic Safety Administration (NHTSA) advises parents and caregivers to follow the car seat maker’s instructions and check the seat after cleaning or adjustment.
Car seats differ. An infant carrier, convertible seat, booster seat, and all-in-one seat may each have different cleaning rules. The instructions for your exact model always take priority over general advice.
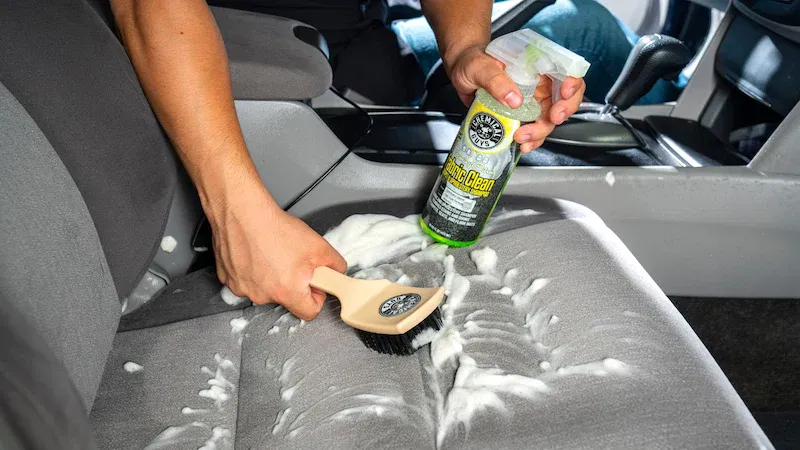
Check the Car Seat Manual Before Cleaning
Read the manual before removing the cover or washing any part. The manual tells you which parts can come off, which soap to use, whether the cover can go in a washing machine, and how to put the seat back together.


Look for the manual:
- In the storage pocket on the seat
- On the manufacturer’s website
- Through the manufacturer’s customer service team
- On a label attached to the car seat
Write down the model name, model number, and manufacture date before you start. This helps you find the right instructions. Two seats from the same brand may have different covers, buckles, and harness systems.
Know which parts you are cleaning
Most car seats have these parts:
- Seat cover: The padded fabric or vinyl layer that touches the child.
- Harness straps: The webbing that holds a child in place.
- Chest clip: The clip that joins the two shoulder straps.
- Buckle: The part that locks the harness.
- Seat shell: The hard plastic body of the seat.
- Crotch buckle pad: A small pad near the buckle, if included.
- Infant insert: A removable cushion used only when approved for that model.
- Energy-absorbing foam: Foam inside or attached to the shell.
These parts do not all tolerate the same cleaning method.
Take photos before removing anything
Take clear photos of the front, back, sides, harness path, buckle position, and padding. Photos can help you replace the cover and route the harness correctly.
Do not remove the harness from the seat unless the manual gives clear instructions. Some harness systems are not meant to be detached by the owner. If you cannot tell how a part fits back, contact the manufacturer before taking it apart.

Gather Safe Cleaning Supplies
You need only a few basic supplies for most car seats:
- A vacuum with a crevice tool
- A soft cloth or soft toothbrush
- Mild soap approved by the manual
- Clean water
- Two bowls or buckets
- A soft towel
- A drying rack or clean, shaded area
- A small bag for crumbs and debris
Use a small amount of mild soap. More soap does not mean better cleaning. Excess soap can leave a film that attracts dirt or irritates a child’s skin.
Avoid these products unless the manufacturer specifically approves them:


- Bleach
- Disinfecting wipes
- Ammonia
- Alcohol-based cleaners
- Solvents
- Degreasers
- Strong laundry detergent
- Fabric softener
- Essential oils
- Baking soda left in the fabric
- Abrasive powders
- Stiff brushes
- Steam cleaners
- Pressure washers
Do not spray cleaner directly onto the seat. Spray or apply it to a cloth when the manual allows it. This helps keep liquid away from the buckle, harness adjuster, foam, and other hidden parts.
What about disinfecting?
Routine cleaning is usually enough for food, dust, and everyday messes. If the seat has been exposed to vomit, blood, feces, or another body fluid, check the manual or contact the manufacturer before using a disinfectant.
A disinfectant that kills germs may also weaken webbing, damage plastic, or affect the buckle. The cleaning product must be both suitable for the contamination and safe for the seat.

How to Clean a Car Seat Step by Step
Use this order: remove the seat if possible, clear debris, clean the cover, clean the shell, wash the harness surface, clean the buckle, and let every part dry fully before reinstalling it.
1. Remove the car seat from the vehicle
Park in a clean, dry area. Remove the seat according to the installation method. If you cannot remove it, you can clean it in place, but protect the vehicle upholstery from water and soap.
Keep all small parts together. A tray or labeled bag can hold the chest clip, insert, pads, and cover fasteners.
2. Remove loose crumbs and debris
Shake loose crumbs into a trash bag. Then vacuum the cover, seams, buckle area, and seat shell.
Use the crevice tool gently. Do not force it into the buckle or pull on the harness. A soft toothbrush can lift dried food from seams, but stop if the fabric begins to fray.
This step matters because rubbing crumbs into wet fabric can turn a simple cleanup into a stain.
3. Remove the cover only as directed
Follow the manual’s removal steps. Do not cut elastic, force snaps, or pull hard on sewn sections.
Some covers are machine washable. Others must be hand-washed. If the manual permits machine washing, use the listed water temperature and cycle. Place small removable pads in a mesh laundry bag if the instructions allow it.
Do not assume that a cover labeled “machine washable” can go in a hot dryer. Heat may shrink the cover or change how it fits over the seat.
4. Wash the cover
For a removable fabric cover:
- Pretreat visible spots with mild soap and water.
- Wash it using the method in the manual.
- Rinse well so no soap remains.
- Air-dry it fully unless the manual allows another method.
- Do not put it back on while damp.


For a nonremovable cover, use a damp cloth with mild soap. Work in small areas. Do not soak the padding or flood the seat.
For vomit or milk, remove solid material first. Blot the area rather than rubbing it deeper into the padding. Clean several times with a small amount of soap and water, then rinse the cloth and blot again.
5. Clean the plastic shell
Wipe the hard shell with a damp cloth and mild soap. Use a soft brush around seams and molded grooves.
Keep water away from:
- Harness adjusters
- Buckle openings
- Belt paths
- Metal parts
- LATCH connectors
- Labels and warning stickers
If dirt remains, repeat the gentle cleaning process. Do not scrape the shell with a knife or metal tool.
6. Clean the harness straps
Most harness manuals allow surface cleaning with a damp cloth and mild soap. Keep the straps attached unless the manual says that you may remove them.
To clean the straps:
- Extend the harness enough to reach the dirty area.
- Wipe the webbing with a damp cloth.
- Use a small amount of mild soap if the manual permits it.
- Wipe again with a clean, damp cloth.
- Let the straps air-dry completely.
Do not scrub hard, twist, iron, bleach, soak, or machine-wash the harness. Do not use stain removers or disinfectants unless the manufacturer approves them.
Replace the seat or contact the manufacturer if the harness has:
- Fraying
- Cuts
- Melted spots
- Stiff or brittle sections
- Torn stitching
- Heavy staining that cannot be cleaned
- A strong chemical smell after cleaning
A dirty harness can be cleaned. A damaged harness needs a safety decision, not more scrubbing.
7. Clean the buckle carefully
Crumbs often collect inside the buckle. Hold the buckle upside down and gently shake it. You can use a soft brush around the opening.
If the manual allows water cleaning, rinse the buckle with clean water as directed. Do not soak it in soap, oil it, spray it with lubricant, or force tools into the slots.
After cleaning, press the buckle tongues into the buckle. Each side should click into place. Press the release button. The tongues should come out without sticking.
Replace the seat or seek manufacturer guidance if the buckle:


- Does not click
- Releases by itself
- Needs unusual force
- Stays stuck
- Has corrosion
- Contains debris you cannot remove
8. Clean pads, inserts, and accessories
Clean infant inserts, head supports, harness pads, and crotch pads only if the manual allows you to use and wash them.
Do not add a cushion, liner, head support, seat protector, or strap cover that did not come with the seat unless the car seat manufacturer approves it. Extra padding can change how the harness fits or how the seat performs in a crash.
The same rule applies to aftermarket covers. A product may fit physically but still be unsuitable for that car seat.
9. Dry every part completely
Air-dry the cover, pads, harness, and shell in a clean place out of direct heat. Avoid hair dryers, heaters, radiators, and hot car interiors.
Do not reinstall a damp cover. Moisture trapped under padding can cause odor and mildew. It can also make it harder to see whether the cover fits correctly.
Drying time depends on the fabric, weather, and airflow. Check the seams and thick padding, not just the surface.
10. Reassemble and reinstall the seat
Use your photos and manual to put the seat back together. Confirm that:
- The cover fits smoothly
- The harness passes through the correct slots
- The buckle is in the correct position
- Pads are in their original locations
- No fabric is trapped under the harness
- The harness is not twisted
- The seat is installed at the correct angle
- The seat does not move more than allowed by the manual
- The child’s harness fits snugly
For installation help in the United States, use a certified Child Passenger Safety Technician through the NHTSA-supported inspection network. A clean seat is not useful if it is installed or adjusted incorrectly.

How to Clean Different Types of Car Seats
The basic method is similar, but the cleaning job changes by seat type.
Infant car seat
Infant seats often have a removable carrier cover and a separate base. Clean the carrier and base as two different parts.
Keep water and soap away from the base’s belt path, adjustment parts, and indicators. Check that the carrier locks into the base after cleaning. Lift gently on the carrier to confirm that it is attached as the manual describes.
Convertible car seat
Convertible seats often collect food near the lower buckle and deep between the child’s legs. Vacuum these areas before wiping them.
The cover may be more difficult to remove than an infant carrier cover. Take photos and follow the manual closely. Do not pull the harness out through the wrong slot.


Booster seat
A high-back or backless booster may have less padding, but the belt path remains important. Clean the fabric and plastic without covering the belt guides with residue.
Never use a booster as a substitute for a harnessed seat before the child meets the booster’s height, weight, age, and maturity requirements. Cleaning does not change those limits.
All-in-one car seat
All-in-one seats have more parts and more possible harness paths. Keep the manual nearby during reassembly.
Check every mode listed for your model. A seat that works as a rear-facing seat may use a different harness path than it uses in forward-facing mode.
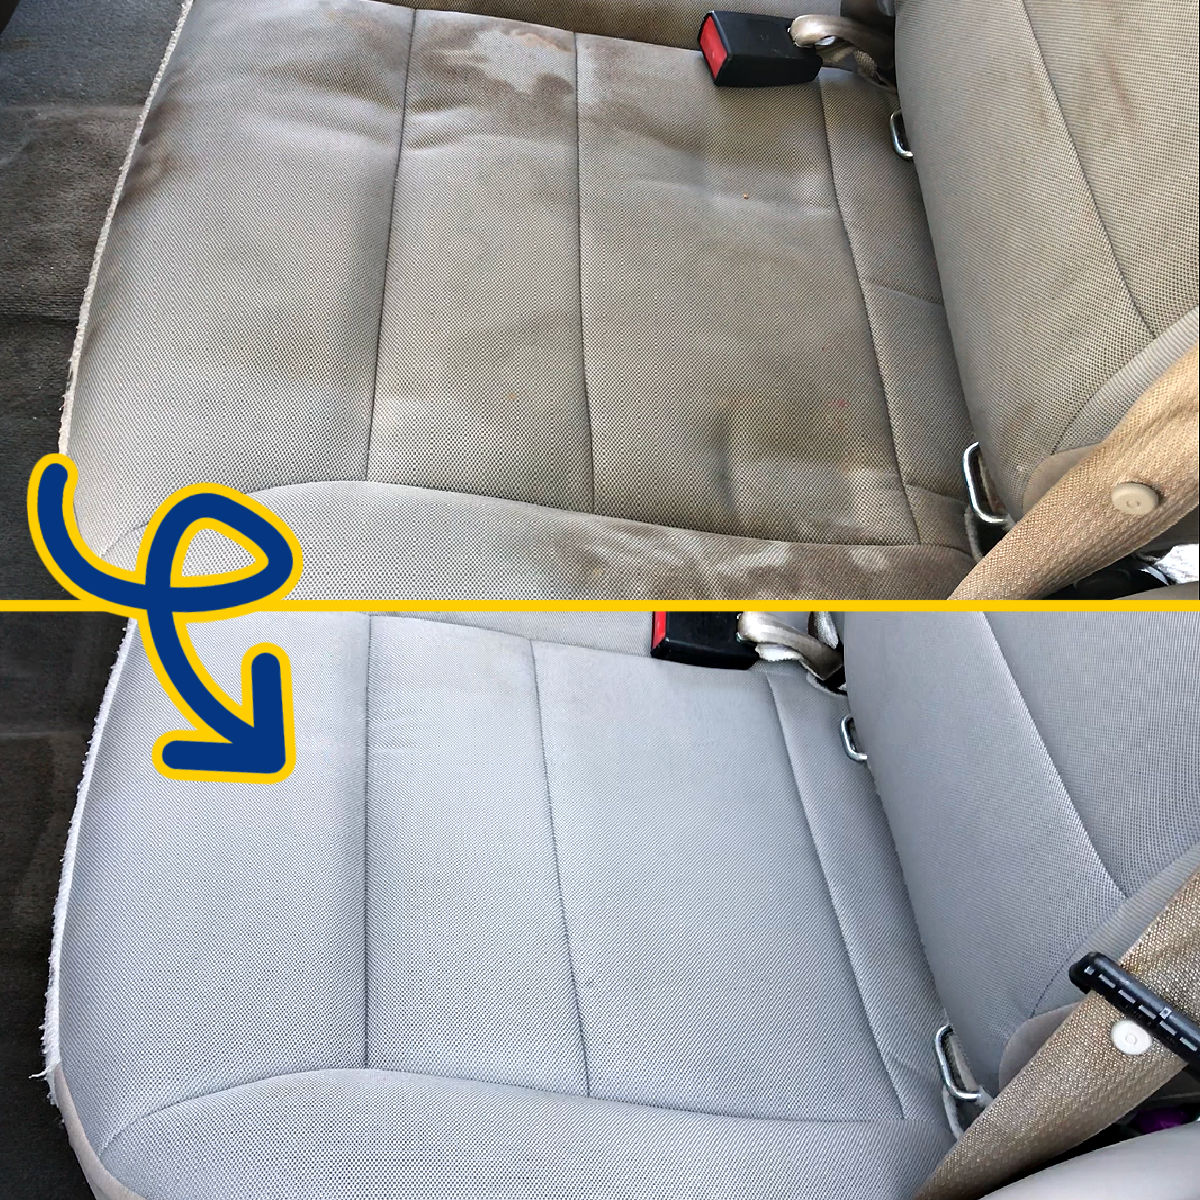
How to Remove Common Car Seat Stains and Odors
Treat the cause of the mess first. A surface wipe may not remove milk, vomit, or urine trapped in padding.
Food and crumbs
Vacuum first. Then wipe the affected area with mild soap and water. Rinse with a clean, damp cloth and air-dry.
Milk
Blot fresh milk quickly. Use mild soap and water on the cover if allowed. Rinse the cloth often so you do not spread the milk.
If the odor remains after the cover is clean and dry, check the padding and seams. Do not pour large amounts of water into the seat.
Vomit
Wear disposable gloves if you prefer. Remove solid material, blot the area, and clean the cover as the manual allows.
If vomit reached the harness, buckle, foam, or internal parts, contact the manufacturer. A deep contamination may not be safely removable with household products.
Urine
Blot the area first. Clean the removable cover according to the manual. If liquid reached nonremovable foam or the internal seat, ask the manufacturer whether the seat can be safely cleaned.
Do not use bleach or strong odor removers to cover the smell.
Mold or mildew
Do not install a visibly moldy seat for a child. Clean only as the manufacturer directs. If mold has entered thick padding or returns after cleaning, contact the manufacturer about replacement.
A musty smell can also come from damp fabric trapped under the cover. Drying the seat fully may solve that problem, but do not assume every odor is harmless.

Inspect the Car Seat After Cleaning
Cleaning is finished only when the seat passes a safety check. Look at the whole seat in good light.


Check for:
- Cracks in the plastic shell
- Loose or missing parts
- Frayed harness webbing
- Torn stitching
- Damaged padding
- A buckle that does not work smoothly
- Broken chest-clip parts
- Missing warning labels
- A cover that no longer fits
- Harness straps that twist or cannot lie flat
- Rust, corrosion, or damaged connectors
Also check the seat’s history. Replace a car seat after a moderate or severe crash unless the manufacturer specifically states that it may be reused under defined conditions. Cleaning cannot reverse crash forces or hidden damage.
Check the expiration date printed on the seat or listed by the manufacturer. Car seats are not meant to be used forever. The usable period varies by model, so use the exact manufacturer’s information.
If the seat is recalled, stop using it until you follow the recall remedy. In the United States, check the NHTSA recall database and the manufacturer’s safety notices.
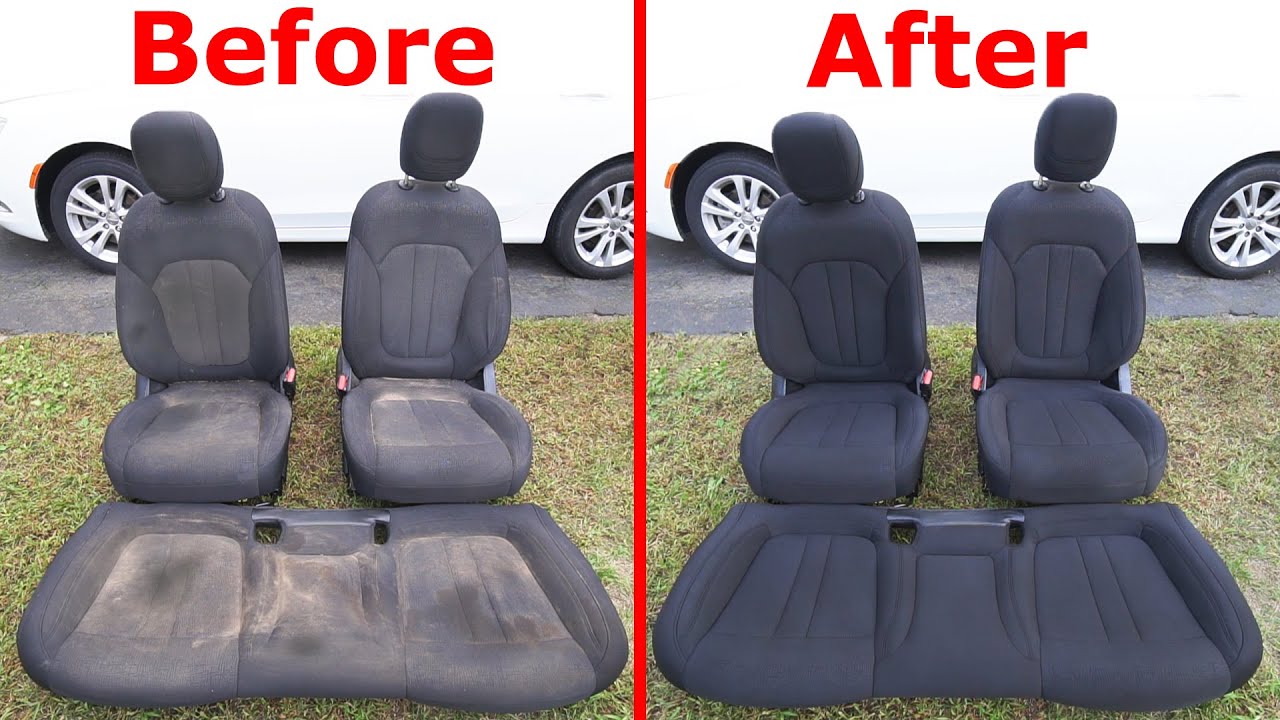
Common Car Seat Cleaning Mistakes
Avoid these shortcuts:
Using bleach on the harness
Bleach may damage fibers or change the strength of the webbing. Use only the method approved for your model.
Putting the harness in a washing machine
Many manufacturers prohibit machine washing or soaking harness straps. The movement, heat, and detergent may harm the webbing.
Soaking the buckle
Water and soap can remain inside the buckle. If it does not work correctly afterward, the seat may need replacement.
Using a pressure washer or steam cleaner
High pressure and heat can force water into hidden areas and damage materials. They also make it hard to control the amount of moisture.
Scrubbing away warning labels
Labels give important limits and installation information. If a label is damaged or unreadable, contact the manufacturer.
Using a universal seat cover
A cover can change the harness fit, belt path, or way the child sits. Use the original cover or one approved for the exact model.
Reinstalling the seat while damp
Damp padding can trap odor and mildew. It can also hide damage and make the cover fit poorly.
Guessing during reassembly
If the harness route or buckle position is unclear, stop. Use the manual or ask the manufacturer for help. Guessing can create a serious installation problem.
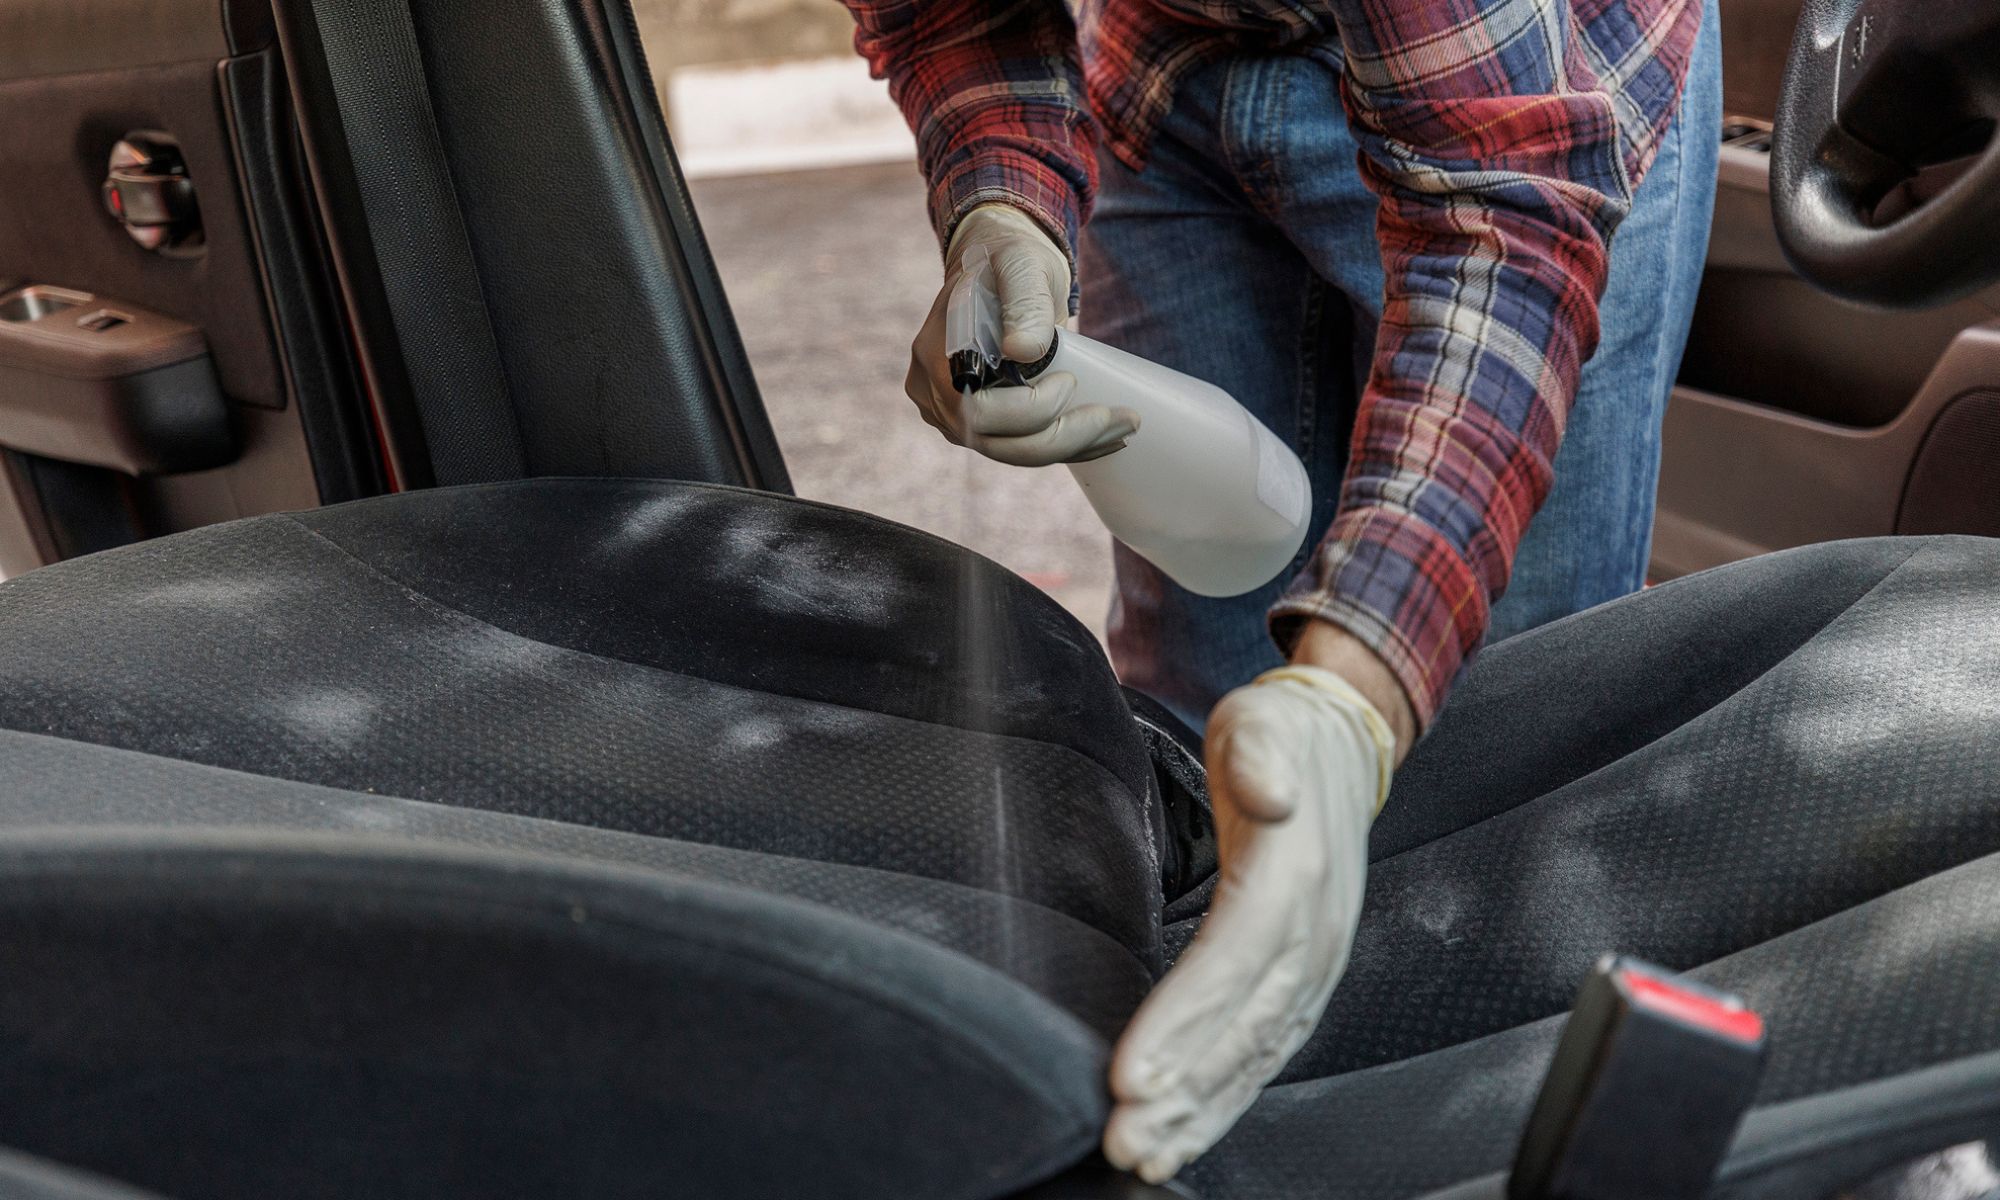
How Often Should You Clean a Car Seat?
Clean visible messes as soon as practical. Vacuum the seat every few weeks if your child eats or drinks in it. Do a closer inspection when you wash the cover or after a spill reaches the harness or buckle.
A simple routine works well:
- After a small spill: Blot and wipe the area.
- Every few weeks: Vacuum crumbs and inspect the buckle.
- When the cover is visibly dirty: Remove and wash it as directed.
- After a large spill: Inspect the harness, buckle, padding, and shell.
- After a crash or chemical exposure: Contact the manufacturer before reuse.
- Before handing the seat to another child: Check its history, expiration, recall status, and condition.
The right schedule depends on the child, the seat, and how often food or drinks are used in the vehicle. Cleanliness matters, but correct fit and safe installation matter just as much.

When Should You Replace a Car Seat Instead of Cleaning It?
Replace the seat when it has crash damage, serious structural damage, a failed buckle, damaged harness webbing, missing parts, heavy mold, or an unknown history.
Contact the manufacturer before replacing a seat for a difficult stain. The manufacturer may provide a cleaning method or tell you whether a replacement cover or part is available.
Do not use a secondhand car seat if you cannot verify:
- Its age and expiration date
- Its crash history
- Its recall status
- That all parts are present
- That the harness and buckle work correctly
- That the seat has not been exposed to harmful chemicals
When replacement is necessary, follow local disposal guidance. Remove the cover and mark the seat as unsafe if your local waste program or retailer asks for that step.

Frequently Asked Questions
Can I use disinfecting wipes on a car seat?
Usually, do not use them on the harness, buckle, or foam unless the manufacturer approves the product. Disinfecting wipes may contain chemicals that can affect webbing, plastic, or buckle parts. Use the cleaning method in the manual.
Can I wash car seat straps?
Only as the manual allows. Many harness straps can be wiped with mild soap and water, but they should not be bleached, soaked, scrubbed hard, ironed, or machine-washed.
Can I put a car seat cover in the dryer?
Only if the manual says you can. Air-drying is the safer default because heat may shrink the cover or change its fit.
How do I clean a car seat without removing the cover?
Vacuum loose debris, then spot-clean with a damp cloth and mild soap approved by the manufacturer. Avoid soaking the padding, harness, buckle, or shell.
How do I get vomit smell out of a car seat?
Clean the removable cover as directed, rinse away soap, and let it dry fully. If the smell remains in the harness, buckle, foam, or internal parts, contact the manufacturer before using the seat again.
Can I use a car seat after a crash if it looks clean?
Clean appearance does not show whether a seat has hidden crash damage. Follow the manufacturer’s crash-replacement guidance and NHTSA recommendations. When in doubt, contact the manufacturer or a Child Passenger Safety Technician.
Conclusion
To clean a car seat safely, start with the exact manual for your model. Vacuum loose debris, wash only approved removable parts, wipe the shell and harness gently, keep soap and water out of the buckle, and air-dry everything completely.
Before the next ride, inspect the seat, confirm that the harness is correctly routed and snug, and reinstall the seat according to the instructions. If the buckle, harness, shell, or padding is damaged, stop cleaning and ask the manufacturer whether the seat should be replaced.