

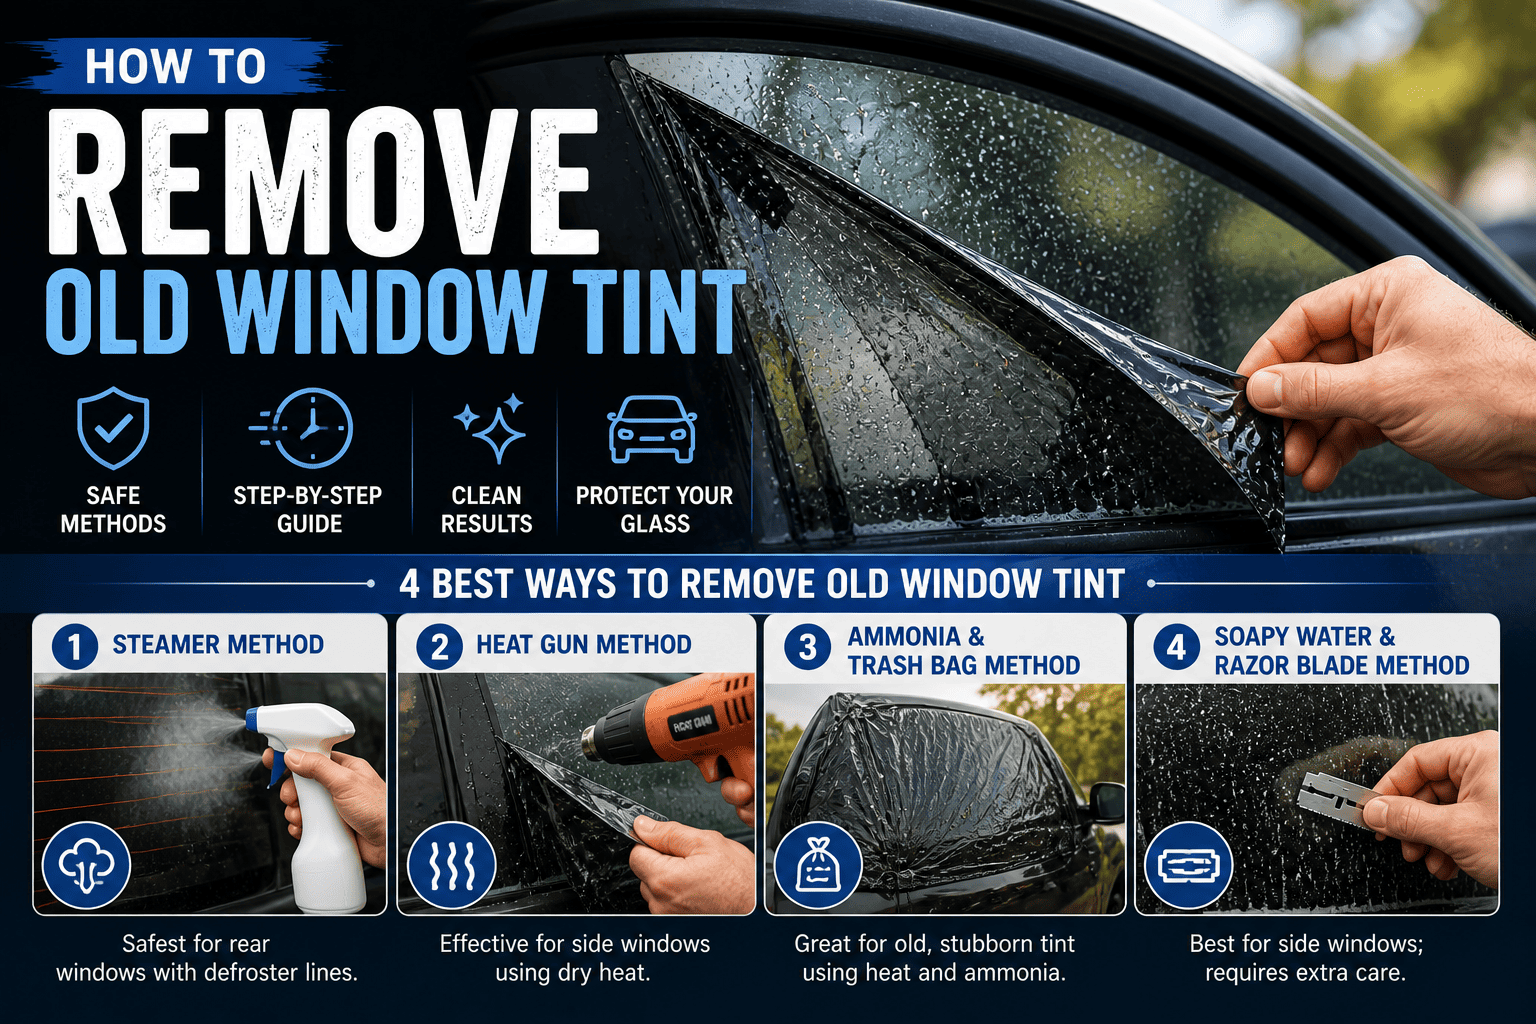
Heat the film, peel slowly, then remove residue with a solvent and clean the glass.
I’ve removed tint from dozens of cars and taught techs in a shop, so I know what works and what can go wrong when you want to learn how to remove window tint from car windows. This guide walks you through safe, step-by-step methods, tools, time estimates, and common pitfalls so you can finish the job cleanly and without damage.
Why remove window tint from car windows
People remove tint for many reasons. You might need new film, legal compliance, or clouded adhesive removal. Old tint can bubble, turn purple, or block signals. Knowing how to remove window tint from car windows helps you save money and protect your glass and seals.
Common reasons to remove tint:
- Legal limits or failed inspection.
- Heat-damaged or peeling film.
- Wanting a clearer view or better signal reception.
I’ve seen cars with badly bubbled tint that looked worse than no tint. Removing it properly was faster and cheaper than replacing damaged glass. This section sets the stage for safe removal.

Is DIY removal right for you?
Not every tint job is a DIY job. Factors that affect whether to DIY include tint type, glass condition, and your comfort with tools. Factory or ceramic tints can be stubborn. Older dyed films usually peel more easily.
Evaluate before you start:
- Check the tint edge for lifting or bubbling.
- Inspect glass for chips or cracks near the film edge.
- Decide if you prefer a quick DIY or a pro who guarantees no scratches.
From my experience, most aftermarket dyed films are doable at home. Metallic or ceramic films often need more time or pro tools. If you value a perfect finish, plan on professional help.
Tools and materials you’ll need
Prepare these basic tools. Having the right supplies speeds the job and protects the glass.
- Hair dryer or heat gun (low setting) for loosening adhesive.
- Razor blade or single-edge scraper for glass-only scraping.
- Ammonia spray or commercial adhesive remover for stubborn residue.
- Microfiber cloths and glass cleaner for final polishing.
- Plastic putty knife or plastic razor to lift film edges safely.
- Gloves and eye protection to stay safe.
Optional but helpful:
- Ammonia bag (sealed plastic bag with ammonia) for rear windows.
- Steam cleaner for adhesives without chemicals.
- Masking tape to hold peeled sections during removal.
I prefer a simple heat-and-peel kit and a glass razor. That combo saved me hours on full-door jobs with minimal risk.
Step-by-step: Heat and peel method (best for most tints)
This is the go-to method for how to remove window tint from car windows. It’s safe, fast, and works for many aftermarket films.
Steps:
- Clean the window near the edge so you can see the film border.
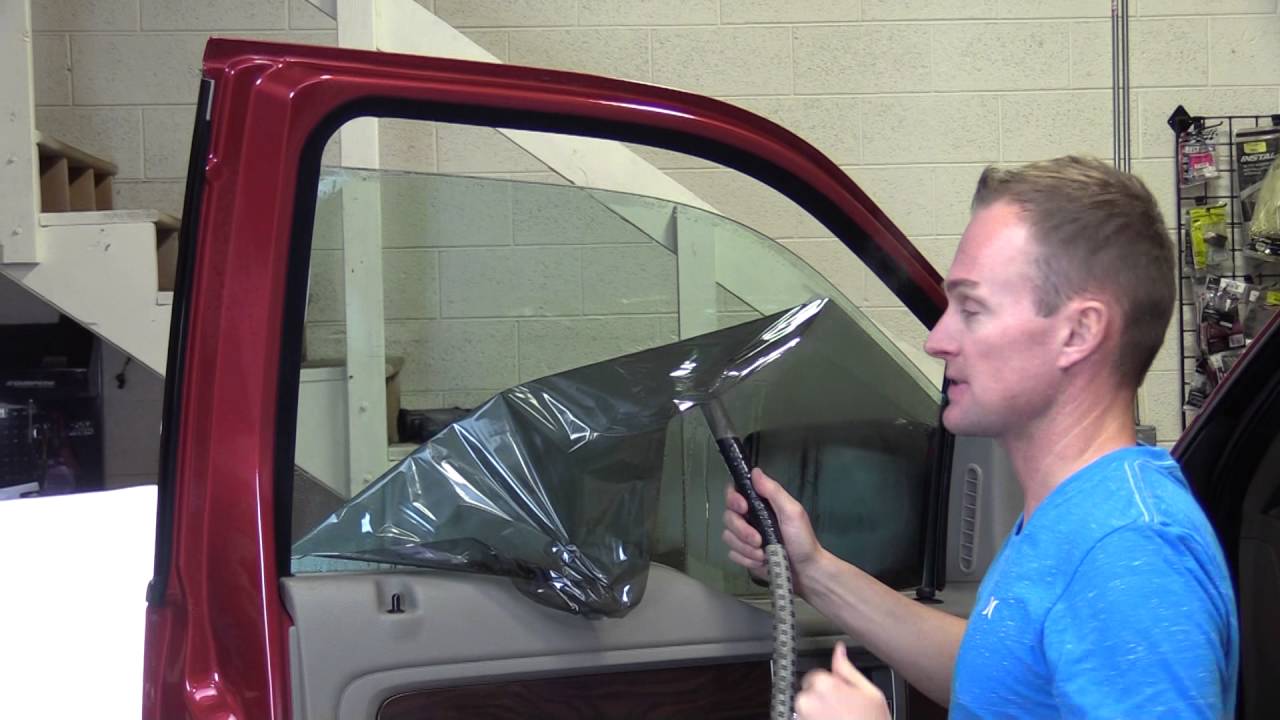
- Warm the film with a hair dryer or heat gun on low. Move slowly to avoid warping seals.
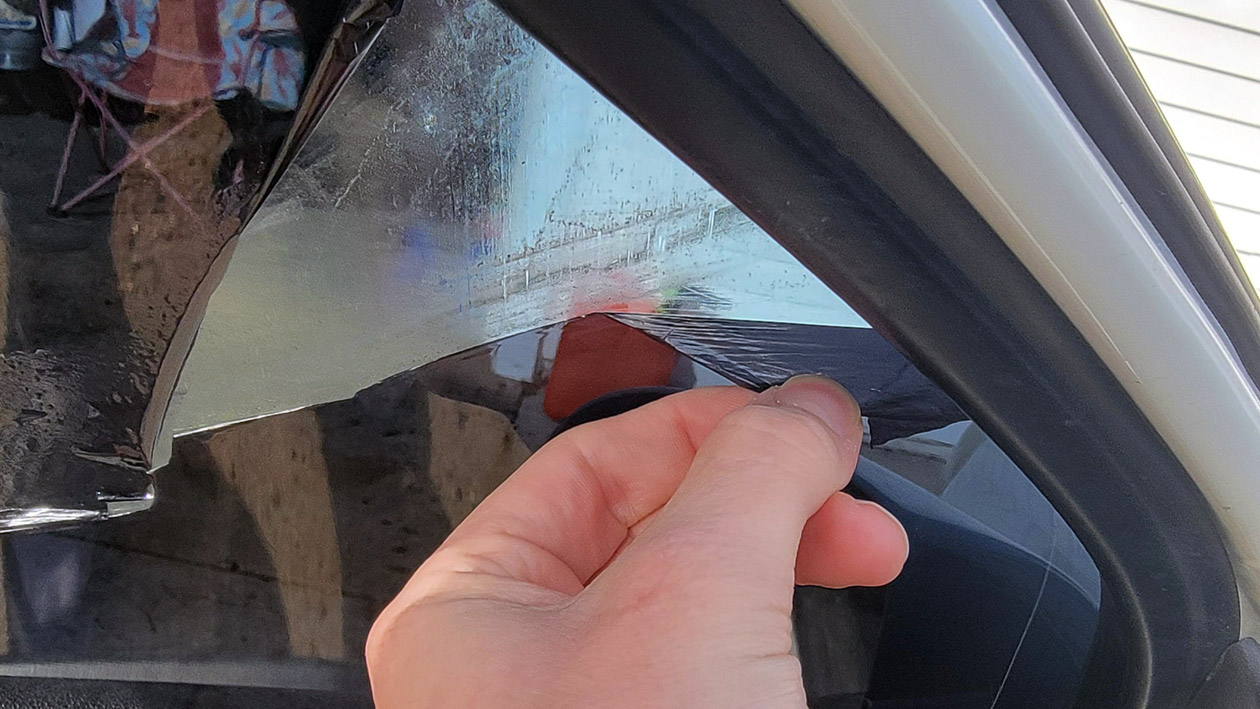
- Use a plastic putty knife to lift a corner. Work gently to avoid scratching.
- Peel the film back at a low angle, applying steady heat ahead of the peel.
- If film tears, reheat and use small lifts until the whole piece comes off.
Timing and tips:
- Side windows often take 10–20 minutes each.
- Rear glass with defroster lines needs extra care around wires.
- Keep the peel angle low to avoid stretching the film and leaving thin residue.
I once removed a whole driver door in under 15 minutes using this method. The trick is steady heat and patient peeling.

Alternative method: Ammonia bag for rear windows
The ammonia bag method uses fumes to loosen adhesive. It’s useful when you can’t access both sides of the glass.
How it works:
- Fill a heavy-duty plastic bag with a small cloth soaked in ammonia.
- Seal the bag and tape it to the inside of the rear window where the film covers.
- Leave for several hours or overnight, letting fumes soften the adhesive.
- Peel the film from the outside using the heat-and-peel method.
Safety notes:
- Work in a well-ventilated area.
- Wear gloves and eye protection.
- Do not use ammonia near pets or plants.
I used this on hatchbacks where removing the interior trim was time-consuming. It saved hours but required care with fumes.

Removing stubborn adhesive and residue
After the film is gone, adhesive often remains. Clean it fully to avoid cloudy glass or streaks.
Options for adhesive removal:
- Use a dedicated adhesive remover following the label.
- Spray an ammonia-based glass cleaner and let it sit, then scrape gently with a razor at a flat angle.
- Rubbing alcohol or rubbing compound works for light residue.
Step-by-step:
- Apply solvent in a small area.
- Let it soak 1–3 minutes.
- Scrape gently with a clean razor or plastic scraper.
- Wipe with a microfiber and repeat until clean.
Avoid soaking trim or rubber seals too long with solvents. I once damaged door trim by leaving solvent against it. Use a damp rag to protect surrounding parts.
Using a razor blade safely
A razor can make residue removal faster. But it can also scratch glass. Use care.
Safety tips:
- Use a fresh single-edge razor blade.
- Hold blade at a 10–20 degree angle to the glass.
- Pull the blade toward the edge you already cleaned to reduce lift.
- Keep the blade flat over the glass surface; do not dig.
Practice on an old window or a small corner first. I find a razor and alcohol are the fastest way to remove thin adhesive films without chemicals.
Troubleshooting common problems
You will hit a few snags. Here’s how to fix them.
Problem: Film tears into tiny bits.
- Solution: Reheat the area, lift from a new edge, and peel slowly in small sections.
Problem: Adhesive won’t dissolve.
- Solution: Try a stronger adhesive remover or a steam cleaner. Repeat small applications.
Problem: Scratches appear on glass.
- Solution: Stop scraping. Clean the glass and assess. Light scratches can sometimes be polished out professionally.
Problem: Heater wires on rear window are damaged.
- Solution: Avoid scraping near wires. If wires break, a repair kit can fix the circuit, or visit a professional.
My worst mistake was rushing and breaking a defogger line. That taught me to go slowly near embedded wires.
Time estimates and cost
Estimate time before you start so you can plan.
Typical times:
- Side window (one): 15–30 minutes.
- Full set of four: 2–4 hours depending on difficulty.
- Rear window with defroster: 30–90 minutes.
Typical costs:
- DIY basic kit: $20–50.
- Pro removal: $75–200 depending on car and complexity.
If you value your time, professional removal may be cost-effective for difficult films.
Safety and legal considerations
Removing tint can affect vehicle safety and legality. Know the rules.
Key points:
- Check local laws about visible tint levels before installing new film.
- Use eye and hand protection when working with chemicals.
- Avoid damaging seals and trim; they can be costly to replace.
If your windows are factory-tinted, removal may be more complex and could reduce resale value. Always weigh the benefits and risks.
Personal tips and lessons learned
From my shop work and DIY jobs, a few simple rules make the job smoother.
What worked best:
- Warm slowly. Quick intense heat can warp seals.
- Use fresh blades for scraping; dull blades scratch.
- Protect interior plastics from solvents with tape.
- Work in a shaded area to keep solvents from evaporating too fast.
Mistakes to avoid:
- Don’t rush peeling; slow is safe.
- Don’t use metal tools on the glass near the defroster grid.
- Don’t mix chemicals. That can create toxic fumes.
These simple habits cut my rework time by half and kept customers happy.
PAA-style questions (quick answers)
Q: How long does it take to remove window tint from car windows?
A: Most side windows take 15–30 minutes each; a full car can take 2–4 hours. Complexity and tint type change the time.
Q: Can I remove factory tint?
A: Factory-tinted glass is usually integral to the glass and cannot be removed without replacing the window. Confirm before you start.
Q: Will removing tint damage my defroster lines?
A: It can if you scrape roughly. Use heat and gentle peeling near lines and avoid metal tools across them.
Frequently Asked Questions of how to remove window tint from car windows
What is the safest method to remove window tint?
The safest method is heat-and-peel using a hair dryer or low-heat gun and plastic tools. This method reduces the risk of scratching glass or damaging seals.
Can I use a razor blade to remove adhesive?
Yes, a razor blade works well if used flat at a low angle and only on glass. Take care near defroster wires and trim to avoid damage.
Is it legal to remove tint myself?
Yes, removing tint yourself is legal in general, but check local rules before reinstalling new tint. Some areas have strict visibility laws to follow.
How do I remove tint from the rear window with defroster lines?
Use heat and take extra care around wires or use an ammonia bag to soften the adhesive. Peel slowly and avoid scraping across the wires.
What if the adhesive won’t come off?
Try a commercial adhesive remover, rubbing alcohol, or a steam cleaner. Repeat applications and gentle scraping will usually clear remaining residue.
Can I replace tint right away after removal?
You can, but ensure the glass and adhesive are fully clean and dry before applying new film. Any leftover residue will ruin the new tint adhesion.
Conclusion
Removing tint is a manageable project when you know the right steps. Use steady heat, patient peeling, and careful adhesive removal to protect your glass and trim. If the job feels too risky or the tint is factory-grade, seeking professional help is the smart move. Try one window first to build confidence, and then tackle the rest. If this guide helped, leave a comment with your experience or subscribe for more hands-on car care tips.