

Replacing coolant is a task many car owners can do at home. The basic process is to let the engine cool, drain the old coolant, refill the system with the correct coolant, remove trapped air, and check the level again.
In the United States, coolant types, disposal rules, and service steps can vary by vehicle and state. Always check your owner’s manual before you begin. The manual lists the correct coolant specification, fluid capacity, refill method, and whether the car needs a special bleeding procedure.

What You Need Before Replacing Coolant
You need the correct coolant, basic tools, and a safe place to work. Do not start this job until the engine is fully cold.
Tools and supplies
Gather these items:


- The coolant listed in your owner’s manual
- Premixed 50/50 coolant or concentrated coolant and distilled water
- A drain pan that can hold the full system capacity
- Funnel, preferably a spill-proof funnel
- Socket or wrench set
- Pliers for hose clamps
- Screwdriver, if needed
- Safety glasses
- Chemical-resistant gloves
- Jack and jack stands, if the drain plug is hard to reach
- Shop towels
- A container for used coolant
- Fresh water for cleaning small spills
Use jack stands on a firm, level surface. Never rely on a jack alone while working under a car.
Choose the correct coolant
Coolant is not selected by color alone. Blue, green, orange, pink, and yellow coolants can have different chemical formulas. Color is not a reliable way to confirm compatibility.
Your manual may specify a coolant type such as:
- Inorganic additive technology, or IAT
- Organic acid technology, or OAT
- Hybrid organic acid technology, or HOAT
- A manufacturer-specific formula
Use the exact specification listed by the vehicle maker. If you cannot confirm compatibility, do not mix coolant types just because the colors look similar.
Premixed coolant versus concentrate
Premixed coolant already contains water, often at a 50/50 ratio. It is ready to pour.
Concentrated coolant must be mixed with distilled water. A 50/50 mix is common, but your owner’s manual takes priority. Do not use only concentrate. Thick coolant does not transfer heat as well and may not protect the system properly.
Do not use tap water unless the manual allows it for an emergency. Minerals in tap water can leave deposits inside the cooling system.
How to Drain the Old Coolant
Drain the old coolant only after the engine and radiator are cool. A hot cooling system can release scalding coolant and steam when the cap is removed.
- Park on a level surface.
- Set the parking brake.
- Turn off the engine.
- Let the vehicle cool for several hours.
- Open the hood.
- Find the radiator drain valve, also called a petcock, if the car has one.
- Place the drain pan below the drain point.
- Remove the radiator cap slowly.
- Open the drain valve or remove the lower radiator hose.
- Let the coolant drain fully.


The radiator cap may be on the radiator, the coolant expansion tank, or a remote pressurized reservoir. Check the manual if you do not see a traditional radiator cap.
Some vehicles have more than one drain point. The engine block, radiator, and coolant reservoir may hold separate amounts of fluid. Your manual will show whether the engine block drain must be opened.
If the drain valve will not open
Do not force a plastic drain valve with excessive force. It may break and cause a leak.
If the valve is stuck:
- Try gently turning it with the correct tool.
- Check whether a lower radiator hose can be removed instead.
- Replace a damaged drain valve before refilling the system.
- Ask a repair shop for help if access is poor.
Keep the drain pan under the car during this work. Coolant can spread quickly across a garage floor.

Should You Flush the Cooling System?
A simple drain and refill may be enough when the coolant is clean and the vehicle has received regular service. A flush may be needed when the coolant is rusty, oily, contaminated, or the wrong type.
A full flush is also worth considering when:
- The old coolant contains debris or sludge.
- The engine overheated.
- The system received the wrong coolant.
- A radiator, water pump, thermostat, or hose was replaced.
- The coolant has an unusual color or oily film.
- The service manual calls for a specific flush procedure.
How to flush with water
Use the method in your owner’s manual. A general water flush works as follows:
- Drain the old coolant.
- Close the drain valve or reinstall the lower hose.
- Fill the system with distilled water.
- Start the engine and allow it to reach operating temperature.
- Turn the cabin heater to its hottest setting.
- Let the engine cool fully.
- Drain the water.
- Repeat if the drained water is still dirty.
- Refill with the correct coolant mixture.
Some vehicles require a chemical flush or special equipment. Do not add a cooling-system cleaner unless the product and the vehicle maker’s instructions support its use.
A water flush can leave water inside the engine. This changes the final coolant ratio. If you flush the system, use the vehicle’s total capacity and the service instructions to create the correct final mixture.

How to Refill the Cooling System
Refill the system slowly. Fast filling can trap air, and trapped air can cause poor cabin heat, overheating, or false coolant-level readings.
- Confirm that the drain valve is closed.
- Confirm that all removed hoses are secure.
- Set the cabin heater to the hottest setting if the manual instructs you to do so.
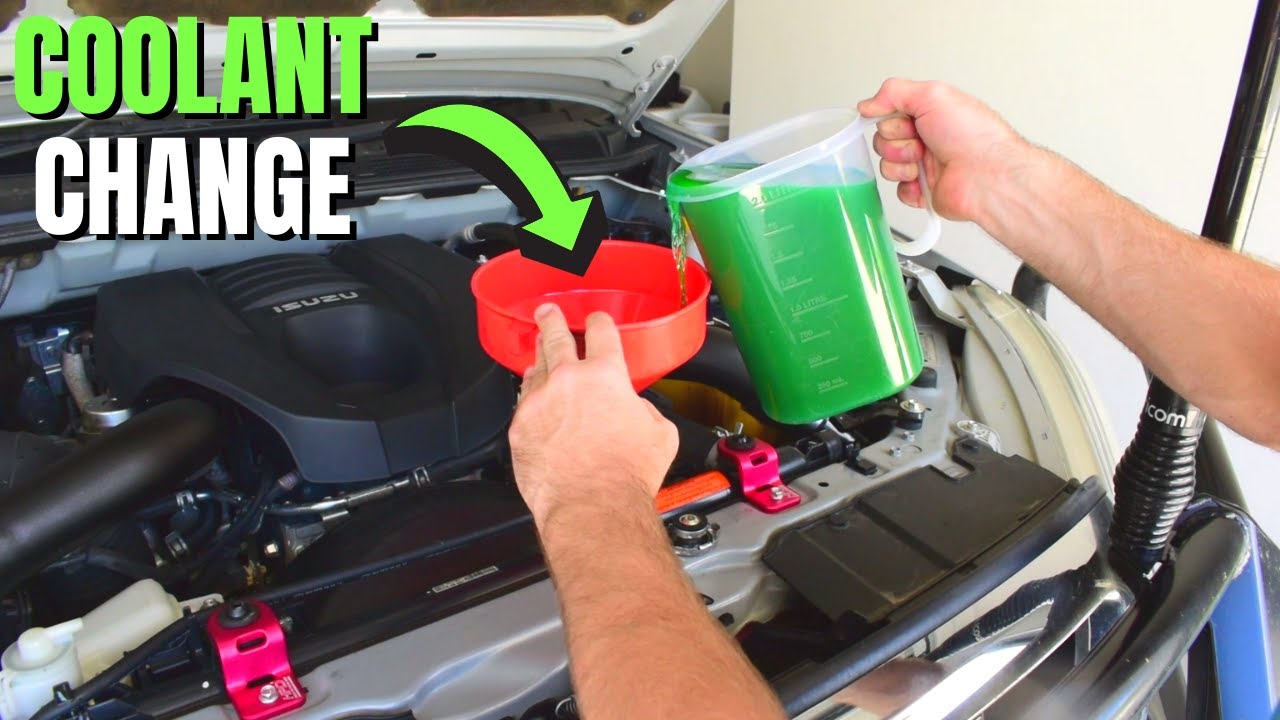
- Place a funnel in the radiator neck or expansion tank.
- Add the correct coolant slowly.
- Stop when the fluid reaches the specified level.
- Open any factory air-bleed screws if the manual lists them.
- Watch for air bubbles.
- Close the bleed screws when coolant flows without air, using the specified procedure.
- Install the radiator cap or reservoir cap.
Some vehicles use a pressurized expansion tank instead of a radiator cap. In that design, fill the tank to the marked cold-fill line. Do not fill above the maximum mark.


How to remove trapped air
The air-bleeding process differs by vehicle. Some systems bleed through a screw. Others need a special funnel, a scan tool, a vacuum filling tool, or a set engine speed.
If the manual gives no special procedure, a basic process may include:
- Start the cold engine with the cap installed or removed only if the manual allows it.
- Let the engine warm at idle.
- Monitor the temperature gauge.
- Watch for bubbles or a falling coolant level.
- Add coolant only when the level drops and the procedure permits it.
- Turn the engine off if the gauge rises above its normal range.
- Let the engine cool before checking the level again.
Do not remove a hot cap to release air. The system can be under pressure even when the engine has stopped.
Vehicles with special cooling systems
Some vehicles need extra care:
- Hybrid vehicles: The gasoline engine and inverter may have separate cooling circuits.
- Electric vehicles: Battery, motor, and power electronics cooling loops may require manufacturer procedures.
- Diesel vehicles: The system may have additional coolers or special coolant requirements.
- Turbocharged cars: The turbocharger may connect to the cooling system.
- Vehicles with rear heaters: Long coolant lines can make air removal more difficult.
If the vehicle has multiple coolant reservoirs, identify each one before draining or filling. Do not assume every reservoir uses the same fluid.

How to Check for Leaks and Confirm the Job Worked
A successful coolant change leaves the system full, leak-free, and at a stable operating temperature.
After filling the system:
- Inspect the radiator drain valve.
- Check the lower and upper radiator hoses.
- Look around the thermostat housing.
- Check the water pump area.
- Inspect the reservoir and cap.
- Start the engine.
- Watch the temperature gauge.
- Check that the cabin heater produces warm air.
- Look for dripping coolant.
- Turn the engine off and let it cool completely.
- Recheck the coolant level at the cold mark.
Take a short drive only after the temperature remains normal at idle. Park on a clean surface and look for fresh drips after the drive.
Signs of a problem
Stop driving and let the engine cool if you see:
- A rising temperature gauge
- A coolant warning light
- Steam from the engine bay
- A strong sweet smell
- No cabin heat when the engine is hot
- Gurgling sounds from the dashboard
- A rapidly falling coolant level
- Coolant leaking under the vehicle
Do not open the cap while the system is hot. If the engine overheats, pull over safely, shut the engine off, and wait for it to cool. Persistent overheating needs diagnosis, not repeated coolant refills.

Common Coolant Replacement Mistakes
The most common mistakes involve using the wrong fluid, leaving air in the system, or opening a hot cooling system.


Using coolant by color
Color does not prove that two coolants are compatible. Use the vehicle maker’s specification instead.
Mixing coolant without checking compatibility
Some universal coolants may work in certain systems, but “universal” does not guarantee that they meet every manufacturer requirement. Check the label against the manual.
Filling with water only
Water alone can freeze in cold weather, boil more easily, and fail to protect metal parts from corrosion. Use the required coolant mixture.
Adding too much coolant
An overfilled reservoir may overflow as the fluid expands. Fill to the cold mark, not above it.
Forgetting the heater circuit
Some vehicles need the heater set to hot during filling. If the heater valve remains closed, air may stay trapped in part of the system.
Ignoring a leak
A coolant change cannot repair a leaking hose, radiator, water pump, gasket, or reservoir. Find the cause if the level drops again.
Using stop-leak products without a clear reason
Stop-leak products may restrict small passages or complicate later repairs. Use one only when the vehicle maker or a qualified technician recommends it.
Pouring coolant down a drain
Ethylene glycol coolant is harmful if swallowed and can harm animals that are attracted to its sweet smell. Keep used coolant in a sealed container and follow local disposal rules. The U.S. Environmental Protection Agency provides household hazardous-waste guidance, and many auto-parts stores, service shops, and local programs accept used antifreeze.
Clean spills at once. Keep children and pets away from the work area.

How Much Does a Coolant Change Cost?
A do-it-yourself coolant change may cost less than a shop service, but the final cost depends on the car and the service needed.
Typical cost factors include:
| Cost factor | Why it matters |
|---|---|
| Coolant capacity | A large cooling system needs more fluid |
| Coolant specification | Some manufacturer-specific coolants cost more |
| Premix or concentrate | Concentrate also requires distilled water |
| Flush requirement | A flush uses more fluid than a drain and refill |
| Access to the drain point | Difficult access may require more labor |
| Air-bleeding method | Some cars need special tools |
| Failed parts | A leaking hose, thermostat, cap, or water pump changes the repair |
A shop may recommend a pressure test if the system loses coolant. That test can reveal leaks that are not visible during a normal inspection.
The most affordable safe option is not always the one with the lowest fluid cost. Using the wrong coolant or failing to remove air can lead to overheating and a much larger repair.
When to Have a Professional Replace the Coolant
Ask a qualified technician to do the work when the vehicle has a complex cooling system, no accessible drain point, or a history of overheating.
Professional help is especially sensible when:


- The vehicle overheats during or after the refill.
- You cannot identify the correct coolant.
- The coolant is mixed with oil.
- The reservoir bubbles continuously.
- The system will not hold pressure.
- The temperature gauge moves up and down.
- The vehicle requires a vacuum fill tool.
- The car is a hybrid or electric model with several cooling loops.
- You suspect a head-gasket problem.
- Coolant enters the engine oil.
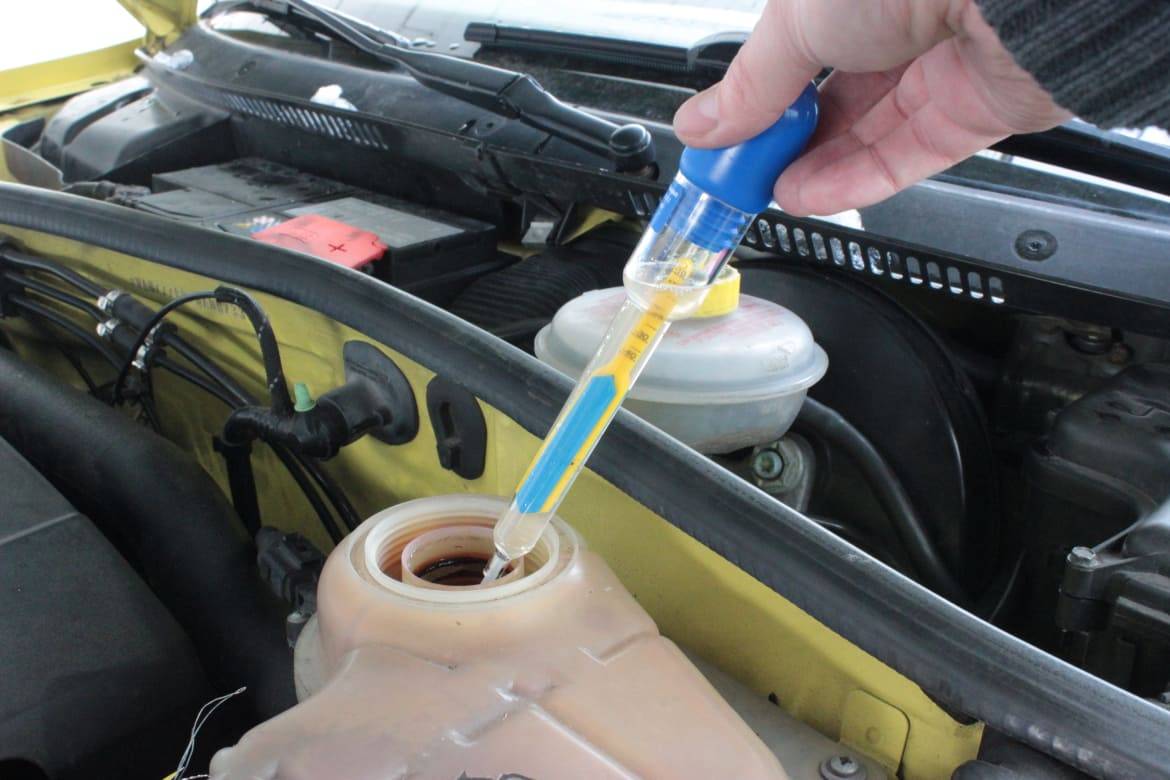
A technician can pressure-test the system, check for combustion gases, inspect the water pump, and use the correct bleeding procedure.

FAQs About Replacing Car Coolant
How often should coolant be replaced?
Follow the maintenance schedule in your owner’s manual. Some vehicles use long-life coolant with a service interval of several years. Others require earlier changes or coolant-condition checks. The interval also depends on the coolant formula and the vehicle’s design.
Can I replace coolant without draining the radiator?
You can add coolant to correct a low level, but that is not the same as replacing coolant. A replacement requires removing the old fluid and refilling the system with the correct mixture.
If the level keeps dropping, find the leak instead of treating the reservoir as a regular refill point.
Can I mix different coolant brands?
Brand names matter less than the coolant specification. Two products may be compatible if both meet the vehicle maker’s required standard. If the specifications differ or are unclear, drain and refill with the correct coolant rather than guessing.
Why is my car overheating after a coolant change?
Possible causes include trapped air, a low coolant level, a leak, a stuck thermostat, a failed water pump, a blocked radiator, or a cooling fan problem. Stop driving if the temperature rises. Continuing to drive an overheating car can cause severe engine damage.
Is it safe to replace coolant on a hot engine?
No. Wait until the engine is fully cool. A hot cooling system can release pressurized coolant and cause serious burns.
What should I do with old antifreeze?
Store it in a sealed, labeled container. Do not pour it onto the ground, into a storm drain, or into household plumbing. Contact your local household hazardous-waste program, recycling center, auto-parts store, or repair shop to ask about accepted drop-off options.
Conclusion: The Safe Way to Replace Coolant
To replace coolant safely, use the correct fluid, work only on a cold engine, drain the old coolant into a suitable pan, refill slowly, remove trapped air, and check the level again after the vehicle cools.
Your owner’s manual is the final authority for coolant type, capacity, mixture, and bleeding steps. If the engine overheats, the level falls, or the system leaks, stop and repair the underlying problem before driving further.