

Clean car battery terminals by disconnecting the battery, removing corrosion with baking soda solution, rinsing, drying, and reconnecting safely.
Corroded battery terminals can cause slow starts, flickering lights, clicking sounds, or a complete no-start condition. Learning how to clean car battery terminals is a simple skill that can protect the electrical connection and help your battery deliver steady power. This guide explains the safest method, the tools you need, common mistakes to avoid, and signs that cleaning will not solve the real problem.
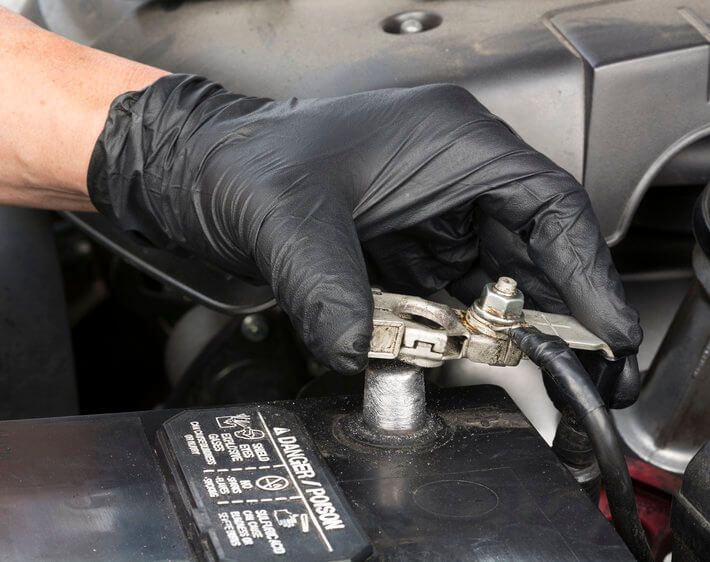
Why Car Battery Terminals Get Dirty
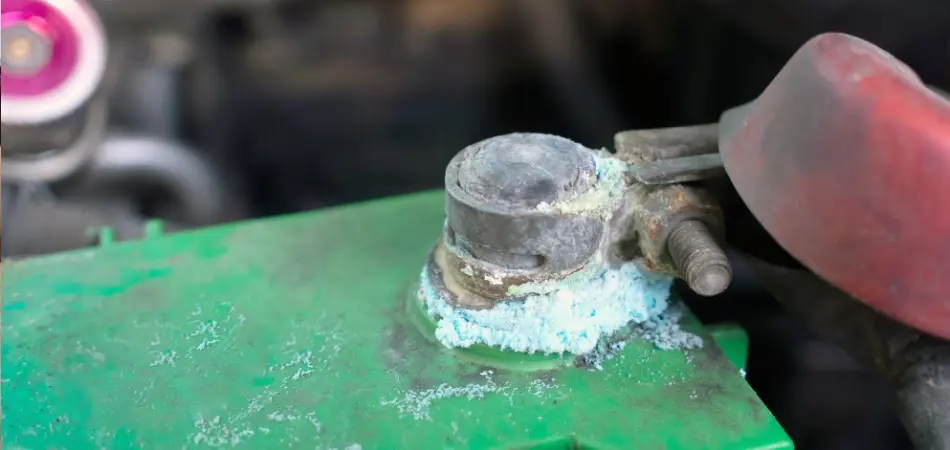
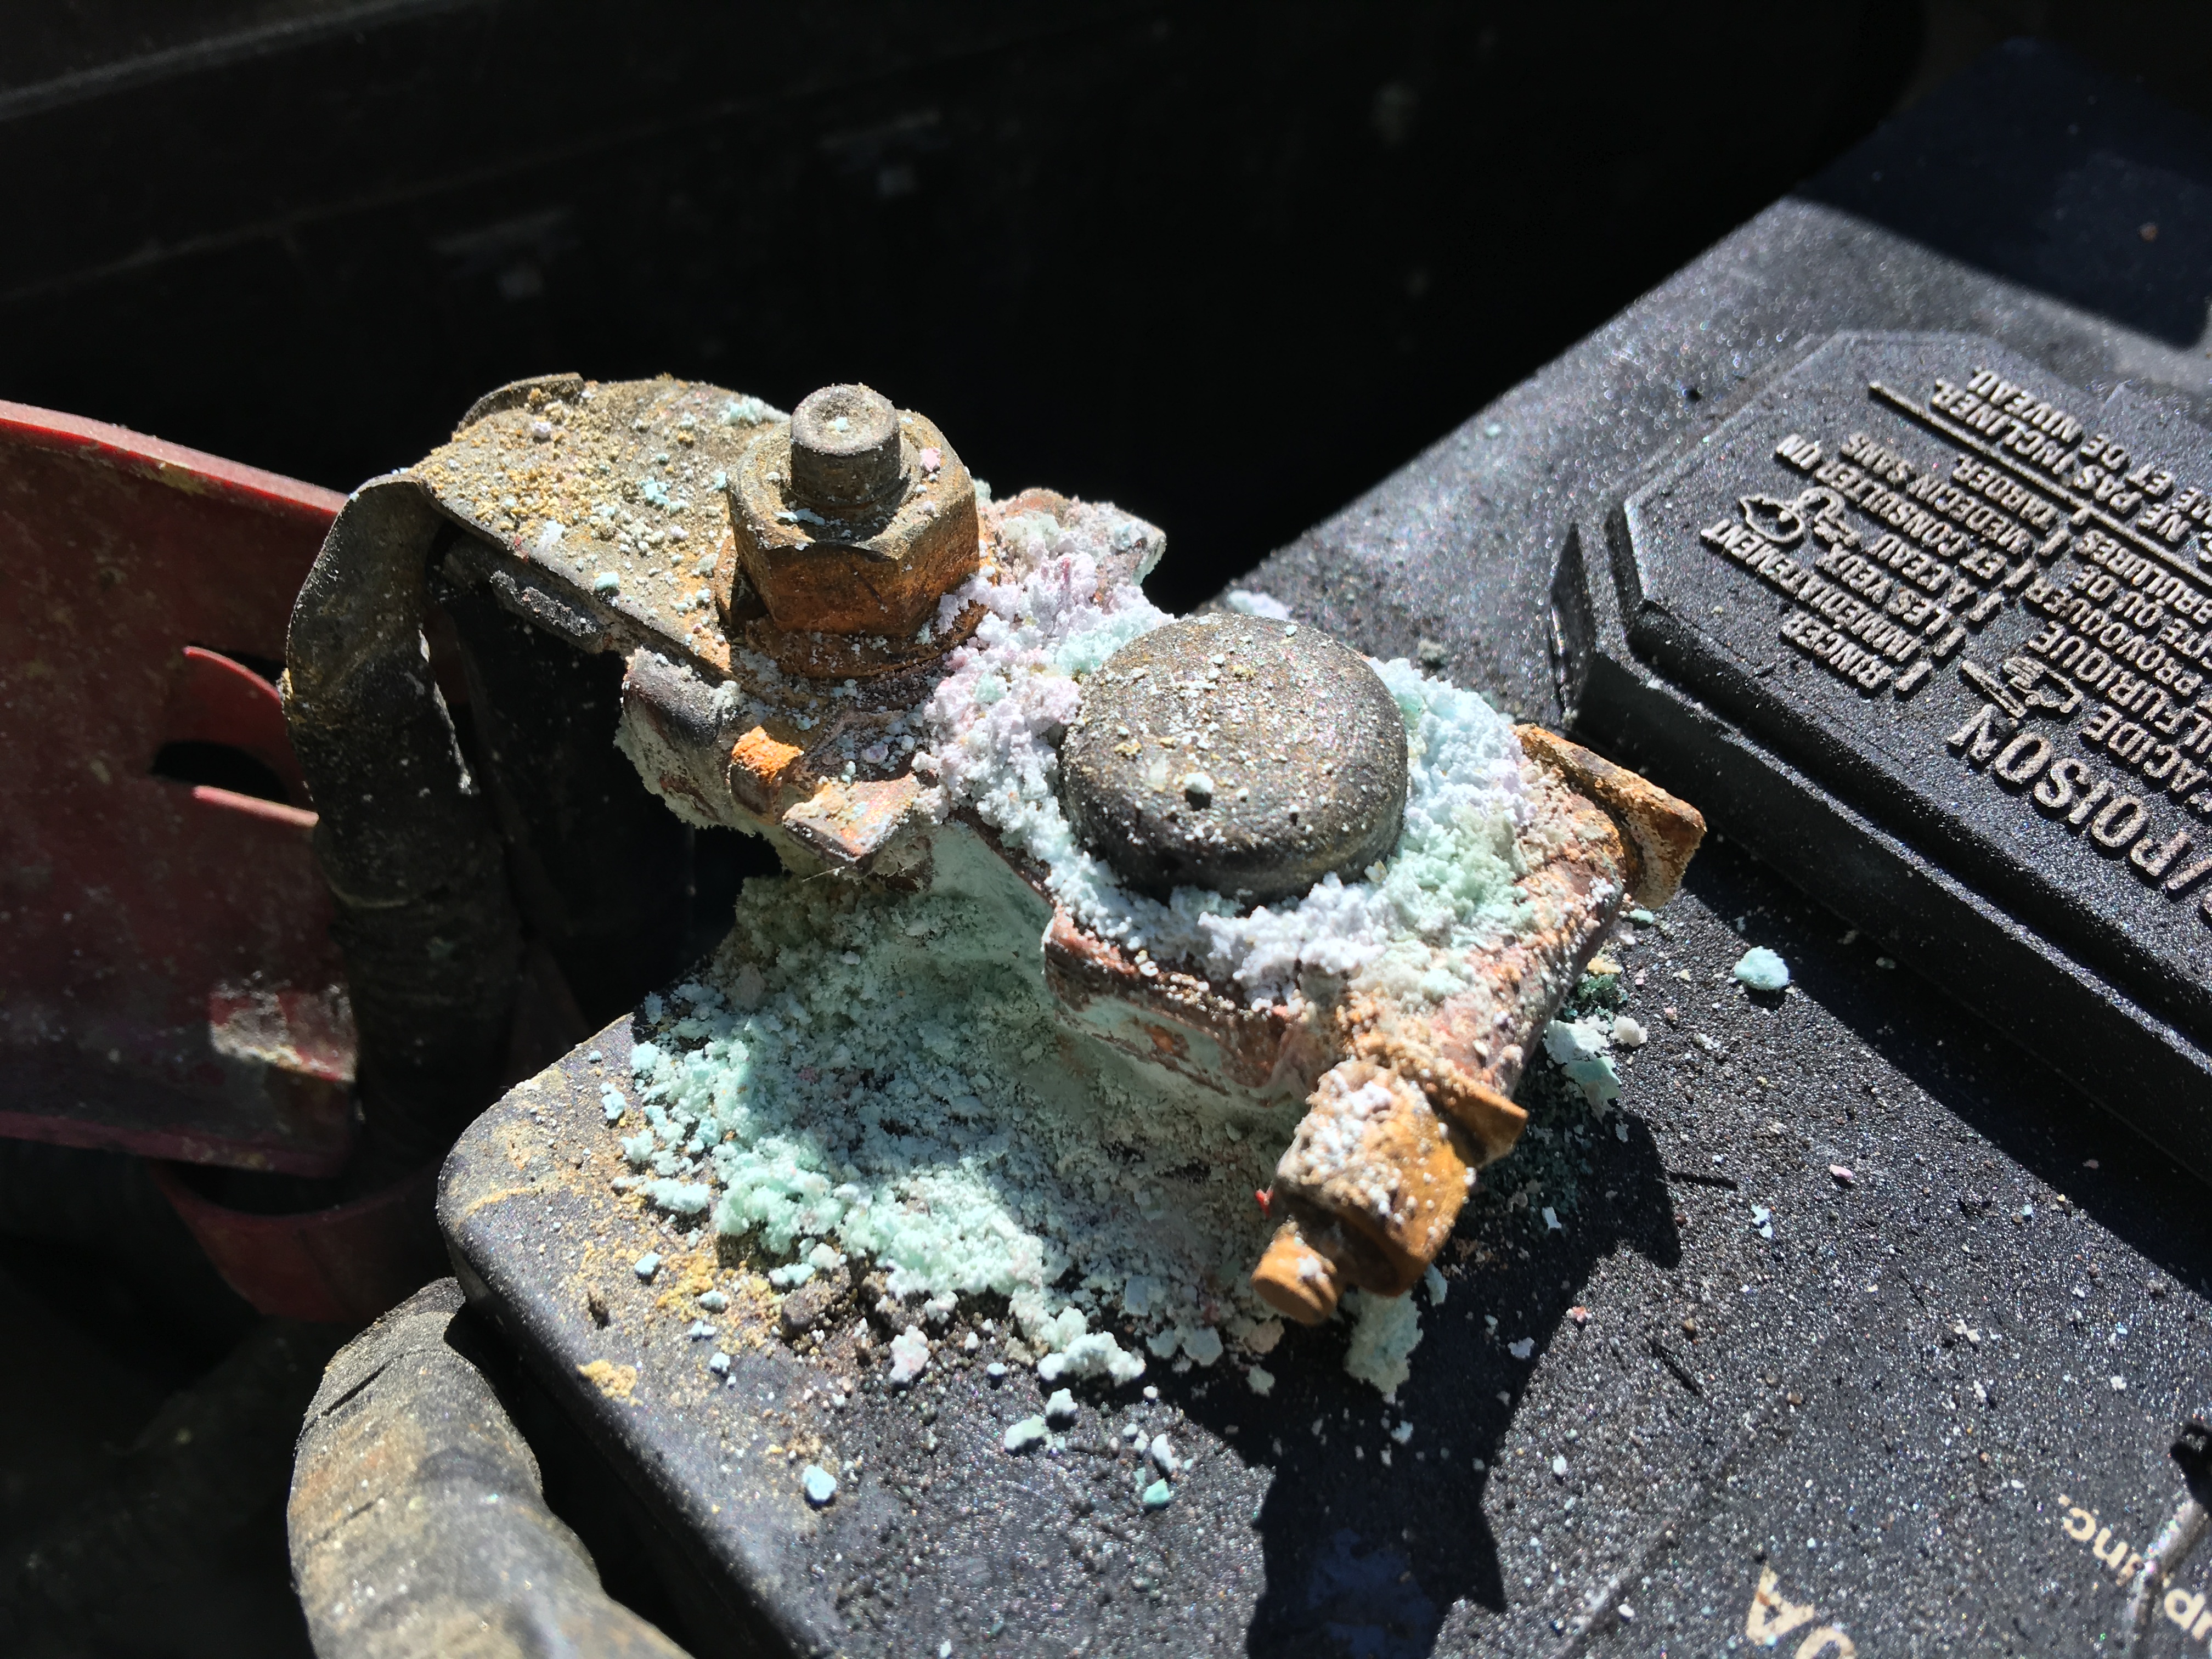
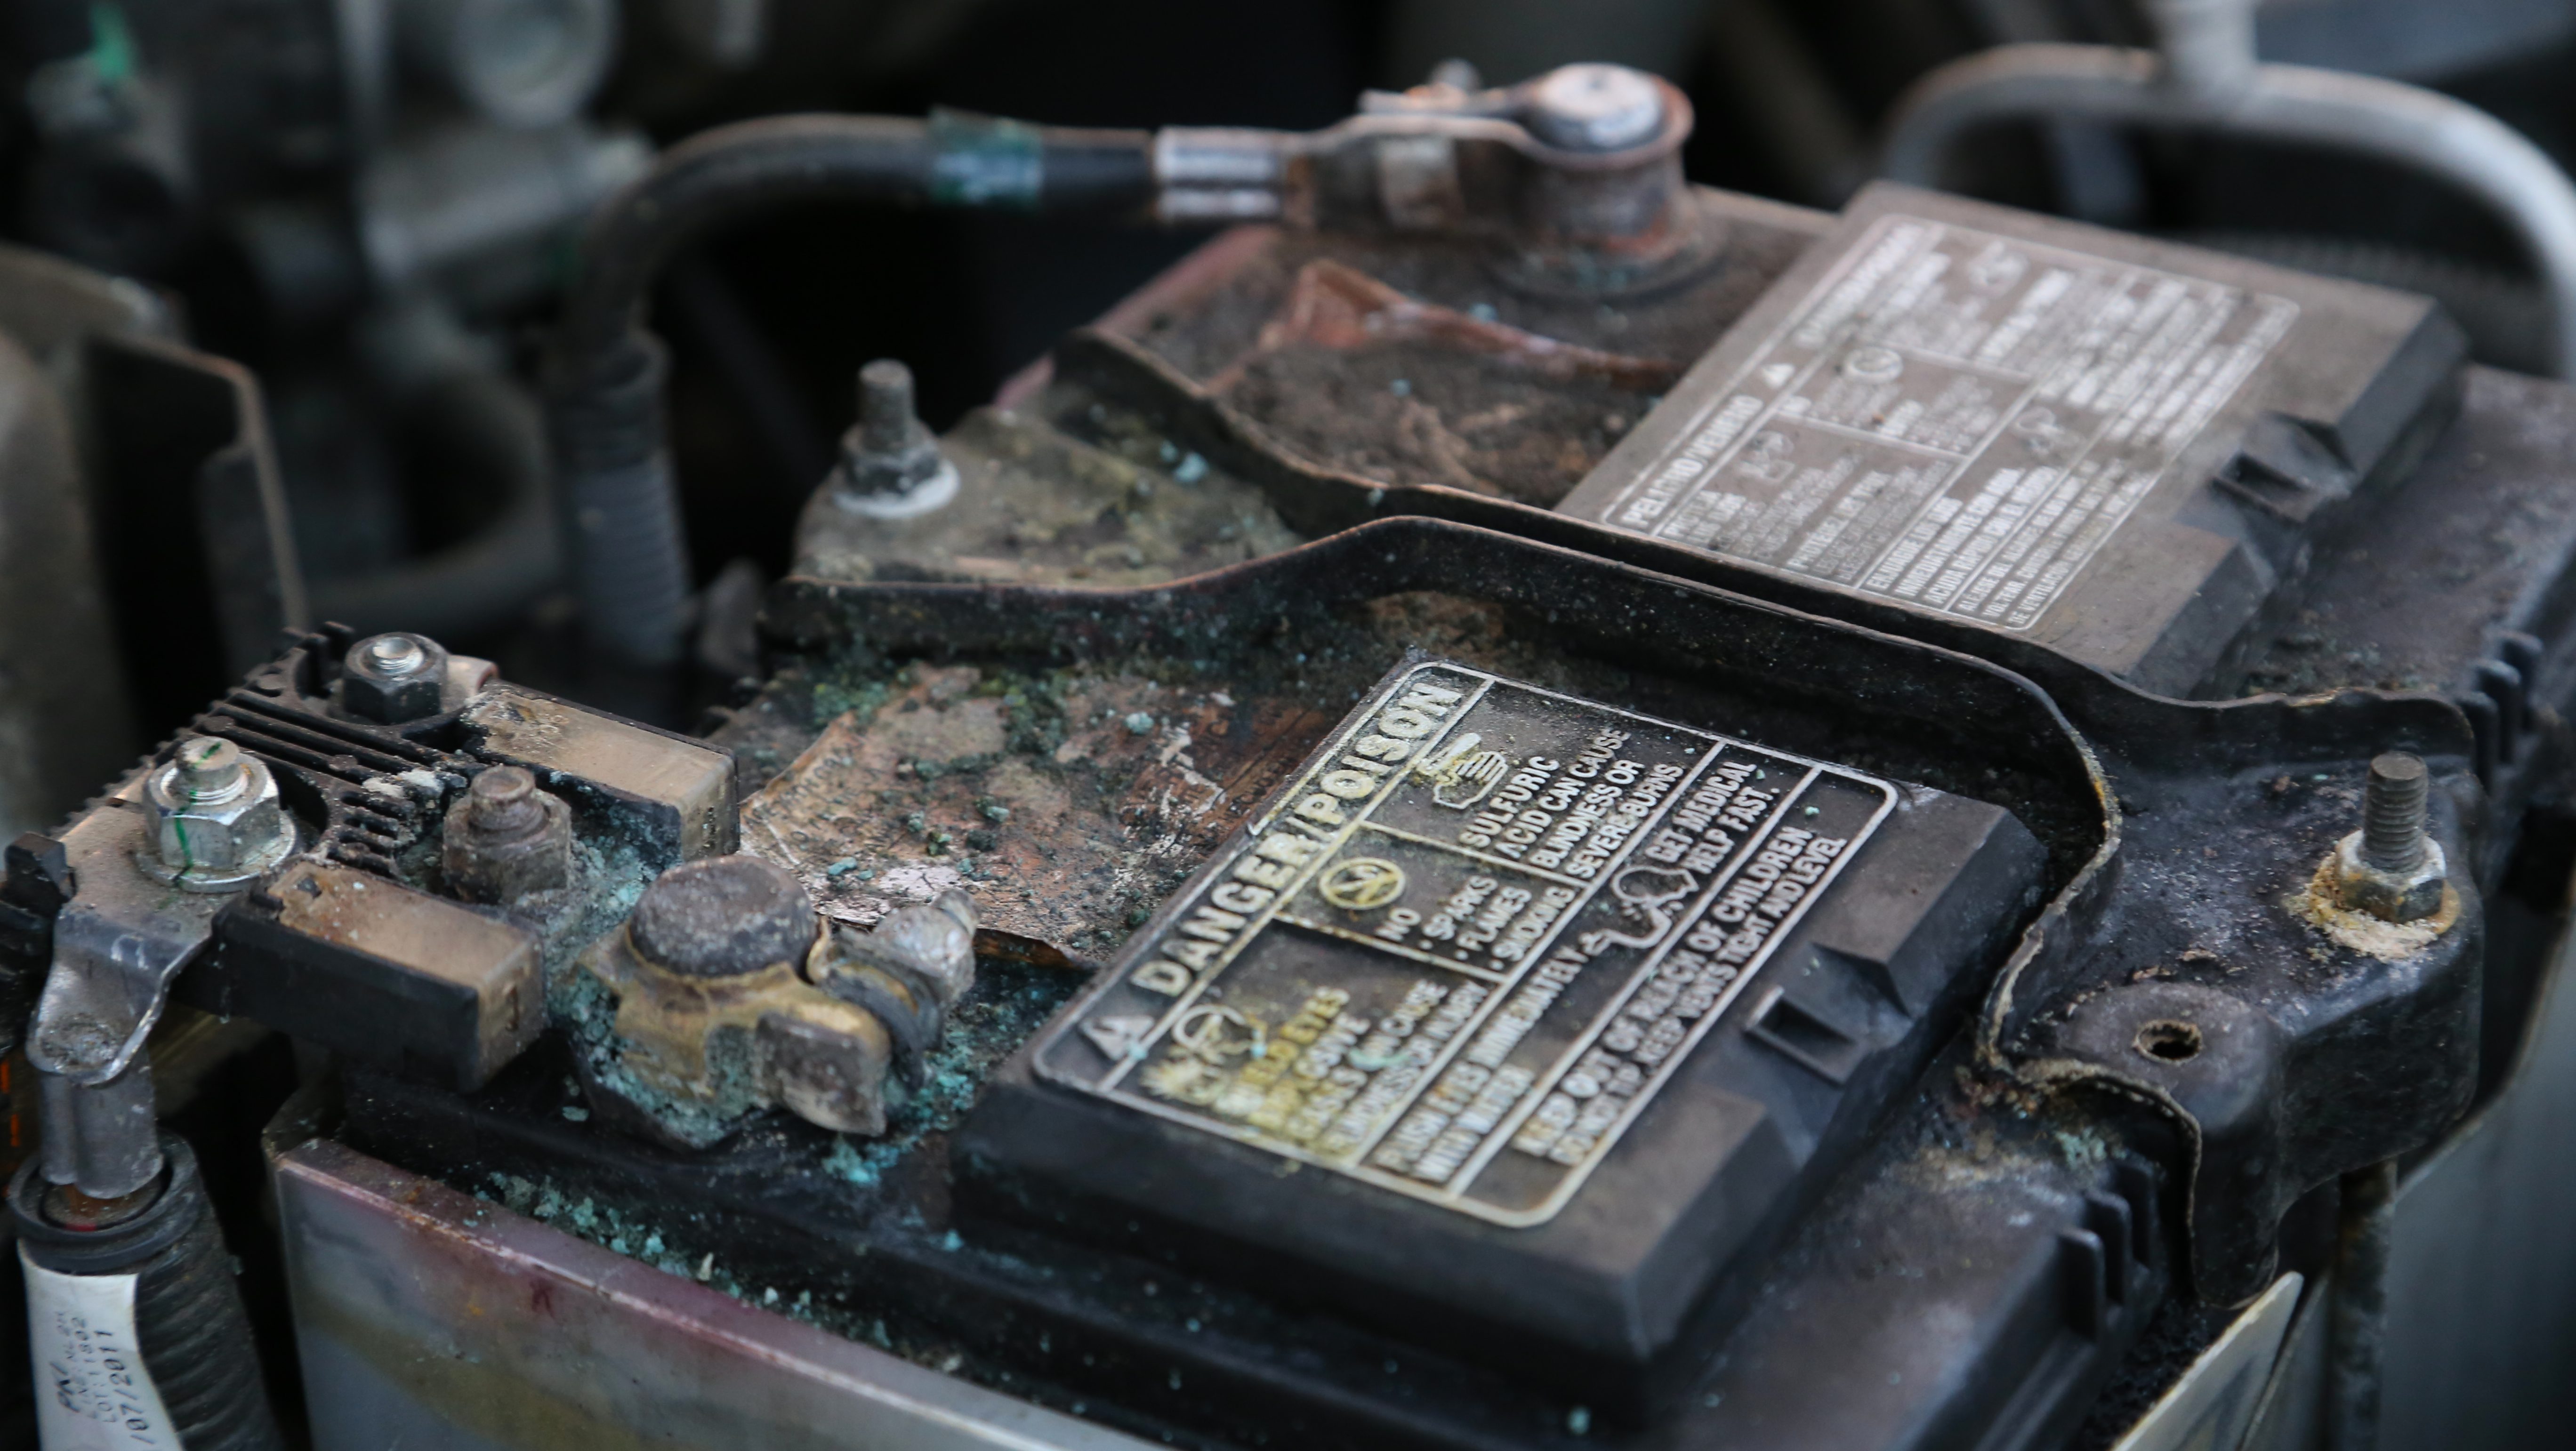
Battery terminal corrosion is usually caused by acid vapor, moisture, and a chemical reaction between the battery posts and metal connectors. It often appears as white, blue, or green powder around the positive or negative terminal.


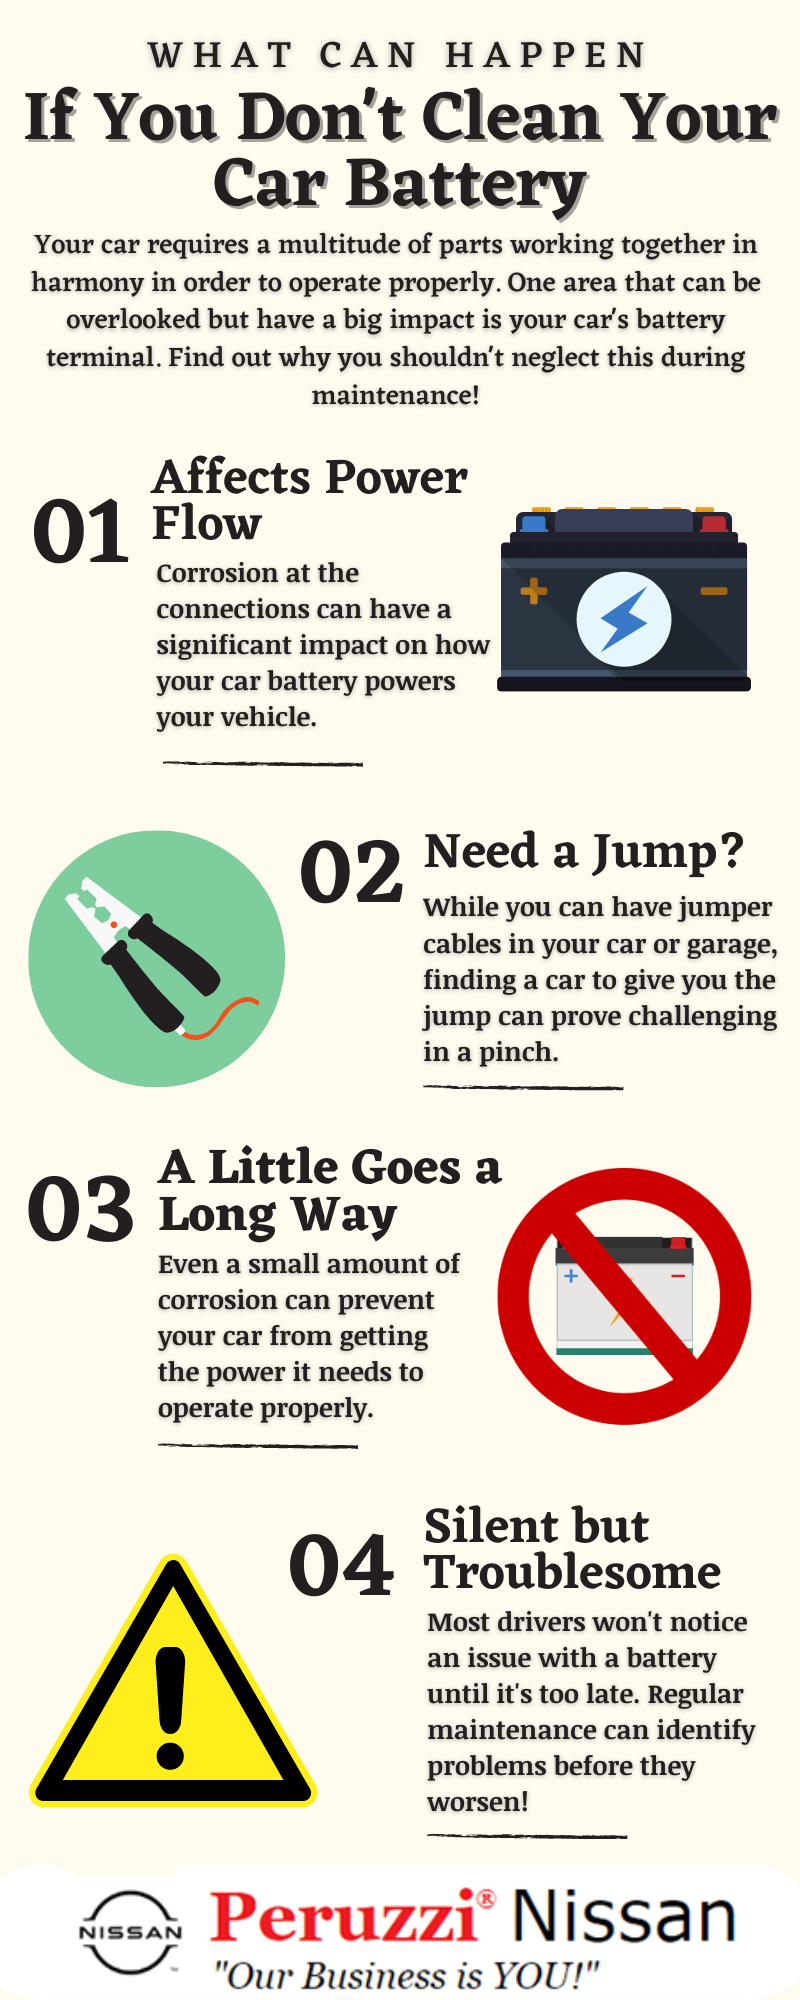
The corrosion acts like a thin wall between the battery and the vehicle. Even when the battery is charged, power may not flow well through that poor connection.
Common causes include:
• Battery acid vapor escaping from the case or vent area
• Loose battery cable connections
• Overcharging from a faulty alternator or voltage regulator
• An aging battery with a cracked or damaged case
• Road salt, water, and dirt near the battery
• Poorly protected cable ends
A small amount of dust may not cause trouble. Heavy buildup, however, can create resistance and heat. It may also spread down the cable and damage the wire under the insulation.
One lesson technicians often learn is that cleaning the visible powder is only part of the job. If corrosion returns within days or weeks, the battery, charging system, or cable may need closer inspection.
What You Need to Clean Battery Terminals
Gather your supplies before opening the hood. Having everything ready keeps the job short and reduces the chance of touching the battery more than necessary.
You will need:
• Safety glasses
• Chemical-resistant gloves
• A wire battery brush or old toothbrush


• Baking soda
• A small cup of water
• A clean cloth or paper towel
• A small wrench or socket
• Petroleum jelly or battery terminal protectant
• A plastic brush or scraper for heavy buildup
Use a battery terminal brush if possible. It has a narrow section for cleaning the inside of cable clamps and a wider section for cleaning battery posts.
Avoid using a metal tool near both terminals at the same time. A wrench that touches the positive terminal and the vehicle body can create a dangerous short circuit. Keep loose jewelry, watches, and metal objects away from the battery.
For a badly corroded battery, you may also need replacement terminal clamps or cables. Cleaning cannot repair metal that is deeply eaten away.

How to Clean Car Battery Terminals Step by Step
Park the vehicle on a level surface and turn off the engine. Remove the key, set the parking brake, and switch off lights, the radio, and other accessories.
Check your owner’s manual before disconnecting the battery. Some vehicles may lose radio codes, clock settings, window calibration, or computer memory when power is removed. Newer vehicles may also have battery monitoring sensors that require special handling.
1. Inspect the Battery First
Look for cracks, bulges, leaks, or wet spots on the battery case. Do not clean or handle a damaged battery. Battery acid can burn skin and damage paint.
If the battery is swollen, leaking, or giving off a strong rotten-egg smell, stop and seek professional help. That smell may signal excessive charging or a serious battery fault.
2. Disconnect the Negative Cable
Find the negative terminal. It usually has a minus sign and a black cable, although cable color should not be your only guide.
Loosen the nut and lift the negative cable from the battery post. Move it away from the terminal so it cannot spring back into place.
Disconnecting the negative cable first reduces the risk of accidentally shorting the positive terminal against the metal body. This small step is one of the most important parts of learning how to clean car battery terminals safely.
3. Disconnect the Positive Cable
Next, loosen and remove the positive cable. It usually has a plus sign and a red cover or red cable.


Keep the positive cable away from metal parts of the vehicle. Do not allow the wrench to touch the positive terminal and the body at the same time.
4. Apply a Mild Cleaning Solution
Mix about one tablespoon of baking soda with a small cup of water. The mixture should be damp and thin, not a thick paste.
Apply a small amount to the corroded areas with a brush. Baking soda helps neutralize acidic residue. You may see fizzing, which is normal.
Do not pour large amounts of liquid over the battery. Water can enter vents, electrical connectors, or nearby parts. Apply the solution only where corrosion is visible.
5. Scrub the Battery Posts and Clamps
Use the battery brush to scrub the battery posts until they look clean and have a dull metallic surface. Then clean the inside of each cable clamp.
Remove all loose powder and crust. Pay close attention to the contact surfaces because they carry the electrical current.
If corrosion is thick, let the baking soda solution sit for a minute and brush again. Do not force a damaged clamp open or scrape so hard that you remove useful metal.
6. Wipe, Rinse Carefully, and Dry
Wipe away the loosened corrosion with a clean cloth. If needed, use a slightly damp cloth to remove baking soda residue.
Keep moisture away from battery openings and electrical connectors. Dry the posts, clamps, and nearby battery surface completely before reconnecting anything.
A dry connection is important. Water left between the terminal and clamp can encourage new corrosion and reduce contact quality.
7. Reconnect the Cables in the Correct Order
Place the positive cable on the positive post first. Tighten the connection until the clamp is secure and does not twist by hand.
Then reconnect the negative cable. Tighten it firmly, but do not overtighten the nut. Excessive force can damage the clamp, battery post, or threaded stud.
The correct order is the reverse of removal: positive first, then negative.
8. Protect the Clean Terminals
Apply a thin layer of petroleum jelly or battery terminal protectant around the outside of each connection. Do not coat the contact surfaces before they are tightly connected.
The protective layer helps block moisture and acidic vapor. It is not a replacement for a clean, tight electrical connection.


Start the vehicle and check for normal operation. If the engine still cranks slowly, the battery may be weak, the terminals may remain loose, or the charging system may have another problem.

How to Clean Battery Terminals Without Baking Soda
Baking soda is popular because it is inexpensive and helps neutralize acidic residue. However, you can still clean light dirt with a battery terminal brush and a damp cloth.
For light corrosion:
• Disconnect the negative cable first
• Remove the positive cable
• Brush the posts and clamps
• Wipe away loose material
• Dry all surfaces
• Reconnect positive first, then negative
Commercial battery terminal cleaners are another option. Follow the product label and avoid spraying electrical components or allowing cleaner to pool around the battery.
Do not use cola, strong household acids, brake cleaner, or flammable solvents. These products may leave residue, harm paint, damage plastic, or create unnecessary safety risks.
How Often Should You Clean Car Battery Terminals?
Inspect the terminals whenever you change the oil or service the vehicle. Many drivers should check them at least twice a year, especially before winter and before long road trips.
You may need to clean car battery terminals more often if you drive in a wet, salty, or dusty area. Short trips can also place extra strain on the battery because the alternator may not have enough time to replace the energy used during starting.
Check the terminals sooner if you notice:
• Slow engine cranking
• A clicking sound when starting
• Flickering dashboard lights
• Electrical accessories that work intermittently
• White, green, or blue powder near a terminal
• A loose battery cable
Cleaning is preventive care, not a fixed cure. If buildup keeps returning, test the battery and charging system instead of repeatedly scrubbing the terminals.


Testing the Battery After Cleaning
Cleaning the terminals improves the connection, but it does not prove that the battery is healthy. A battery can have clean posts and still be weak inside.
A digital multimeter can provide a basic voltage check. With the engine off and the vehicle resting for several hours, a fully charged 12-volt battery often reads close to 12.6 volts. A reading near 12.2 volts suggests partial discharge, while a much lower reading may indicate a discharged or failing battery.
With the engine running, many vehicles show charging voltage in the general range of about 13.7 to 14.7 volts. The correct range depends on the vehicle, battery type, temperature, and charging strategy, so use the vehicle manufacturer’s specifications when available.
A proper load test or conductance test gives better information than voltage alone. A repair shop or parts retailer may provide this test, but results can vary by equipment and battery temperature.
If the battery tests well but the vehicle still has trouble, inspect:
• Battery cable condition
• Engine ground connections
• Starter current draw
• Alternator output
• Parasitic electrical drain
Do not rely on terminal cleaning to fix an alternator that is overcharging. Excess voltage can cause corrosion to return and may damage electronic components.

Common Mistakes to Avoid
Many battery problems become worse because of rushed cleaning. The process is simple, but safety and order matter.
Avoid these mistakes:
• Disconnecting the positive cable first: This increases the chance of a short circuit.
• Cleaning with the engine running: Moving belts, fans, and electrical current add risk.
• Using a metal brush carelessly: It can bridge terminals or contact the vehicle body.
• Pouring water over the battery: Excess liquid can reach vents and nearby electronics.
• Applying grease before tightening: Grease between contact surfaces can reduce the connection.
• Leaving corrosion under the cable clamp: Hidden buildup can continue to block current.


• Overtightening the terminal nut: This can crack the clamp or damage the battery post.
• Ignoring a damaged battery case: A leaking or swollen battery needs replacement or professional service.
• Forgetting vehicle memory settings: Some vehicles need codes or recalibration after battery power is removed.
A useful practical habit is to take a quick photo of the cable layout before removal. This can prevent confusion, especially when several wires attach to one terminal.
When Cleaning Is Not Enough
Clean car battery terminals cannot fix a battery that has reached the end of its service life. Most automotive batteries last several years, but climate, driving habits, vibration, and maintenance all affect their lifespan.
Replace or professionally inspect the battery if it has:
• A cracked or swollen case
• A persistent leak
• Repeatedly low test results
• Severe corrosion that returns quickly
• A hard starting problem after a full charge
• A poor load-test result
You should also inspect the cable ends. Corrosion may travel inside the cable, where it cannot be seen. A cable that feels stiff, looks swollen, or has green material under the insulation may need replacement.
If the engine will not crank after cleaning, check whether the interior lights are bright, listen for a single click or repeated clicks, and test battery voltage. These clues can help separate a weak battery from a starter or wiring problem.
When in doubt, get help. Automotive batteries can deliver very high current, and acid exposure or accidental short circuits can cause injury.
How to Prevent Battery Terminal Corrosion
Prevention starts with a clean, tight connection and a healthy charging system. After you clean car battery terminals, protect them from moisture and inspect them during routine service.
Helpful habits include:
• Keep the battery firmly secured to limit vibration
• Check that terminal clamps cannot rotate by hand
• Use terminal protectant or a thin layer of petroleum jelly
• Keep the battery top clean and dry
• Repair oil or coolant leaks near the battery
• Test charging voltage when corrosion returns
• Replace damaged cable ends promptly
• Avoid repeated short trips when possible
A battery hold-down is more important than many people realize. Vibration can loosen the terminals and damage the battery case. The battery should be secure, but the hold-down should not be tightened so much that it crushes the case.
In cold climates, a clean connection helps the starter receive maximum current when the engine oil is thick. In hot climates, regular inspection matters because heat can speed battery aging and evaporation.
Safety Tips for Cleaning Car Battery Terminals
Work in a well-ventilated area and keep flames, cigarettes, and sparks away from the battery. Lead-acid batteries can release hydrogen gas, which can ignite under the right conditions.
Wear safety glasses and gloves. If battery acid touches your skin, rinse the area with plenty of clean water and seek medical advice if irritation continues. If it enters your eyes, flush them with water immediately and get urgent medical care.
Never place tools on top of the battery. Remove rings, watches, and bracelets before starting. Keep children and pets away from the work area.
Hybrid and electric vehicles require extra caution. Their high-voltage battery systems are different from the small 12-volt battery used for accessories and vehicle control. Do not attempt to service orange high-voltage cables or components unless you are trained and authorized to do so.
Frequently Asked Questions About How to Clean Car Battery Terminals
Can I clean car battery terminals while they are still connected?
It is safer to disconnect the cables before scrubbing the terminals. Remove the negative cable first, then the positive cable, and reconnect them in the opposite order.
What removes corrosion from battery terminals?
A mild mixture of baking soda and water can help neutralize acidic residue. A battery terminal brush then removes the loosened corrosion from the posts and cable clamps.
Should I disconnect the positive or negative terminal first?
Disconnect the negative terminal first. Reconnect the positive terminal first, followed by the negative terminal, to reduce the risk of an accidental short circuit.
Can I use vinegar to clean battery terminals?
Vinegar is not the preferred cleaner because it is acidic and may leave residue or react with metal. Use a small amount of baking soda mixed with water or a product made for battery terminals.
Why do my battery terminals keep corroding after cleaning?
Repeated corrosion may point to acid vapor, a loose connection, overcharging, a damaged battery case, or a deteriorating cable. Test the battery and charging system if the buildup returns quickly.
Can corroded battery terminals stop a car from starting?
Yes. Heavy corrosion can restrict current flow and cause slow cranking, clicking, or a complete no-start condition. Cleaning and tightening the connection may restore operation if the battery and starter are otherwise healthy.
Do I need to replace the battery after cleaning the terminals?
Not always. Replace the battery only if it fails a proper test, leaks, swells, or cannot hold a charge. Clean terminals can improve the connection, but they cannot restore worn-out battery plates.
Conclusion
Learning how to clean car battery terminals takes only a few basic tools and careful attention to safety. Disconnect the negative cable first, remove the positive cable, scrub away corrosion with a mild baking soda solution, dry everything well, and reconnect positive before negative.
A clean connection can improve starting performance and prevent small electrical problems from becoming larger ones. If corrosion quickly returns or the car still struggles to start, test the battery, cables, and charging system rather than cleaning the same buildup again. Inspect your terminals today, and share this guide with anyone who wants a safer, more reliable car.