

Clean car battery corrosion with baking soda, water, a brush, and safe battery handling steps.
Learning how to clean car battery corrosion can save you from a weak start, poor electrical contact, and an avoidable repair bill. This guide explains the safest method, the tools you need, common mistakes to avoid, and ways to stop corrosion from coming back.
What Is Car Battery Corrosion?
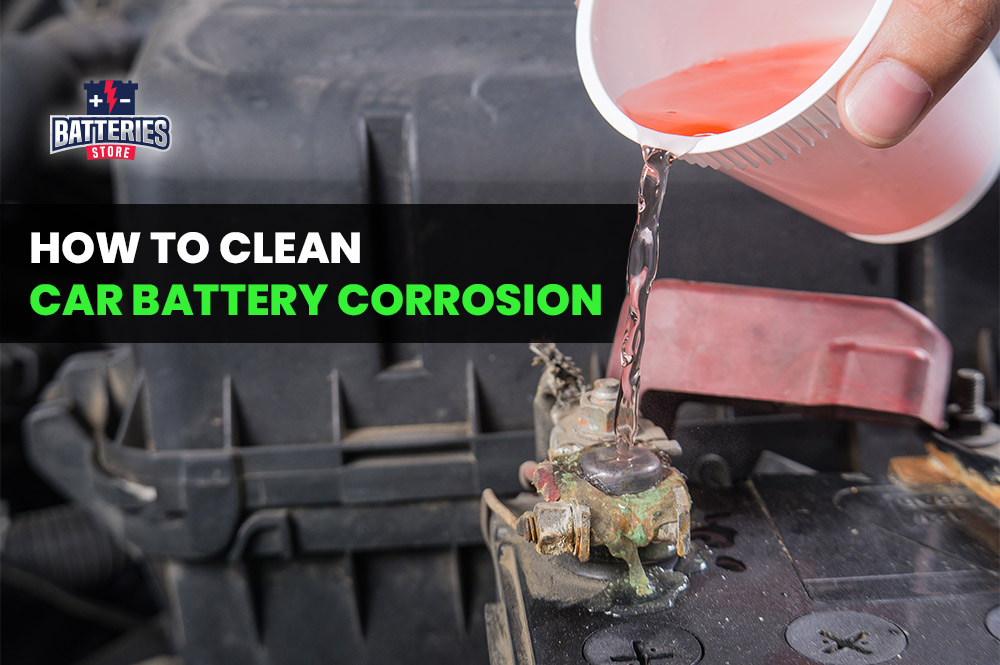
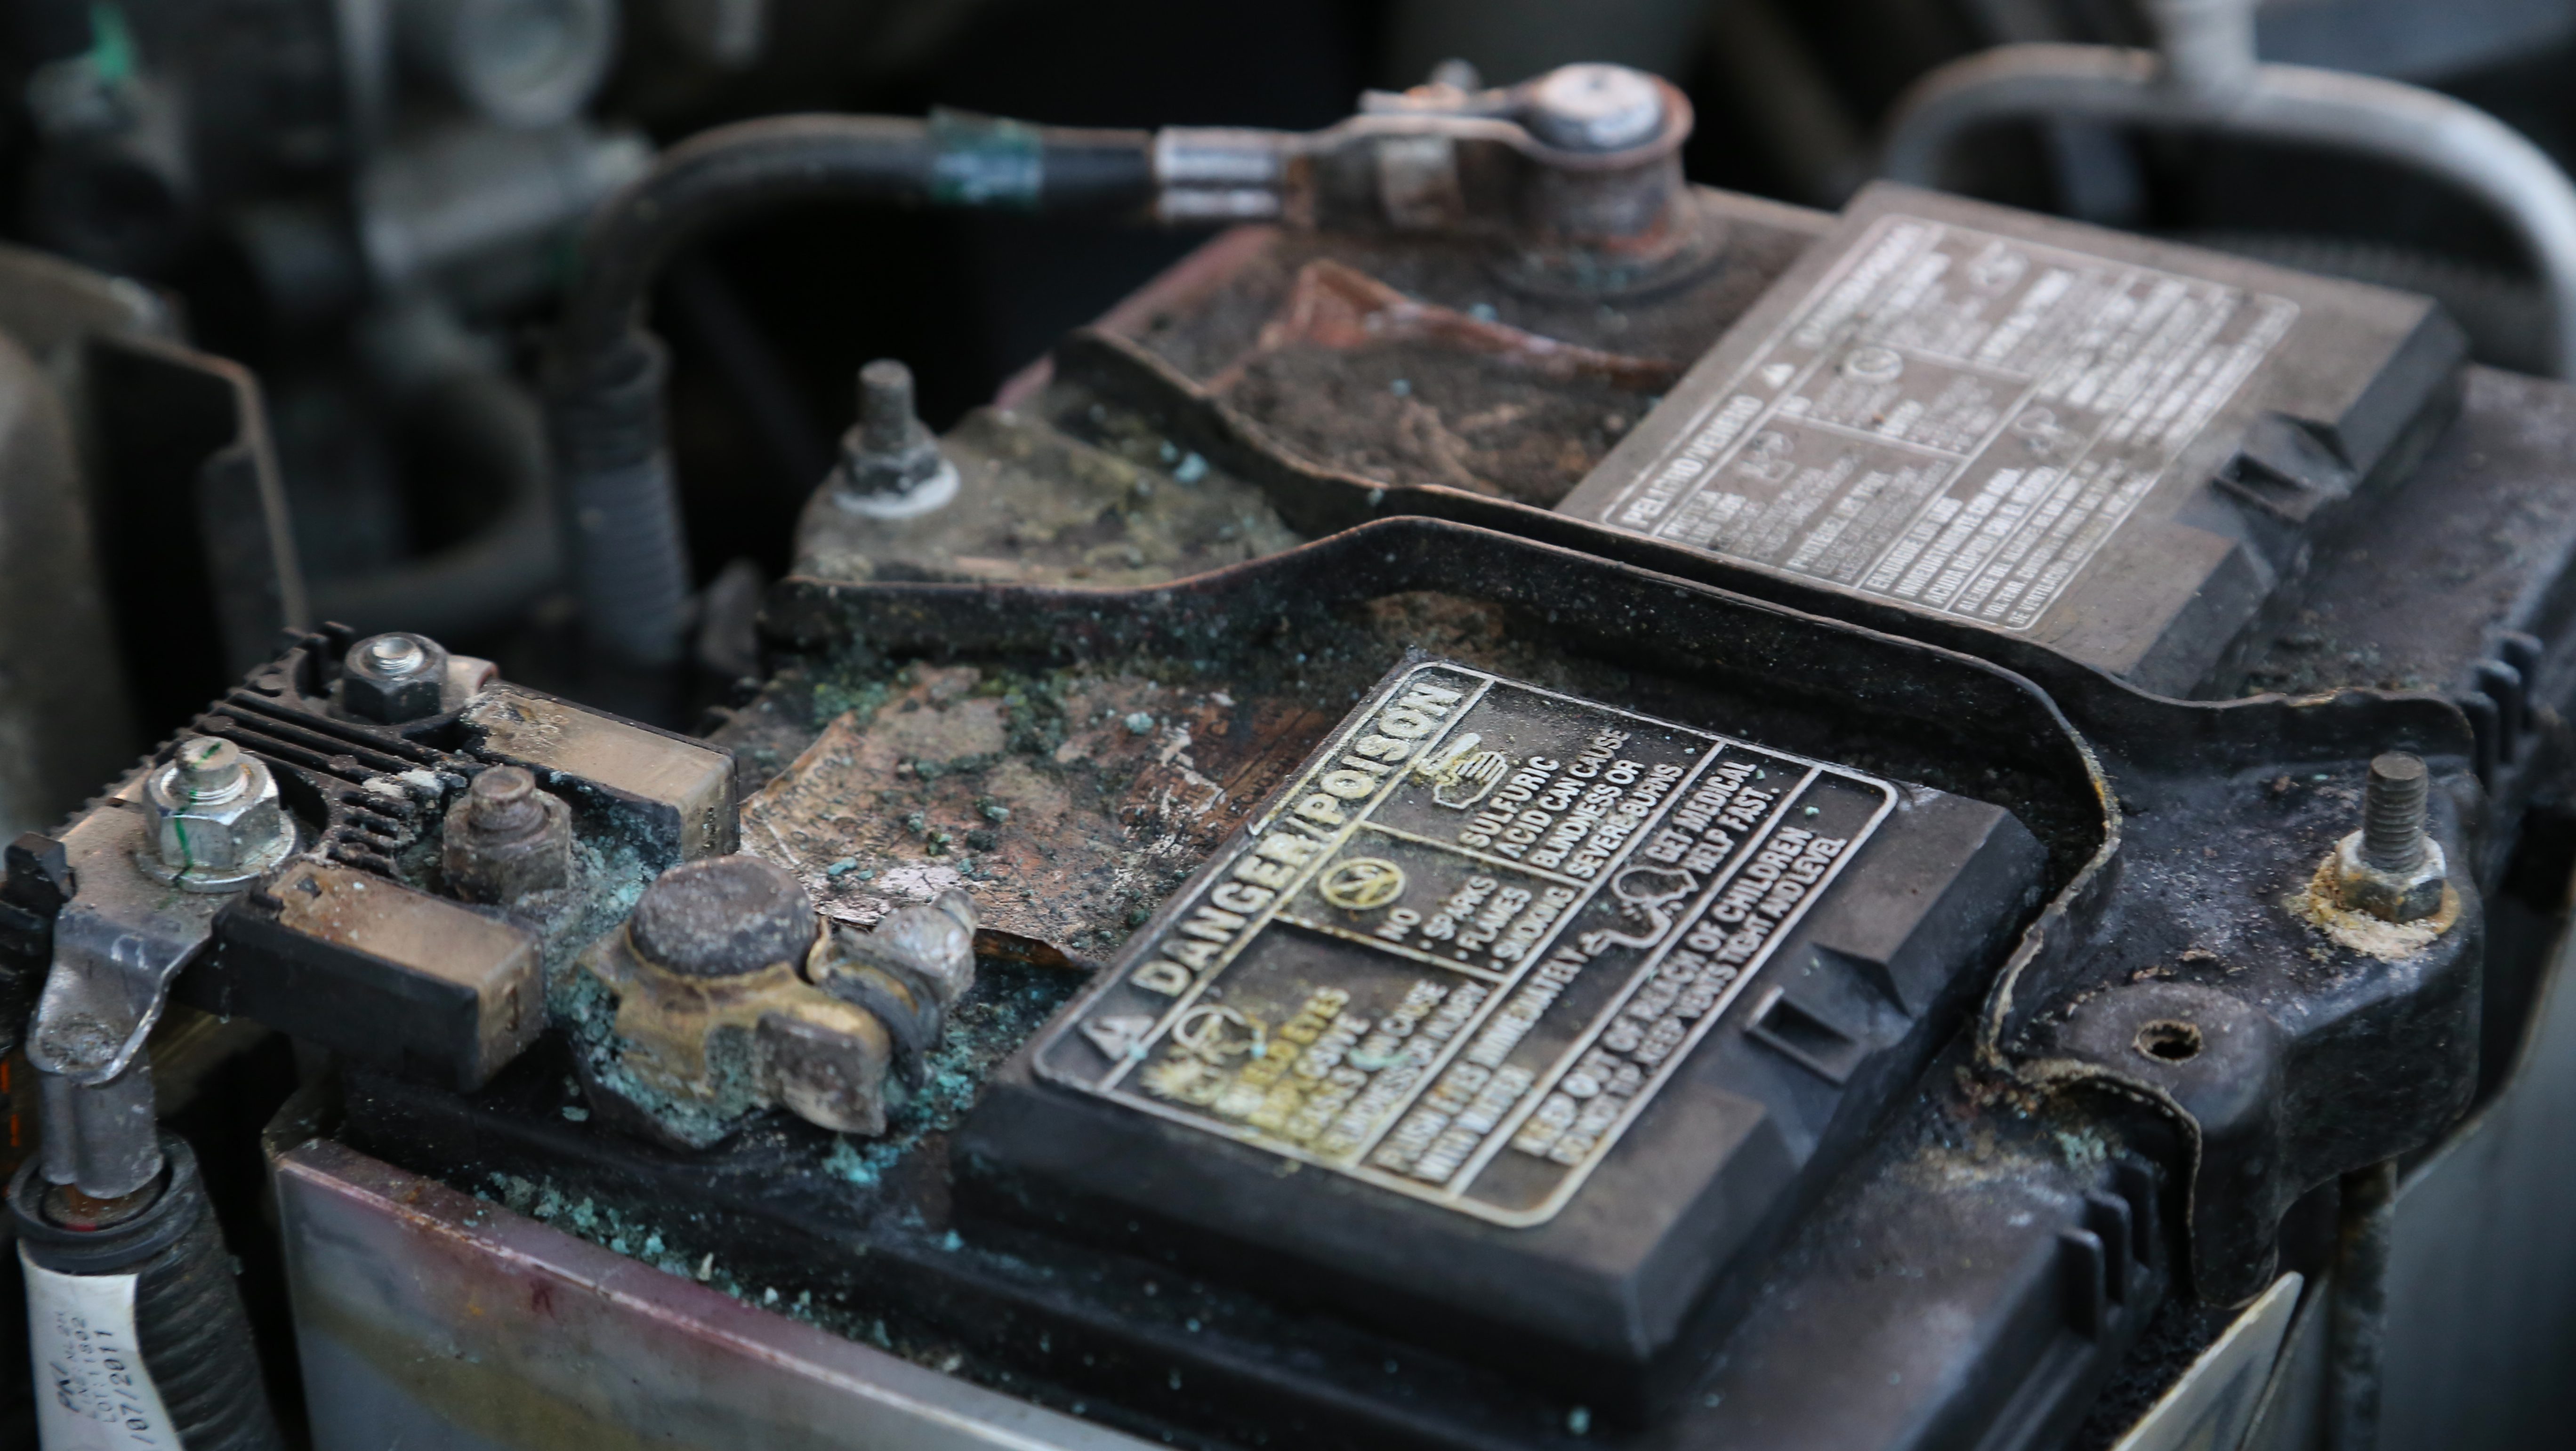
Car battery corrosion is a powdery buildup around the battery terminals. It may look white, blue, green, or gray. White and light blue deposits are common on lead-acid batteries.
Corrosion forms when battery acid vapor, moisture, and metal react near the terminals. A small amount may only reduce electrical flow. Heavy buildup can block the connection, damage the cables, or cause a no-start problem.
Knowing how to clean car battery corrosion starts with understanding one key point: corrosion is both a symptom and a warning. It may mean the battery is aging, overcharging, leaking, or not sealed well.
A corroded terminal is like a dirty water pipe. The power may still pass through, but not as smoothly or reliably.
Is Battery Corrosion Dangerous?
Yes, battery corrosion deserves care. A car battery contains sulfuric acid, which can burn skin and damage clothing. The battery can also release hydrogen gas, which may catch fire if exposed to a spark or open flame.
Before learning how to clean car battery corrosion, follow these safety rules:
• Park the car outside or in a well-ventilated area.
• Turn off the engine, lights, radio, and all accessories.
• Keep cigarettes, flames, and sparks away from the battery.
• Wear safety glasses and acid-resistant gloves.
• Do not touch your eyes, mouth, or face while working.
• Keep metal tools from touching both battery terminals at once.
• Do not clean a battery that is cracked, swollen, leaking, or very hot.
If acid touches your skin, rinse the area with plenty of clean water. If it reaches your eyes, flush them with water and seek urgent medical care.
Tools and Supplies You Need
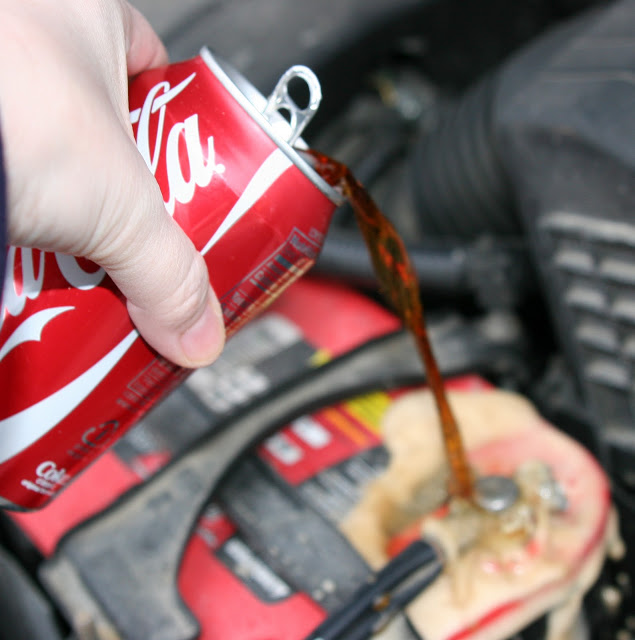
You do not need an expensive kit for basic battery terminal cleaning. Gather these items before you begin:
• Baking soda
• Clean water
• A small bowl or cup
• An old toothbrush or battery terminal brush
• A wrench or socket that fits the terminal clamps
• Clean rags or paper towels
• Safety glasses
• Chemical-resistant gloves
• Petroleum jelly or battery terminal protectant
• A small spray bottle, if preferred
A battery terminal brush works best because its stiff bristles can clean around the clamp. An old toothbrush is useful for light buildup, but it may struggle with thick corrosion.
Avoid using steel wool near the battery. Small metal fibers can create an unwanted electrical path or remain inside the engine bay.

How to Clean Car Battery Corrosion Step by Step
The safest method uses a weak baking soda solution to neutralize acidic residue. Take your time, and never rush the disconnect and reconnect order.
1. Turn Off the Vehicle
Park on a level surface and set the parking brake. Switch off the ignition and remove the key. If the vehicle has a push-button start system, keep the key fob away from the car.
Open the hood and locate the battery. Some batteries sit in the trunk, under a seat, or inside a protective case. Check the owner’s manual if you cannot find it.
2. Inspect the Battery First
Look closely before touching the terminals. Stop if you see:
• A cracked battery case
• A bulging or swollen side
• Wet acid around the case
• A strong rotten-egg smell
• Melted plastic near a terminal
• Severe cable damage
These signs may point to a failing or overcharged battery. Cleaning alone will not solve the problem. A repair shop should inspect the battery and charging system.
3. Disconnect the Negative Cable
Use the correct wrench to loosen the negative terminal clamp. The negative cable usually has a black cover or a minus sign.
Remove the negative cable first and move it away from the terminal. This step lowers the chance of a short circuit if your tool touches the vehicle body.
Next, disconnect the positive cable. The positive terminal usually has a red cover or a plus sign.
4. Mix a Cleaning Solution
Add about one tablespoon of baking soda to one cup of water. Stir it until the powder dissolves.
You can pour the mixture into a small cup or place it in a spray bottle. Do not soak the battery. Use only enough solution to wet the corrosion.
Baking soda is alkaline, so it helps neutralize acidic residue. It does not repair internal battery damage or replace a damaged terminal.
5. Apply the Solution Carefully
Apply the baking soda mixture to the corroded areas. Some fizzing is normal. The fizz shows that the solution is reacting with acidic residue.
Keep the liquid away from open battery vents as much as possible. Too much water or cleaner can collect around the battery tray and create new problems.
6. Scrub the Terminals
Use a battery brush or old toothbrush to scrub the terminal posts, cable clamps, and nearby corrosion. Work gently until the metal looks clean.
Do not force a stuck clamp. If the corrosion is thick, add a little more solution and let it work for a minute before brushing again.
Clean both the inside of each cable clamp and the outside of each terminal post. A shiny top with a dirty inner clamp can still cause a weak connection.
7. Rinse and Dry Everything
Wipe away the loosened residue with a damp cloth. Use a second cloth to dry the terminals and cable ends.
Do not flood the engine bay with water. A small amount used with control is enough. Moisture left on the terminals can speed up new corrosion.
8. Reconnect the Cables
Reconnect the positive cable first. Tighten the clamp until it is secure and does not twist by hand.
Reconnect the negative cable second. Again, make sure the clamp is tight but do not overtighten it. Excess force can damage the terminal post or cable end.
9. Protect the Connection
Apply a thin layer of petroleum jelly or a battery terminal protectant around the connection. Avoid covering the contact surfaces before the clamp is fully tight.
A protective coating helps limit moisture and acid vapor exposure. It is a barrier, not a cure for a leaking battery or charging problem.
10. Test the Vehicle
Start the car and check that the engine cranks normally. Look for warning lights, flickering electronics, or slow starting.
If the vehicle still struggles, the battery may be weak, the alternator may not be charging correctly, or the cables may be damaged. Knowing how to clean car battery corrosion is useful, but cleaning cannot restore a worn-out battery.

How to Clean Car Battery Corrosion Without Disconnecting It
Some light corrosion can be wiped from the outside of a connected battery. However, this is not the best method for heavy buildup.
If you clean while the cables remain connected, a tool can accidentally touch the body and create a short. You also may not clean the hidden contact area between the clamp and terminal.
For the safest results, turn off the vehicle and disconnect the negative cable before cleaning. Disconnect the positive cable afterward, then reconnect the positive cable first and the negative cable last.
If you are working on a hybrid or electric vehicle, do not use this process on the high-voltage battery. Those systems require trained service personnel. Only work on a clearly identified 12-volt auxiliary battery if the owner’s manual allows it.
Why Does Car Battery Corrosion Keep Coming Back?
Recurring corrosion usually has an underlying cause. Common reasons include:
• An old battery that is beginning to leak
• A loose terminal clamp
• A damaged battery vent or seal
• An alternator that is overcharging
• High heat under the hood
• Moisture or road salt near the battery
• A cracked cable end or terminal post
• A battery that is not secured properly
Loose clamps allow movement and poor contact. An unsecured battery can vibrate, which may damage the case or cable connections.
If corrosion returns within days or weeks after cleaning, test the battery and charging system. A healthy charging voltage often falls near the vehicle maker’s specified range, commonly around 13.7 to 14.7 volts with the engine running. Always use the specifications for your vehicle because charging systems vary.

Common Mistakes to Avoid
Many problems happen because people treat battery cleaning like ordinary household cleaning. The battery needs a careful, controlled approach.
Avoid these mistakes:
• Cleaning with the engine running
• Disconnecting the positive cable first
• Using a knife to scrape the terminal
• Pouring large amounts of water over the battery
• Using bleach, ammonia, or household chemicals
• Smoking or working near an open flame
• Leaving corrosion on the cable clamp
• Reconnecting the cables in the wrong order
• Applying grease between the terminal post and clamp
• Ignoring a swollen or leaking battery
One mistake I often see in hands-on battery work is cleaning only the visible top of the terminal. The hidden inside of the cable clamp may still be coated with corrosion. That small missed area can cause the same slow crank the next morning.
Another lesson is to avoid overtightening. A clamp should be firm, not crushed. If the clamp is damaged and will not stay tight, replace the cable end rather than forcing it.
How to Prevent Battery Terminal Corrosion
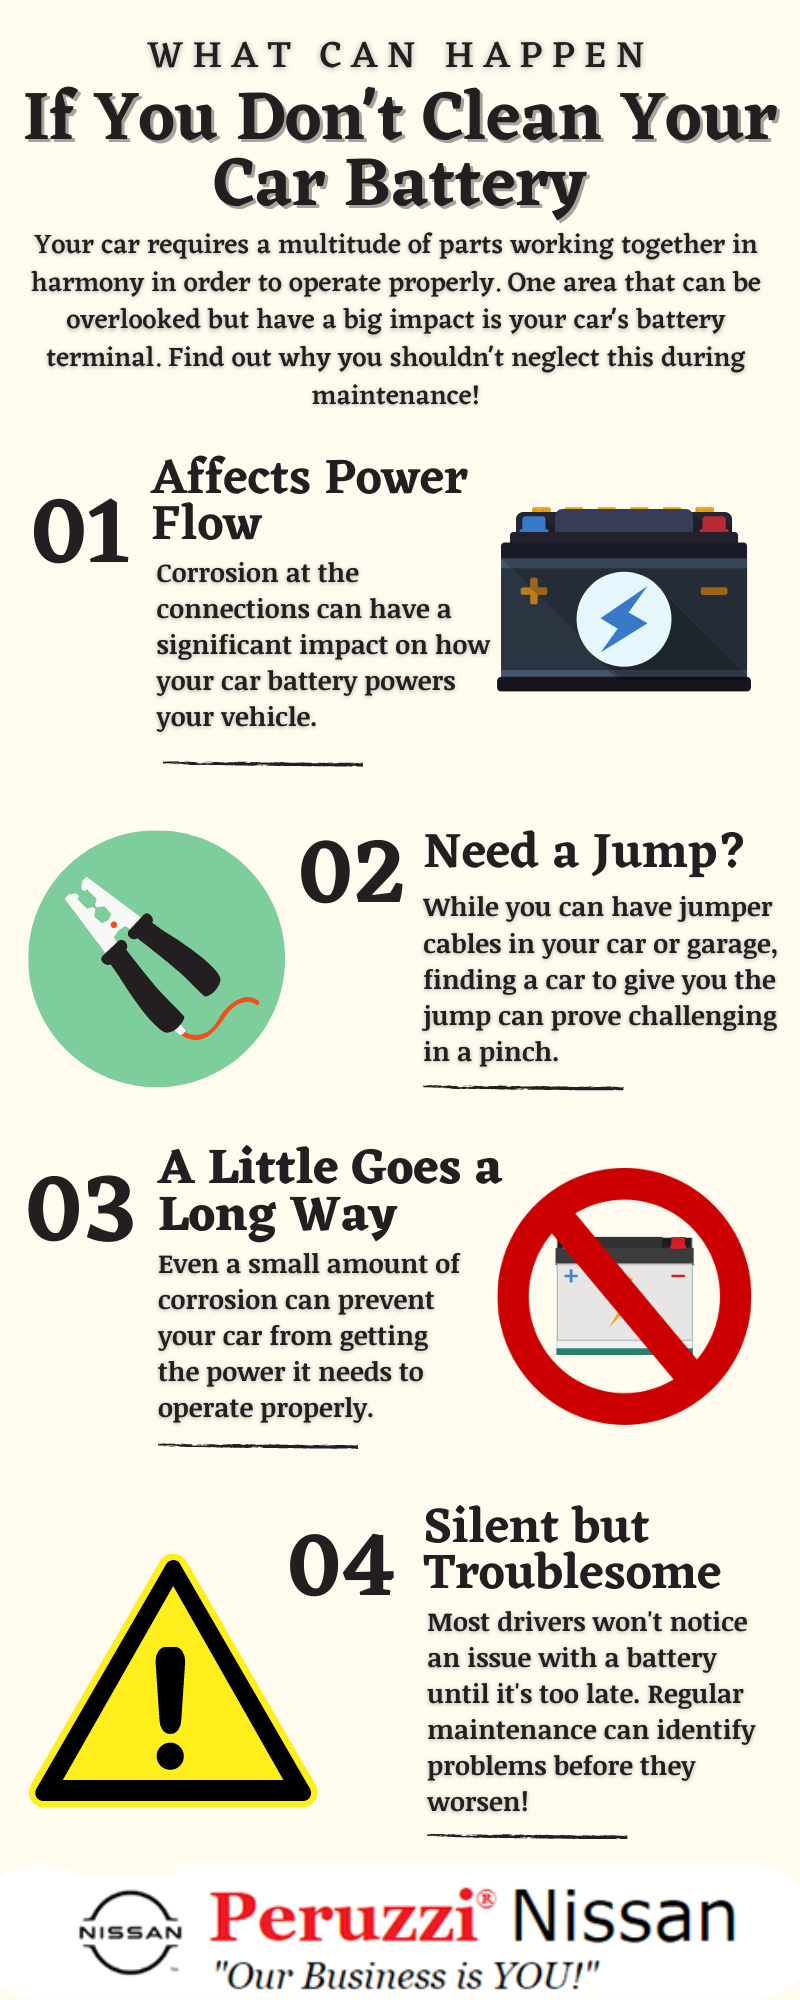
Cleaning is only half the job. Prevention helps keep the connection strong for longer.
Use these simple habits:
• Check the battery every few months.
• Keep the battery case dry and clean.
• Confirm that the battery is held firmly in its tray.
• Look for loose clamps or damaged cable insulation.
• Apply a thin terminal protectant after cleaning.
• Test the charging system if corrosion returns.
• Replace an old battery when testing shows low capacity.
• Keep the engine bay free from excess water and road salt.
Some drivers use felt anti-corrosion washers under the terminal clamps. These may help reduce vapor-related buildup, but they cannot fix a leaking battery or faulty alternator.
Do not place random household items around the battery. The wrong material may trap moisture or interfere with the connection.
When Should You Replace the Battery?
Cleaning may not be enough if the battery is weak or physically damaged. Consider professional testing when:
• The car needs frequent jump-starts.
• The engine cranks slowly after cleaning.
• The battery is more than three to five years old.
• The battery case is swollen or cracked.
• Corrosion returns quickly.
• The headlights dim while starting.
• The battery warning light appears.
Battery life varies with climate, driving habits, and vehicle design. Extreme heat can shorten battery life, while very cold weather exposes a weak battery quickly.
A parts store or repair shop can often perform a battery load test and charging-system test. These tests provide more useful information than looking at corrosion alone.
If the battery must be replaced, recycle the old one. Automotive batteries contain lead and acid, and many retailers accept them for recycling.
How Much Does Battery Corrosion Cleaning Cost?
If you clean the terminals yourself, the cost is usually low. Baking soda, water, a brush, gloves, and eye protection may cost less than a professional service visit.
A technician may charge a small inspection or cleaning fee. The total cost becomes higher if the battery, cable ends, battery tray, or alternator needs replacement.
The cheapest choice is not always the best choice. If corrosion is caused by overcharging, installing a new battery without fixing the alternator may lead to the same problem again.
What I Learned From Real-World Battery Cleanups
A small amount of corrosion can hide a much larger issue. I have seen vehicles start normally after cleaning, only to develop the same problem because the terminal clamp was loose or the battery was near the end of its life.
The most useful habit is to inspect the full system. Look at the battery case, clamps, cables, hold-down bracket, and charging voltage. Cleaning the powder is helpful, but finding the cause is what prevents a repeat repair.
I also recommend taking a quick photo before disconnecting anything. Modern engine bays can have several similar-looking cables, and a photo helps confirm the correct position during reassembly.
Frequently Asked Questions About How to Clean Car Battery Corrosion
Can I use vinegar to clean car battery corrosion?
Baking soda mixed with water is the more common choice because it helps neutralize acidic residue. Avoid pouring vinegar onto the battery because it is acidic and may worsen metal damage or create unwanted reactions.
Is it safe to pour baking soda directly on a car battery?
A small amount of dry baking soda may help with a spill, but a diluted solution gives better control. Use only a little liquid, keep it away from battery vents, and dry the area afterward.
Which battery cable should I disconnect first?
Disconnect the negative cable first, then the positive cable. When reconnecting, attach the positive cable first and the negative cable last to reduce the risk of an accidental short.
Can corrosion stop a car from starting?
Yes. Corrosion can create high electrical resistance between the battery and cable, causing slow cranking or a complete no-start condition. However, a weak battery, bad starter, or charging fault can cause similar symptoms.
How often should I clean car battery terminals?
Inspect them every few months and clean them whenever you see buildup. If corrosion returns soon after cleaning, have the battery and alternator tested instead of repeatedly cleaning the same deposit.
Can I clean corrosion without removing the battery?
You can clean light surface buildup while the battery remains installed, but disconnecting the cables is safer for thorough cleaning. Never work on a high-voltage hybrid or electric vehicle battery unless you are trained to do so.
Does battery corrosion mean the battery is bad?
Not always. Light corrosion may result from moisture, heat, or a loose connection, but heavy or recurring corrosion can signal a leaking battery or charging problem. Testing the battery and alternator gives a clearer answer.
Conclusion
Learning how to clean car battery corrosion is simple when you use the right order: shut off the vehicle, wear protection, disconnect the negative cable first, clean with diluted baking soda, dry the terminals, and reconnect the positive cable first.
Do not stop at removing the powder. Check for loose clamps, damaged cables, battery leaks, and charging problems. With regular inspections and a thin protective coating, you can help maintain a strong electrical connection and reduce starting trouble.
Gather your safety gear and inspect the battery during your next oil change. If corrosion returns or the car still starts slowly, arrange a battery and charging-system test, and share your experience or questions in the comments.