

For drivers in the United States, the safest way to clean a fabric car seat is to vacuum first, spot-test a mild cleaner, use as little water as possible, and dry the seat fully before driving. Always check your vehicle owner’s manual first, especially if the seat has side airbags, heating elements, ventilation, or electronic sensors.
Most fabric car seats can be cleaned at home with a vacuum, mild dish soap or upholstery cleaner, clean water, microfiber towels, and a soft brush. The key is to lift dirt without soaking the foam beneath the fabric.

What You Need Before Cleaning a Fabric Car Seat
Gather the right supplies before you begin. A short list helps you avoid harsh chemicals and excess water.
- Vacuum with a crevice tool
- Two or three clean microfiber towels
- Soft upholstery brush or soft toothbrush
- Spray bottle
- Bowl of warm water
- Small amount of mild dish soap
- Automotive fabric or upholstery cleaner, if needed
- Clean, dry towel
- Fan or open windows for drying
- Plastic bag or trash bag for loose items


Use a cleaner labeled for automotive fabric or upholstery when possible. Avoid bleach, ammonia, strong solvents, acetone, abrasive powders, and heavy degreasers. These products may fade fabric, weaken fibers, damage trim, or leave fumes inside the vehicle.
Before using any product, read the label. Check your vehicle manual for warnings about seat-mounted airbags, heated seats, ventilated seats, and cleaning products.
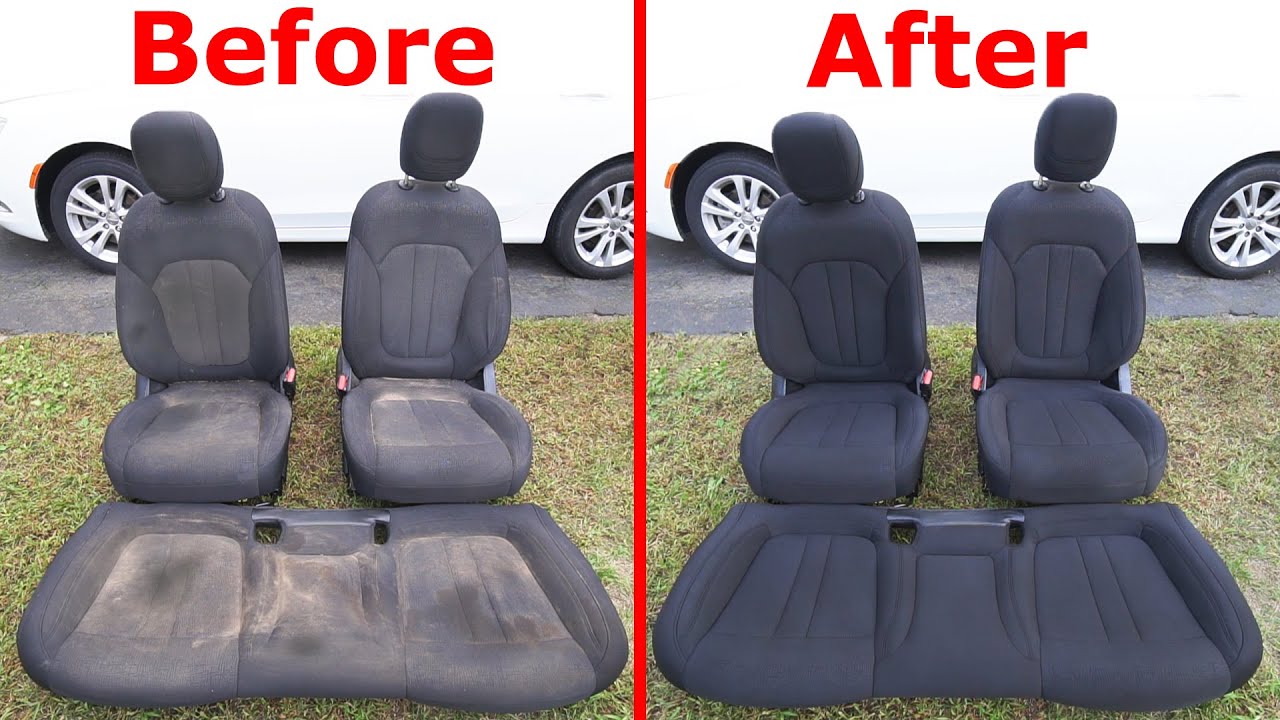
How to Clean Fabric Car Seats Step by Step
The best process is gentle and controlled. Work on one seat section at a time, and do not flood the fabric.
1. Remove trash and loose items
Park the vehicle in a shaded, well-ventilated place. Remove floor mats, child seats, seat covers, papers, coins, and other items from the cabin.
Move the seat forward and backward to reach the rails, gaps, and rear edge. Keep small items away from the seat tracks so they do not block seat movement.
2. Vacuum the seat thoroughly
Vacuum the seat cushion, backrest, seams, cracks, and sides. Use the crevice tool around the gap between the seat back and cushion.
Vacuuming matters because dry grit can act like sandpaper. If you scrub before removing it, you may push dirt deeper into the fabric or spread it across the seat.
For pet hair, use a rubber glove, rubber brush, or slightly damp rubber squeegee. Gather the hair into small clumps, then vacuum again.
3. Check the fabric and test the cleaner
Look for tears, loose stitching, exposed foam, or damaged trim. Do not scrub over a tear. Moisture can reach the foam and make the damage worse.
Test the cleaner on a hidden area, such as the lower rear edge of the seat. Apply a small amount, wait until it dries, and check for color change, stiff fibers, or a water ring.
If the fabric reacts badly, stop and use only the cleaning method approved in the vehicle manual.


4. Mix a mild cleaning solution
For light dirt, mix about 1 teaspoon of mild dish soap with 2 cups of warm water. This is a practical starting mix, not a required formula. The solution should create light suds, not thick foam.
An automotive upholstery cleaner may work better on set-in stains. Follow its label and use only enough product to dampen the surface.
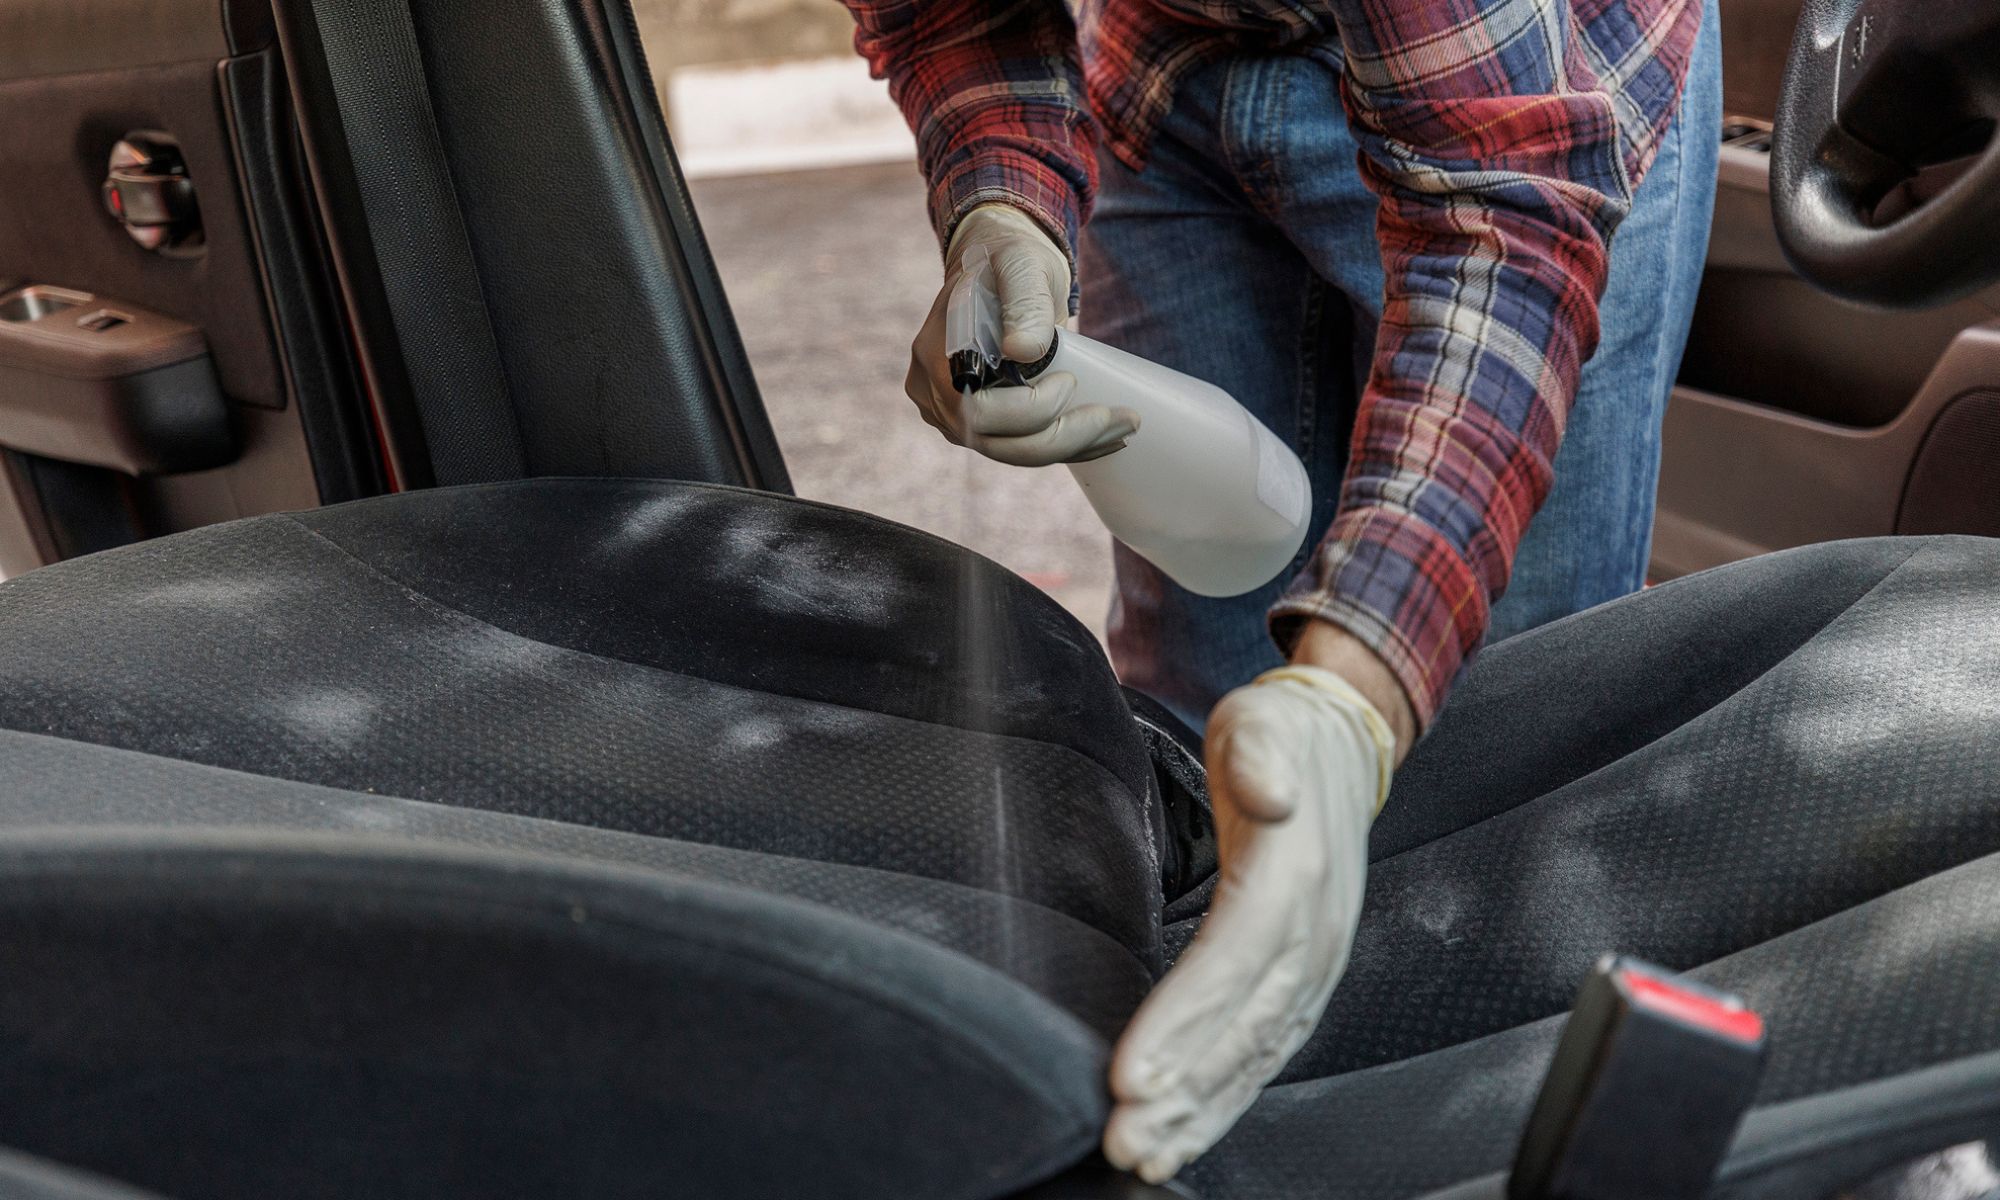
Do not pour the solution directly onto the seat. Spray it onto a towel or brush instead.
5. Clean small sections
Work in sections of about 12 inches square. Lightly dampen a microfiber towel or soft brush with the cleaning solution.
Gently agitate the fabric with short strokes. Start at the outside of a stain and move toward the center. This helps reduce the chance of spreading the mark.
Avoid hard scrubbing. Strong pressure can roughen the fabric, spread grease, and drive liquid into the cushion.
For a broad dirty area, clean the full panel evenly. Cleaning only one small spot may leave a visible clean patch.
6. Remove soap and lifted dirt
Wipe the area with a separate microfiber towel dampened with clean water. Wring the towel well first.
Use light passes until the surface no longer feels soapy. Leaving soap behind can attract more dirt and create a stiff or sticky feel.
Rinse the towel often. A dirty towel can put the same grime back onto the seat.
7. Blot instead of soaking
Press a dry towel onto the cleaned area to absorb moisture. Do not twist or wring the seat fabric.
If you have a wet-dry vacuum or upholstery extractor, use it only if the vehicle and tool instructions allow it. Make slow passes and avoid saturating the seat.
A fabric seat contains foam beneath the surface. The foam may hold water long after the fabric feels dry.
8. Dry the seat completely
Leave the doors or windows open in a safe, dry place. Use a fan to move air across the seat.
Do not use high heat from a heat gun or hair dryer. Excess heat may damage fabric, adhesives, plastic trim, or seat electronics.


As a practical estimate, a lightly damp seat may dry within several hours. Thick foam, high humidity, cold weather, and poor air flow can make drying take much longer. Do not reinstall a child restraint or sit on the seat until it is fully dry.
9. Check the finished seat
The seat is ready when it feels dry, does not smell damp, and has no sticky residue. Check for water rings, missed stains, and loose threads.
Move the seat through its normal range. Make sure the adjustment controls work and that no towel, cleaner, or debris remains near the tracks.
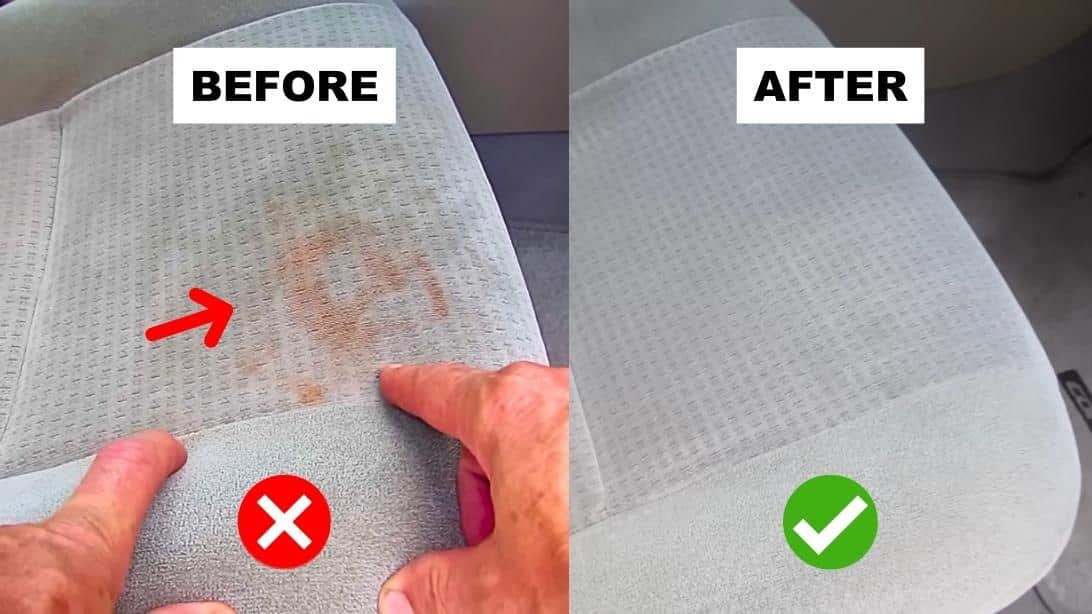
How to Remove Common Fabric Car Seat Stains
The right method depends on what caused the stain. Treat fresh spills quickly, but do not use more cleaner than necessary.
| Stain | First step | Main caution |
|---|---|---|
| Coffee, soda, or juice | Blot with a dry towel, then use mild soap solution | Sugary residue can stay sticky |
| Grease or oil | Blot, then use an upholstery cleaner made for oil | Do not spread the grease with hard scrubbing |
| Mud | Let it dry, vacuum, then clean the remaining mark | Wet mud can smear into the fabric |
| Vomit or food | Remove solids, blot, then clean and deodorize | Wear gloves and ventilate the vehicle |
| Ink | Blot carefully with a suitable fabric product | Solvents can remove dye |
| Pet urine | Blot, then use an enzyme cleaner labeled for automotive upholstery | Odor may remain in the foam |
| Blood | Use cool water and blot; follow product instructions | Hot water may set some protein stains |
| Gum | Chill it with ice in a bag, lift it gently, then clean residue | Do not scrape with a sharp blade |
Coffee, soda, and juice
Blot the spill with a clean towel. Press down and lift up rather than rubbing side to side.
Use a small amount of mild soap solution to remove the remaining sugar or color. Follow with a clean, damp towel and dry the area well.
Grease and oil
Blot fresh grease with a dry towel. Do not rub it outward.
Use an automotive upholstery cleaner that specifically addresses grease, and test it first. Some household degreasers are too strong for dyed fabric and foam.
Mud and dirt
Let mud dry before vacuuming. This makes it easier to remove without spreading it.
After vacuuming, clean the remaining mark with mild soap solution. Several light passes are safer than one very wet pass.
Vomit, food, and organic spills
Wear disposable gloves and remove solid material with paper towels or a plastic scraper. Place the waste in a sealed bag.
Clean the fabric with an upholstery-safe cleaner. An enzyme cleaner may help with organic odors, but it must be labeled for fabric and used as directed.
Open the doors or windows while the seat dries. If the odor remains after the surface is clean, liquid may have reached the foam.
Ink and dye transfer
Ink can be difficult to remove without changing the fabric color. Blot rather than rub, and use only a product that is approved for the seat material.
If the stain remains or the fabric begins to lose color, stop cleaning. A professional automotive detailer may be able to improve it without causing a larger damaged area.


How to Remove Bad Odors From Fabric Car Seats
Clean the source of the odor before using a deodorizer. Sprays may hide a smell for a short time, but they will not solve moisture or residue trapped in the foam.
Use this order:
- Remove the material that caused the odor.
- Vacuum the seat and nearby carpet.
- Clean the fabric with an upholstery-safe product.
- Blot out moisture.
- Dry the seat fully with air movement.
- Repeat only if the odor is still present.
Avoid pouring baking soda, vinegar, or scented products into the seat. Powder can settle in seams and vents. Vinegar may leave its own odor and does not replace proper cleaning.
If the seat smells musty after it seems dry, check for a wet floor, leaking door seal, spilled liquid under the seat, or damp padding. Persistent odor may require professional extraction.

What to Avoid When Cleaning a Car Seat
Many cleaning problems come from too much water or too much force.
- Do not soak the seat cushion.
- Do not spray liquid into seat seams, controls, or electrical connectors.
- Do not use bleach or strong household solvents.
- Do not scrub with a stiff brush.
- Do not use high heat to dry the seat.
- Do not mix cleaning chemicals.
- Do not cover a damp seat.
- Do not ignore the vehicle owner’s manual.
- Do not use a steam cleaner unless the vehicle maker and equipment instructions permit it.
- Do not clean over a damaged seat-mounted airbag seam.
Water can reach foam, wiring, sensors, or heating elements. A wet seat may also develop odor or mildew if it dries slowly.
If you see an airbag warning light after cleaning, stop using the system and have the vehicle checked by a qualified technician. Do not attempt to repair or remove a seat-mounted airbag yourself.
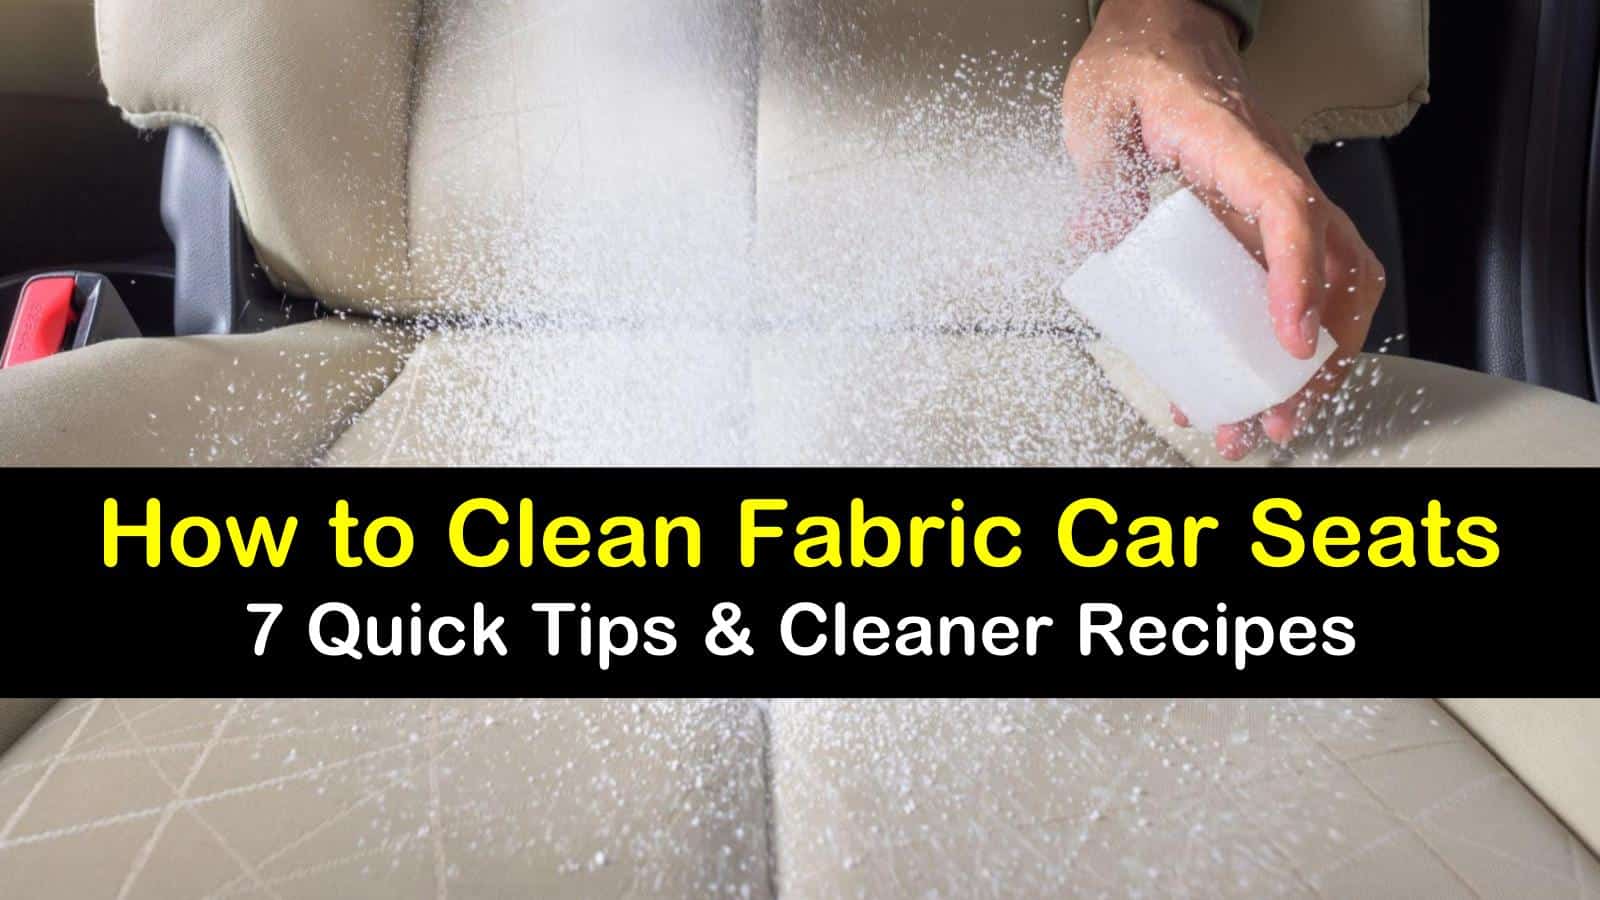
How to Clean Heated, Ventilated, or Airbag-Equipped Seats
Seats with extra features need more care than basic fabric seats. The owner’s manual controls because designs vary by vehicle and model year.
For heated or ventilated seats, use a damp cloth rather than a wet brush whenever possible. Keep liquid away from vents, switches, seams, and control panels.
For seats with side airbags, do not scrub, sew, cover, or apply heavy liquid to the airbag seam. The seam is designed to open in a crash. Follow the cleaning instructions in the manual.
If the seat has electronic controls, memory functions, occupancy sensors, or wiring beneath it, avoid pushing liquid into gaps. Never disconnect seat wiring unless the vehicle repair information specifically directs a trained person to do so.
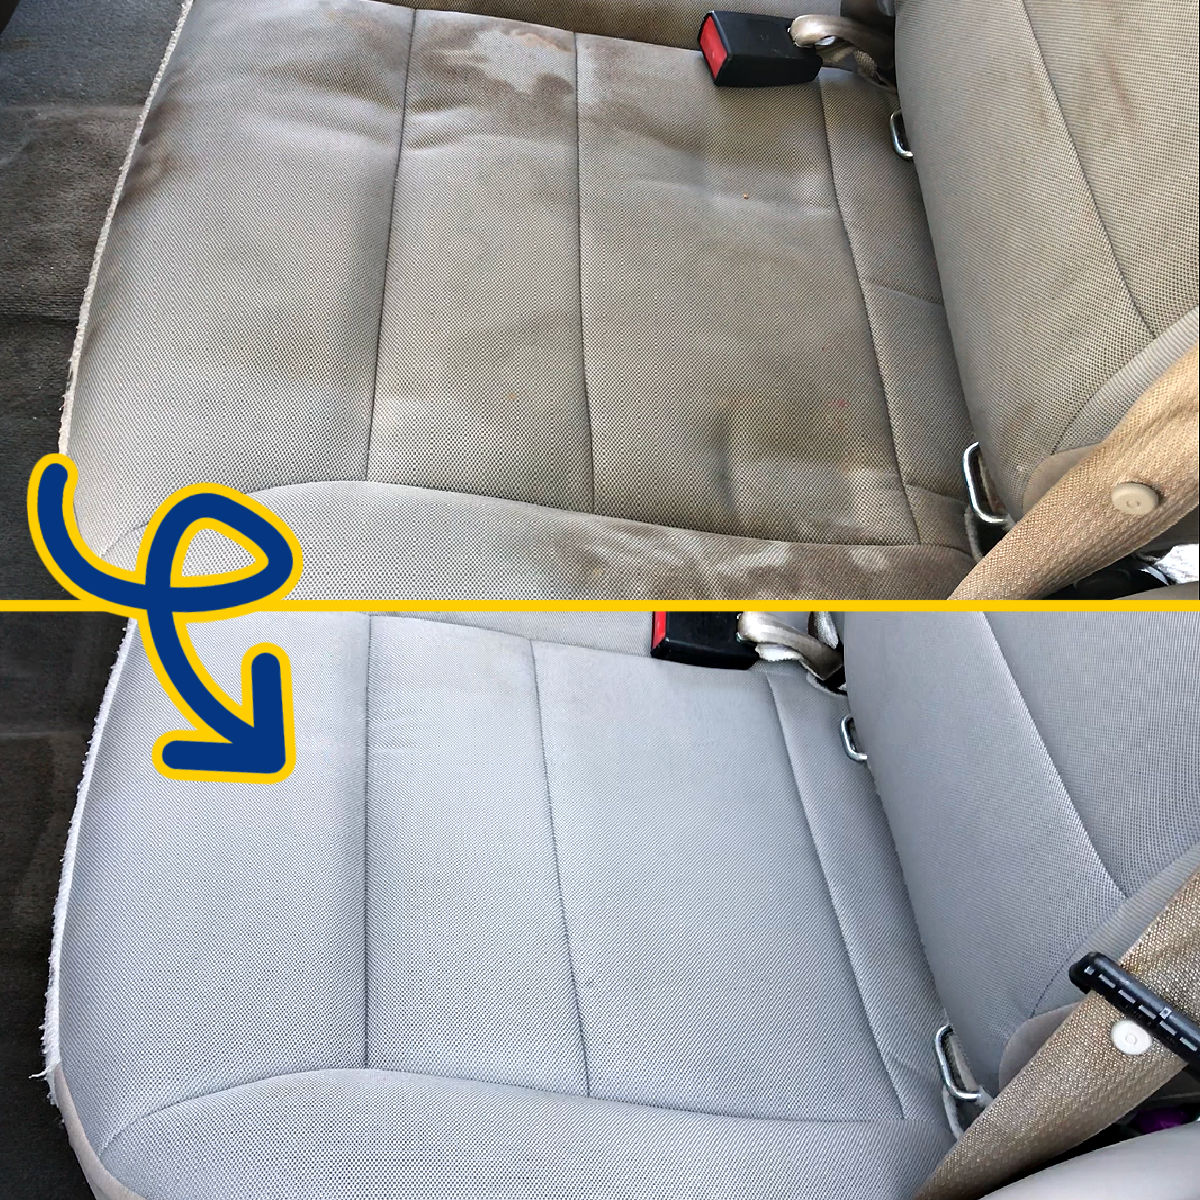
How to Clean a Child Car Seat Versus a Vehicle Seat
A child safety seat is not cleaned the same way as the vehicle’s fabric seat. Follow the child restraint manufacturer’s manual for the cover, harness, buckle, and padding.
In general, do not use bleach, harsh chemicals, solvents, or unapproved lubricants on a child restraint. Do not machine-wash or soak harness straps unless the manufacturer specifically allows it. Damage or changes to the harness can affect how it works in a crash.
Remove the child seat from the vehicle before cleaning the vehicle seat underneath it. Let both the vehicle seat and child restraint dry completely before reinstalling the restraint.


For official child passenger safety information in the United States, consult NHTSA’s child passenger safety resources.
When Home Cleaning Is Not Enough
Home cleaning may not solve every problem. Consider professional help when:
- The odor returns after the seat is fully dry.
- A drink soaked deep into the cushion.
- The seat has mold or widespread mildew.
- The fabric is badly stained or discolored.
- The foam is wet, damaged, or crumbling.
- The seat has an airbag warning light.
- A seat belt, sensor, or electrical part was soaked.
- The fabric is torn near an airbag seam.
A professional detailer can use controlled extraction and suitable upholstery products. Tell the detailer about heated seats, ventilation, airbags, child restraints, and any warning lights before work begins.
A professional cleaning cannot repair damaged seat wiring or an airbag system. Those issues require a qualified automotive technician.

How Often Should You Clean Fabric Car Seats?
Clean spills as soon as possible. For routine care, vacuum the seats every few weeks or whenever dirt becomes visible.
A deeper clean may be useful a few times per year, depending on the vehicle. Families with young children, pets, outdoor hobbies, or frequent food spills may need to clean more often.
Regular vacuuming reduces the need for wet cleaning. It also helps prevent grit from wearing down the fabric.
Use seat covers only when they are approved for the vehicle and do not interfere with side airbags. A cover that blocks an airbag seam can create a safety problem.

Common Questions About Cleaning Fabric Car Seats
Can I use laundry detergent on a fabric car seat?
Laundry detergent is not the best first choice. It may create excess suds and leave residue in the fabric or foam. Use a small amount of mild soap or an automotive upholstery cleaner instead.
Can I use a carpet cleaner on car seats?
Some carpet cleaners are suitable for automotive upholstery, but not all are safe for seats. Check the label and vehicle manual first. Use low moisture, extract thoroughly, and keep liquid away from wiring, controls, and airbag seams.
Can I use vinegar to clean car seats?
Vinegar may help with some odors, but it is not a universal cleaner. It can leave an odor and may affect some materials or dyes. An upholstery product made for the fabric is usually a more controlled choice.
Why does my seat smell worse after cleaning?
The seat may still be damp, or the spill may have reached the foam. Poor air flow can also trap moisture. Dry the seat fully, inspect nearby carpet and floor areas, and seek professional extraction if the smell returns.
How can I clean a white fabric car seat without leaving rings?
Clean the entire fabric panel evenly instead of treating only the center of the stain. Use a small amount of solution, rinse with a clean damp towel, and blot dry. Water rings often come from uneven wetting or soap left behind.
Final Takeaway
To clean a fabric car seat, remove loose debris, vacuum well, test a mild cleaner, work in small areas, blot away moisture, and let the seat dry completely. Avoid soaking, harsh chemicals, high heat, and liquid near airbag seams or electrical parts.


Start with the vehicle owner’s manual. Then use the least aggressive method that can solve the problem. For deep odors, heavy stains, damaged fabric, or warning lights, stop home cleaning and use a qualified detailer or automotive technician.