

To tint car glass, clean the windows, apply measured film with solution, remove bubbles, and let it cure.
Learning how to tint car glass can save money and improve comfort, privacy, and UV protection. The key is careful prep, the right film, steady hands, and strict attention to local window tint laws. This guide explains the full process, including tools, film choice, common errors, and when professional installation is the smarter choice.
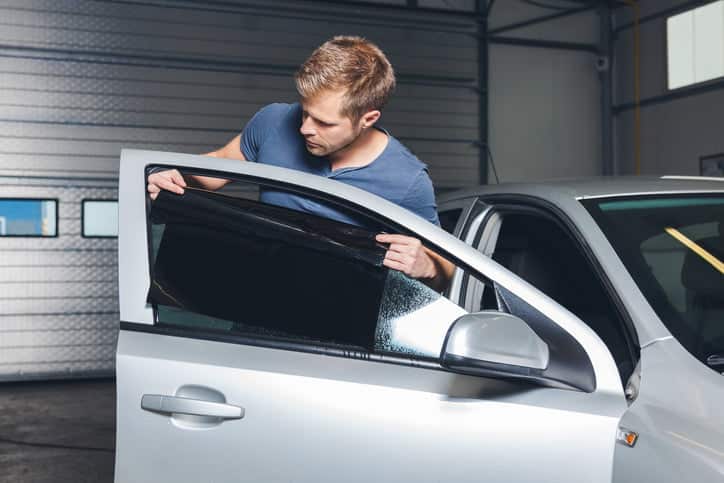
What does car window tint do?
Car window tint is a thin film placed on the inside of automotive glass. The film may reduce visible light, block ultraviolet radiation, limit solar heat, and add privacy. Some films can also help hold broken glass together after impact, although tint should never be viewed as a replacement for safety glass.
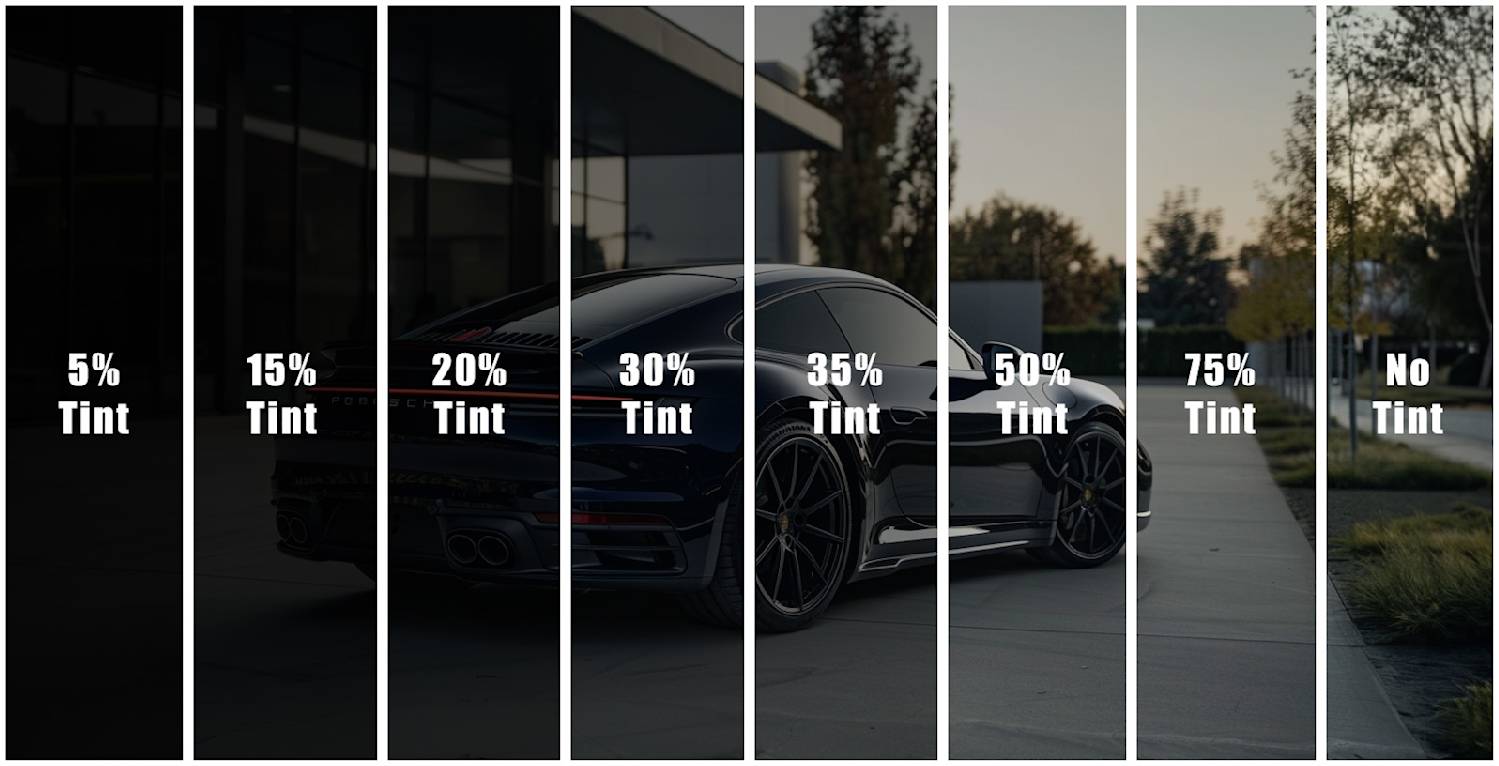
Before learning how to tint car glass, understand visible light transmission, or VLT. VLT is the percentage of visible light that passes through the glass and film.
For example:
• A 70% VLT film looks light and allows more light through.
• A 35% VLT film gives a medium shade.
• A 5% VLT film, often called “limo tint,” is very dark.
The final shade depends on both the film and the original glass. A 50% film placed over factory-tinted glass may look much darker than 50%.
Quality film can also reduce glare and protect the interior from fading. However, darker does not always mean better. Very dark tint can reduce night visibility and may be illegal on front windows.
Check tint laws before you start
The first step in learning how to tint car glass is checking the rules in your state. Tint laws often differ for the windshield, front side windows, rear side windows, and rear windshield.
Many states allow a lighter tint on front windows than on rear windows. Some permit darker rear tint only when the vehicle has outside side mirrors. Windshield tint is often limited to a narrow strip above the manufacturer’s AS-1 line.
Check these points before buying film:
• The legal VLT limit for each window.
• Whether reflective or metallic film is restricted.
• Whether red, amber, or blue film is banned.
• Rules for SUVs, vans, limousines, and medical exemptions.
• Whether the state requires a certification sticker.
• Whether the vehicle must have dual outside mirrors with dark rear tint.
Law enforcement may use a VLT meter to measure the combined light transmission of the glass and film. A film labeled “legal” by a seller may not be legal on every vehicle because factory glass changes the final result.
Do not rely only on advice from a friend or an online listing. State laws can change, and penalties may include a ticket, failed inspection, or removal of the film. Read your state motor vehicle agency’s current guidance before installation.

Gather the right tools and materials
Good tools make learning how to tint car glass far easier. Many failed tint jobs come from poor tools, not poor film.
You will need:
• Automotive window tint film.
• A spray bottle with clean water and a small amount of baby shampoo or tint solution.
• A sharp utility knife with fresh blades.
• A hard card or plastic squeegee.
• A soft rubber squeegee.
• A dedicated tint application card.
• A microfiber towel.
• A lint-free cloth.
• A heat gun or hair dryer.
• A measuring tape.
• A dust mask if you are cleaning old adhesive.
Use a proper tint solution when possible. Avoid household cleaners that contain ammonia. Ammonia can damage some films, weaken adhesives, and leave residue that causes cloudy spots.
A sharp blade matters more than many beginners expect. A dull blade can drag the film, tear the edge, or leave a rough cut. Always cut away from your hands and replace the blade as soon as it starts to pull.
Choose film based on your needs:
• Dyed film is affordable and reduces glare, but it may fade sooner.
• Carbon film offers a darker, nonmetallic look and usually resists fading better.
• Ceramic film can reduce infrared heat while maintaining signal strength, but it costs more.
• Metallic film can reflect heat well, but it may interfere with some radio, phone, GPS, or keyless-entry signals.
Buy automotive film from a trusted supplier. Cheap decorative film may shrink, turn purple, bubble, or peel.
Prepare the car and glass
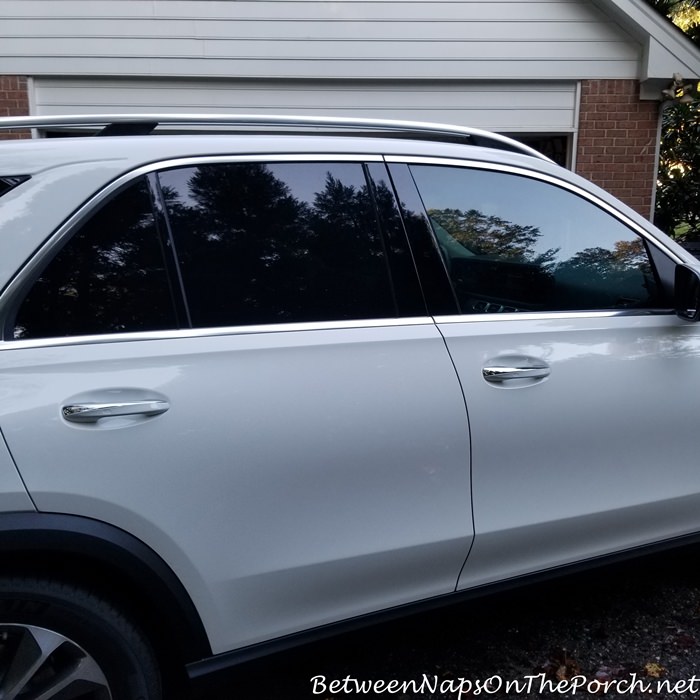
Clean preparation is the foundation of how to tint car glass. Dust, hair, oil, and tiny fibers trapped under the film will remain visible after the film dries.
Work in a clean, shaded place. A garage is ideal, but it should not be dusty. Avoid windy outdoor areas because airborne dirt can land on the adhesive while you work.
Prepare the vehicle with these steps:
Wash the outside of the windows.
Clean the inside glass with a tint-safe cleaner.
Remove stickers, suction-cup marks, and oily residue.
Lower the window slightly to expose the top edge.
Cover the door panel with a towel or plastic sheet.
Clean the glass again with the solution.
Use a razor scraper only where the glass and local rules allow it.
Pay close attention to the bottom of the window. Dirt often collects near the rubber seal. Wrap a hard card in a clean microfiber cloth and slide it along the lower edge to lift hidden debris.
Do not rush this step. In my hands-on tint work, most small specks came from one missed cleaning pass near the window seal. The film was fine; the glass was not clean enough.
Measure and cut the tint film
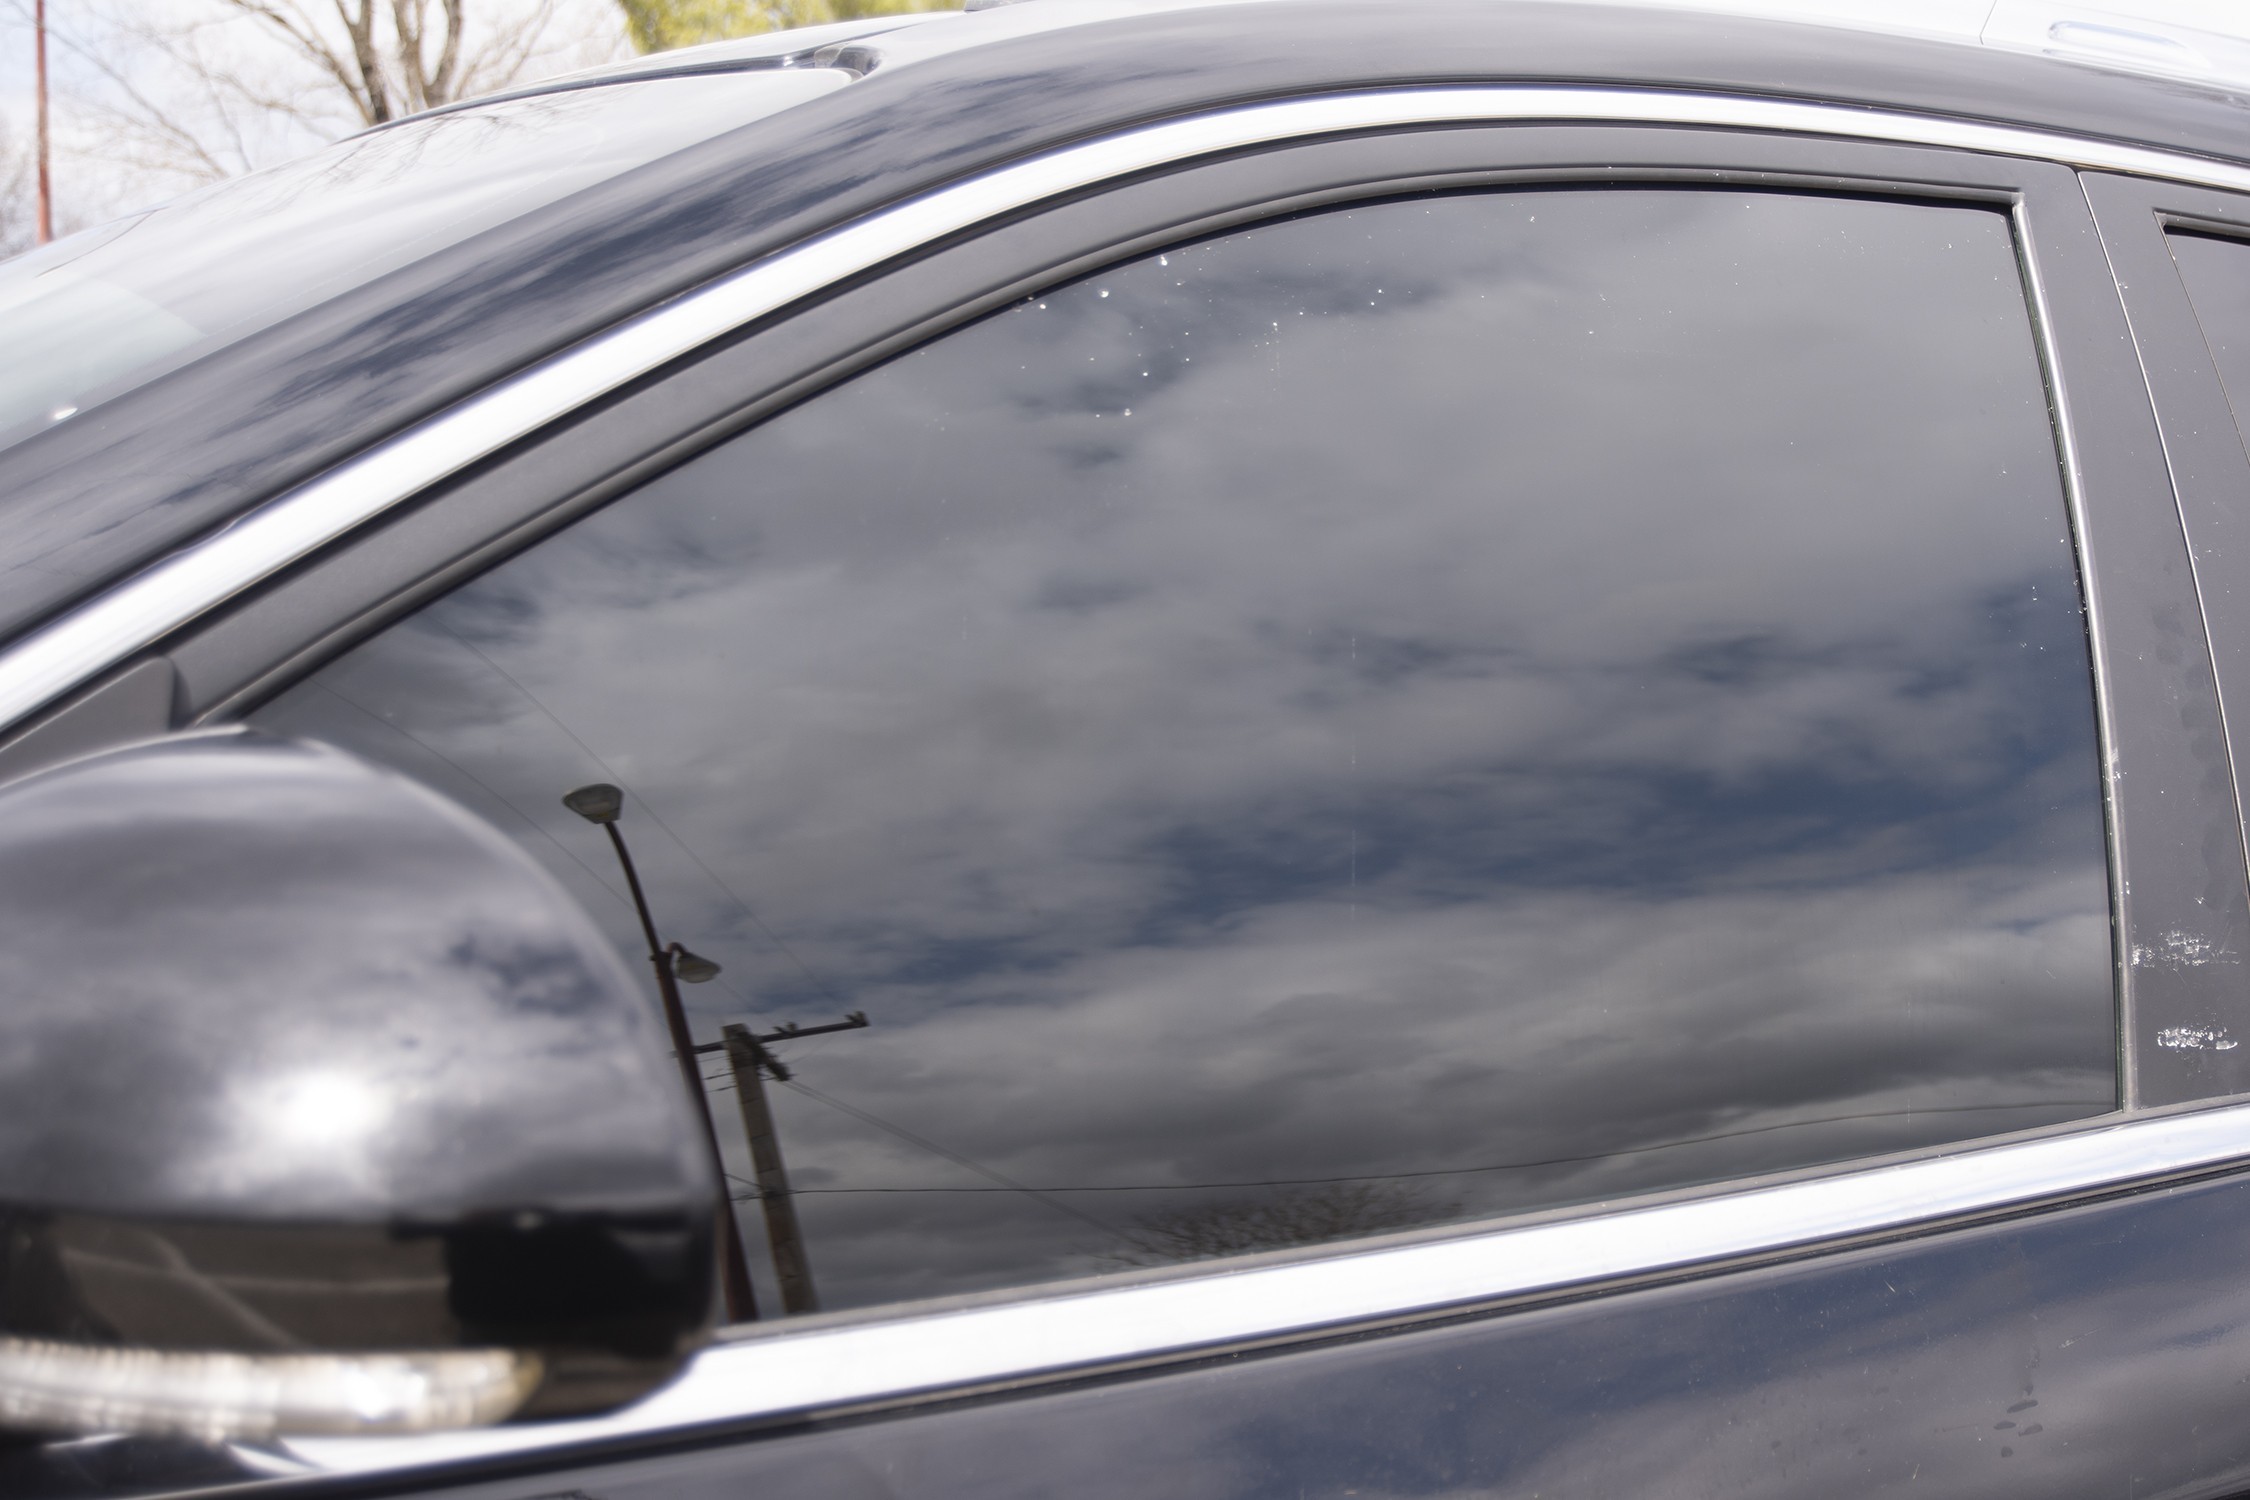
The next part of how to tint car glass is measuring and cutting the film. Always cut a piece slightly larger than the window first. A small amount of extra film gives you room to align the edges.
Place the film on the outside of the window with the liner facing outward. Spray the outside glass so the film can slide without sticking.
Keep the film’s clear liner toward you. Trim the rough shape with several inches of excess on all sides. Do not try to make a perfect final cut during this first pass.
For side windows:
Position the film with the liner facing you.
Leave extra film at the top, bottom, and sides.
Mark the window shape with light pressure.
Trim the sides while keeping the film flat.
Lower the window slightly and cut the top edge.
Leave a tiny gap below the upper rubber seal.
A small gap prevents the film from catching when the window moves. A gap that is too wide, however, looks unfinished and can allow peeling at the edge.
Use the window itself as your template, but remember that curved glass may require heat shrinking. Never stretch the film like plastic wrap. Stretching can distort the tint and create permanent lines.

Heat shrink curved windows
Rear windshields and some side windows have strong curves. Learning how to tint car glass on curved surfaces requires heat shrinking before the film goes inside.
Place the film on the outside of the clean rear glass. Keep the liner facing outward and spray the surface. Use a heat gun or hair dryer to soften the film while guiding the shrinking process with a squeegee.
The film will form small raised ridges, often called fingers. Warm the ridges carefully and push them toward the nearest edge. Keep the heat moving. Holding heat in one spot can shrink the film too quickly or damage the defroster lines.
Use extra care on rear windows with embedded defrosters. Scraping or pulling across those lines can damage them. If the old film is being removed, test a small area first and avoid aggressive tools.
A useful lesson from practical installations is that heat should shape the film, not force it into place. Too much heat creates a warped finish. Too little heat leaves fingers that cannot be smoothed later.

Apply the film to the inside glass
Once the film is cut and shaped, clean the inside glass one more time. This second cleaning is worth the few extra minutes.
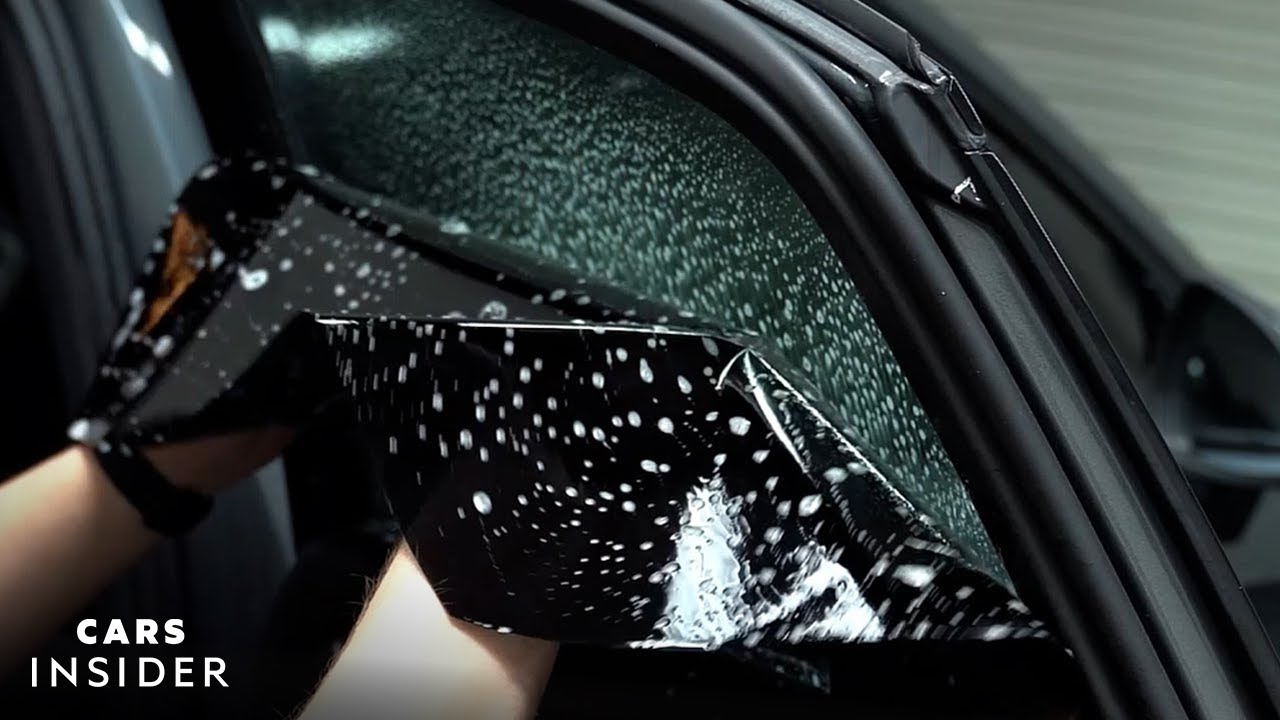
Spray the inside glass generously with application solution. Peel away the film liner slowly while spraying the exposed adhesive side. Keep the adhesive wet so the film does not grab the glass too soon.
Place the film against the inside of the window. Align the top edge first, then adjust the sides and bottom. The wet solution lets you slide the film into position.
Use the squeegee in overlapping strokes:
Start near the center of the glass.
Push water and air toward the nearest edge.
Use firm, even pressure.
Wipe the squeegee after each pass.
Work from top to bottom and side to side.
Respray the surface if the squeegee begins to drag.
Do not press hard enough to crease the film. A crease is usually permanent. Small water pockets may disappear during curing, but trapped dust and sharp wrinkles will not.
Wrap a tint card in a soft cloth for the final edge work. This protects the film from scratches while helping you press solution from narrow areas.
This is the central process in how to tint car glass. Take your time. A slow, clean installation usually looks better than a fast job with expensive film.
Finish the edges and let the tint cure
After the film is smooth, trim the final edges with a new blade. Keep the blade at a shallow angle and use the window edge as your guide.
Leave a narrow, even gap near the rubber seal. If the film touches the seal, the seal may lift it when the window moves. If the gap is uneven, it will be easy to see from outside.
Press the edges with a hard card wrapped in a lint-free cloth. Remove any remaining moisture from the border. Do not roll the window down until the film has bonded well enough to stay in place.
Curing time depends on the film, weather, humidity, and sunlight. Many installations need several days. In cool or damp conditions, curing can take longer.
During curing:
• Do not clean the inside glass with strong chemicals.
• Do not pick at small bubbles.
• Do not roll the windows down.
• Do not attach suction cups or stickers to the film.
• Expect a slightly hazy look at first.
A few small water pockets may fade as moisture escapes. Large bubbles, dust spots, creases, and peeling edges usually indicate an installation problem. If those defects remain after curing, the film may need to be replaced.

Tint different car windows safely
Different windows require different techniques when learning how to tint car glass.
Front side windows
Front side windows are often the easiest place to begin. They are fairly flat and allow simple access to the glass.
Lower the window slightly to cut the top edge. After applying the film, raise the window and press the lower section into place. Keep the film clear of the moving seal.
Rear side windows
Rear side windows may have deeper curves and complex edges. Use heat shrinking when needed, and check the shape before transferring the film inside.
Some rear doors also contain small fixed glass panels. Treat each panel as a separate piece rather than trying to cover several shapes with one sheet.
Rear windshield
The rear windshield is often the hardest window. It has a broad curve, defroster wires, and limited access.
A large rear window may be easier to install with two or more film pieces. If you use multiple pieces, place the seam over a defroster line when the film manufacturer allows it. A skilled installer can make the seam difficult to notice.
Windshield
Windshield tint needs special care. Many areas allow only a top strip, and some states restrict it further. Do not cover sensors, cameras, inspection markings, or the driver’s clear view.
If you are unsure about windshield rules or your cutting skill, have this work done by a professional.
Avoid common window tinting mistakes
Knowing what not to do is a major part of how to tint car glass. Most mistakes are preventable.
Common problems include:
• Installing film on dusty glass.
• Using household glass cleaner with ammonia.
• Working in direct sun or wind.
• Cutting film too small.
• Using a dull blade.
• Stretching the film.
• Applying too little solution.
• Pressing a dirty squeegee across the film.
• Rolling the window down too soon.
• Choosing film without checking local laws.
• Scraping rear defroster lines.
• Expecting cheap film to perform like ceramic film.
One mistake I have seen repeatedly is trying to fix a bad edge after the adhesive has dried. The installer lifts the film, creates a crease, and makes the repair more visible. If an edge is badly misaligned, replacing the piece is often cleaner than forcing it back into place.
Another mistake is judging the result too soon. Fresh tint can look cloudy because solution remains between the film and glass. Give it time to cure before deciding whether the installation failed.
DIY tinting versus professional installation
DIY tinting can work well for a flat side window, especially if you are patient and use quality materials. It is less forgiving on rear windshields, curved glass, and vehicles with delicate electronics or defroster systems.
DIY may suit you if:
• You want to learn the process.
• You have a clean workspace.
• You can accept a learning curve.
• You are tinting a second vehicle window or small panel.
Professional installation may be better if:
• Your car has a large curved rear windshield.
• You need a seamless factory-style finish.
• You lack a clean indoor work area.
• The vehicle has complex sensors or defroster lines.
• You want a workmanship warranty.
• You are concerned about legal VLT measurements.
Ask an installer what film brand and film type they use. Request the stated VLT, warranty terms, and examples of recent work. A reputable shop should explain the film’s limits without promising impossible heat rejection.
Price also varies by vehicle size, film quality, and window count. Ceramic film usually costs more, but the best choice depends on your climate, driving habits, budget, and need for signal compatibility.
How to maintain tinted windows
Correct care helps the film last longer. Wait until the film has cured before cleaning it. Follow the film maker’s guidance if it gives a longer waiting period.
Use:
• A soft microfiber cloth.
• Clean water.
• A tint-safe, ammonia-free cleaner.
• Gentle straight passes rather than harsh scrubbing.
Avoid abrasive pads, rough paper towels, ammonia-based products, and sharp objects. Do not place stickers on the film unless they are specifically approved for tinted glass.
If the tint begins to bubble, turn purple, peel, or show large cracks, replacement is usually the proper fix. Applying new film over damaged film rarely produces a clean result.
Inspect the edges from time to time. Early peeling is easier to address than a large section that has lifted from the glass.
Benefits and limits of car window tint
A quality tint job can make a noticeable difference in daily driving. It may reduce glare, make the cabin feel more comfortable, and help protect seats and dashboards from sunlight.
Potential benefits include:
• Better privacy.
• Reduced visible glare.
• Lower solar heat entering the cabin.
• UV protection for the interior and occupants.
• A cleaner, more finished appearance.
The benefits have limits. Window tint does not replace air conditioning, guarantee a cooler cabin, or block every type of solar energy. Performance depends on the film’s construction, the glass, the vehicle, and the amount of direct sun.
Tint also cannot correct unsafe driving visibility. A very dark film may make nighttime driving harder, especially on unfamiliar roads or poorly lit streets. Legal limits exist for safety as well as enforcement.
Frequently asked questions about how to tint car glass
Can I tint car glass at home?
Yes, you can tint some car windows at home with the right film, tools, and clean workspace. Flat side windows are the best starting point, while curved rear windshields often require professional skill.
Is it better to tint the inside or outside of car glass?
Automotive tint film is normally installed on the inside of the glass. The outside is used temporarily for measuring, shaping, and heat shrinking.
How long does car window tint take to cure?
Many films need several days to cure, but cool weather and high humidity can extend that time. Avoid rolling down the windows or cleaning the film until the adhesive has set.
Why does new window tint look bubbly?
Fresh tint can look hazy or show small water pockets while the solution evaporates. Large bubbles, dust spots, creases, and peeling edges usually will not disappear and may require replacement.
What is the best tint percentage for a car?
The best tint percentage depends on local law, the factory glass, your need for privacy, and nighttime visibility. Always measure the final glass-and-film combination rather than relying only on the film’s labeled percentage.
Can window tint block UV rays?
Many automotive films block a high level of ultraviolet radiation, but performance varies by product. Check the manufacturer’s technical information instead of assuming every dark film offers the same protection.
Can I tint windows with defroster lines?
Yes, but rear windows with defroster lines require careful cleaning and application. Avoid scraping or pulling across the lines, especially when removing old film.
Conclusion
Learning how to tint car glass is mainly a lesson in preparation and control. Use legal, quality film; clean the glass carefully; cut with room to spare; heat-shrink curved areas gently; and allow the adhesive to cure fully.
Start with a simple side window if you are new to the process. If the glass is highly curved or the finish must be perfect, a qualified installer can save time and prevent costly mistakes. Check your local tint laws first, gather the right tools, and use this guide as your step-by-step plan.