

Waxing a car means washing, drying, preparing, and applying a thin coat of wax with clean tools.
Learning how to wax a car is easier than it first seems. With the right surface prep, product, and technique, you can improve gloss, add water protection, and help your paint stay cleaner. This guide explains the process step by step, including the mistakes that can dull your finish instead of improving it.
What Car Wax Does
Car wax is a protective product that sits on top of automotive paint. It creates a smooth layer that helps water bead and can reduce the effect of light dirt, road film, tree sap, and other contaminants.
Wax does not permanently repair scratches or replace paint correction. It can make minor swirls look less noticeable by improving gloss, but deep scratches usually need polishing or professional repair first.
Most wax products fall into three groups:
• Paste wax offers a rich look and often lasts well, but it can take more effort to spread and remove.
• Liquid wax is easy to apply and works well for most home users.
• Spray wax is fast and convenient, but its protection often lasts less than a traditional paste or liquid wax.
Some products use carnauba wax for a warm, deep shine. Others use synthetic polymers for longer durability. Hybrid waxes combine both traits. The best choice depends on your goals, climate, time, and paint condition.
What You Need to Wax a Car
Gather your supplies before you begin. Stopping halfway to find a towel can expose the paint to dust and make the job harder.
You will need:
• A quality car wash soap
• Two buckets, preferably with grit guards
• A microfiber wash mitt
• A soft drying towel or car air blower
• Automotive clay bar or synthetic clay towel, if needed
• Clay lubricant
• Car wax or a wax-based sealant
• Foam or microfiber applicator pads
• Several clean microfiber towels
• A soft detailing brush for trim and tight areas
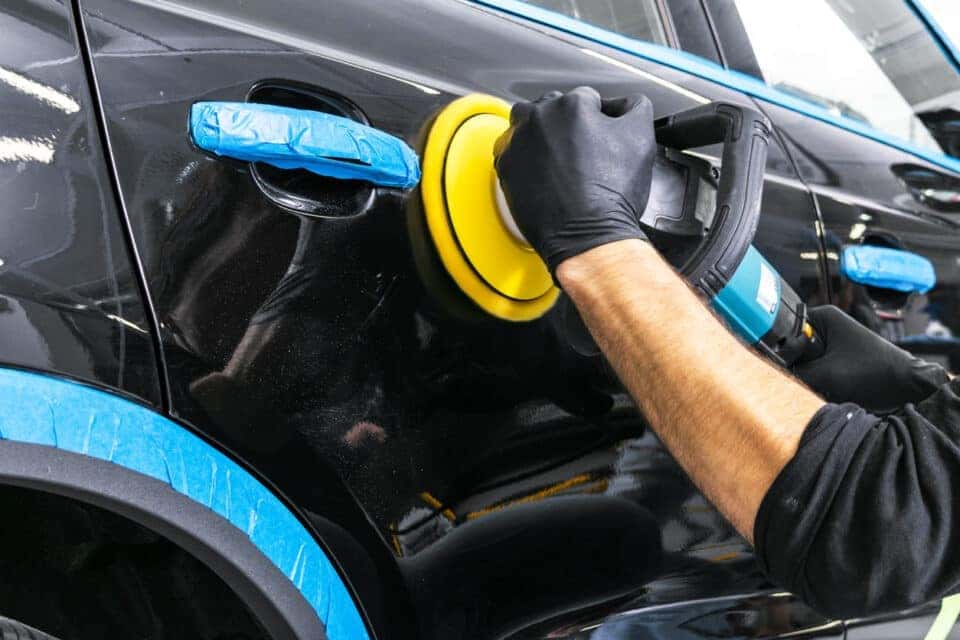
• Painter’s tape for protecting textured plastic trim
Avoid household dish soap. It can remove existing wax and may dry rubber, plastic, or other exterior materials over time. A dedicated car soap is made to clean road grime while being safer for automotive surfaces.
Use clean microfiber towels with a short or medium pile. Never use a towel that has touched the floor, wheels, engine parts, or greasy surfaces. One small piece of trapped grit can leave fine marks in clear coat.
Choose the Right Time and Location
The best place to wax a car is a clean, dry, shaded area. Direct sunlight can heat the panel and cause the wax to dry too quickly. Heat also makes removal harder and may leave uneven patches.
Check the weather before you start. Avoid waxing when:
• Rain is expected soon
• Strong wind is blowing dust onto the car
• The paint is hot to the touch
• Humidity is very high
• Temperatures are outside the product maker’s recommended range
A garage is ideal, but a shaded driveway can also work. Keep the car away from sprinklers, dusty roads, and trees that may drop sap or pollen.
One lesson I learned early is that lighting matters. A panel can look clean in shade while still holding streaks or residue. Good daylight or a bright inspection light helps you see missed areas before they become a problem.
Wash and Dry the Car First
Never wax a dirty car. Waxing over sand, grit, or road film can press those particles into the clear coat and create scratches.
Follow these steps:
Rinse the entire car from top to bottom. This removes loose dust and grit.
Clean the wheels and tires with separate tools. Wheel dust can damage painted panels.
Wash the roof, glass, hood, trunk, and upper doors first.
Use straight, gentle passes instead of scrubbing in circles.
Rinse the wash mitt often in a second bucket of clean water.
Rinse the car again until no soap remains.
Dry the vehicle with a clean microfiber drying towel.
Work one section at a time. The lower doors, bumpers, and rear panels usually hold the most dirt, so wash them last. Use a separate mitt for these areas when possible.
Do not let the car air-dry in direct sun. Mineral spots can remain behind, especially if your water is hard. If water spots are already present, remove them before waxing with a suitable water-spot remover or a mild finishing polish.
Check the Paint Before Waxing
After washing and drying, run your clean fingertips lightly across the paint inside a thin plastic bag. If the surface feels rough or sandy, bonded contaminants are still present.
These contaminants may include:
• Industrial fallout
• Brake dust
• Tree sap
• Road tar
• Paint overspray
Waxing over them traps the rough feeling beneath the protective layer. The paint may look shiny, but it will not feel truly smooth.
If the surface feels rough, use an automotive clay bar or synthetic clay towel with plenty of lubricant. Move gently in small sections. Stop when the surface feels smooth, and dry the area with a microfiber towel.
Clay can remove bonded contamination, but it can also create light marring if used with too little lubricant or too much pressure. It is not always needed before every wax. Use it when the paint feels rough, not simply because a detailing checklist says so.
Remove Old Wax and Paint Defects When Needed
You do not always need to strip every trace of old wax before applying a new coat. A thorough wash and surface preparation are often enough for routine maintenance. However, removing old protection can help when you are changing products or correcting the paint.
Use a dedicated paint cleaner, chemical wax remover, or mild polish when appropriate. Follow the product label and test it on a small area first.
Wax cannot remove:
• Deep scratches
• Rock chips
• Rust
• Heavy oxidation
• Etching that has entered the clear coat
A cleaner wax may reduce mild oxidation and improve gloss. A polish can remove or reduce very light defects, but polishing removes a small amount of clear coat. Use the least aggressive product that solves the problem.
During my own detailing work, I found that people often blame the wax for a dull finish when the real issue is poor preparation. Wax is more like a clear coat for the final result: it protects and enhances what is already there, but it cannot hide major surface damage.
How to Wax a Car by Hand
Once the paint is clean, dry, and smooth, you are ready to apply the wax. Read the label first because curing times and removal instructions vary by product.
Follow this method:
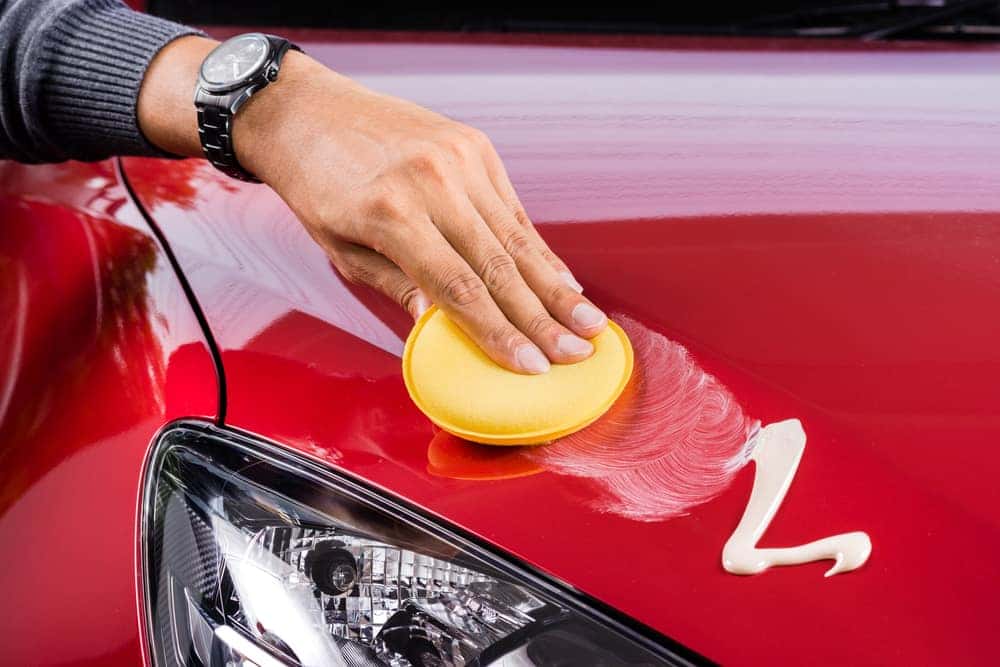
Apply a small amount of wax to a clean foam or microfiber applicator.
Work on one panel or half a panel at a time.
Spread the wax into a very thin, even layer.
Use overlapping passes to avoid missed spots.
Keep wax away from textured plastic trim, rubber seals, and matte surfaces.
Allow the product to haze only if the instructions say to do so.
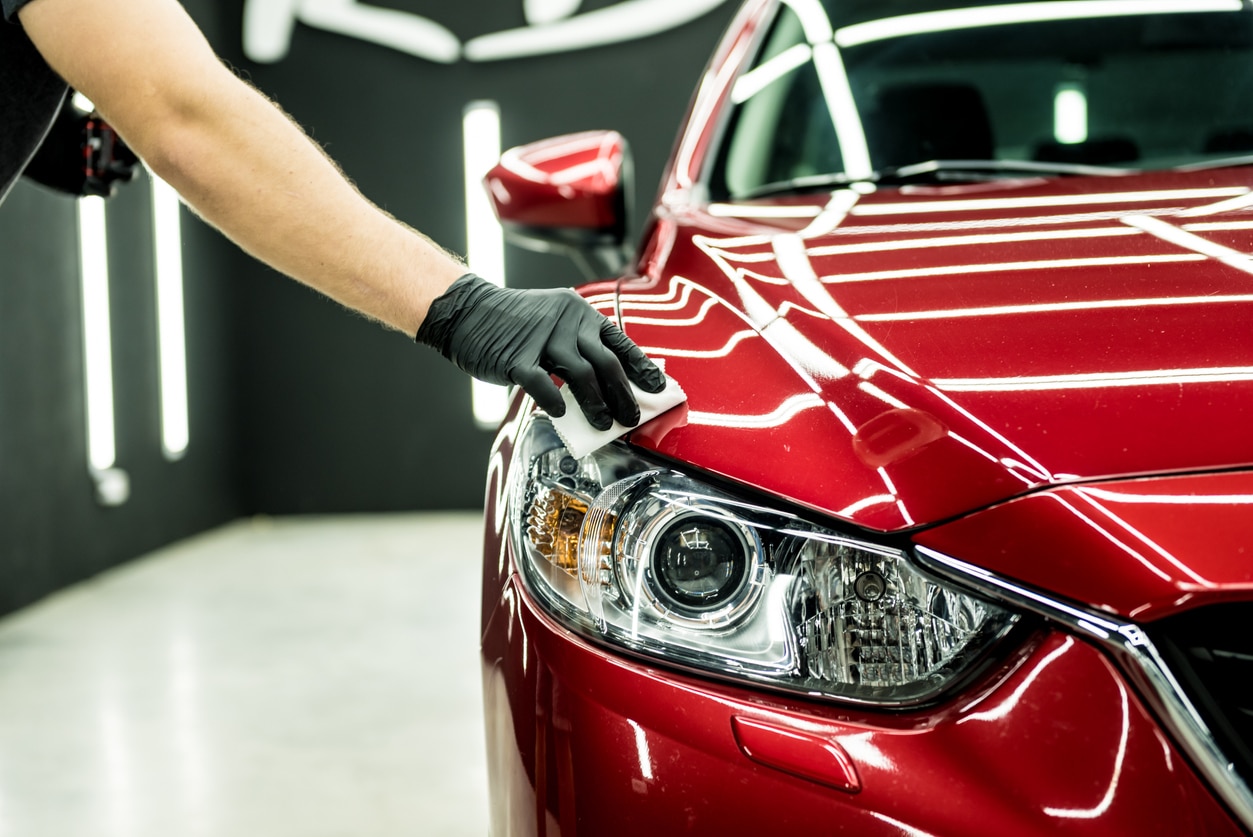
Wipe the residue away with a clean microfiber towel.
Flip the towel often to expose a fresh side.
Inspect the panel from different angles before moving on.
More wax does not mean more protection. A thick coat wastes product and makes removal difficult. Thin layers usually cure more evenly and leave less residue.
Some modern waxes should be removed while still slightly wet rather than after a heavy haze forms. Always follow the manufacturer’s directions. Product formulas differ, so a technique that works for one wax may cause streaking with another.
For a second coat, check the label. Some waxes benefit from layering, while others can become cloudy or uneven when applied too heavily. If layering is allowed, wait for the stated cure time before adding another coat.
How to Wax a Car With a Machine
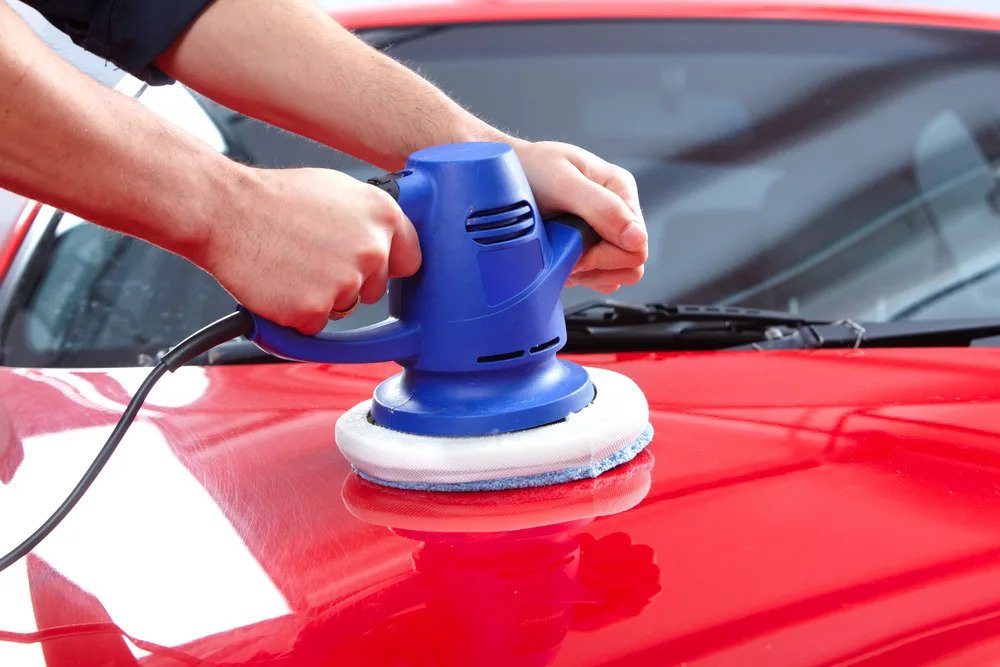
A dual-action polisher can spread wax quickly and evenly. It is also safer for beginners than a rotary polisher because it reduces the risk of creating severe heat or paint damage.
Use a soft finishing pad and a low speed. The goal is to spread the wax, not remove paint.
A machine application usually follows this process:
• Add a few small drops of wax to the pad.
• Place the pad flat against the panel before starting the machine.
• Work in small sections with slow, overlapping passes.
• Use light pressure.
• Keep the pad moving.
• Wipe off the product with a clean microfiber towel.
Do not use a cutting pad or aggressive compound pad for simple wax application. Do not run a polisher over sharp edges, damaged paint, loose trim, or emblems without care.
If you are new to machine polishing, practice on a small area or an old panel first. A machine can save time, but it cannot replace clean towels, proper preparation, or attention to detail.
Protect Trim, Glass, and Other Surfaces
Most traditional car waxes are designed for painted surfaces. They may leave white marks on textured black plastic or rubber trim.
Use painter’s tape around sensitive trim before waxing. If wax touches plastic, remove it quickly with a damp microfiber towel or a product made for exterior trim. Do not use harsh solvents unless the surface and product instructions allow them.
Be careful around:
• Matte paint
• Vinyl wraps
• Clear plastic lenses
• Rubber seals
• Convertible fabric roofs
• Uncoated glass
Some spray waxes are safe for glass, while others can cause smearing or wiper chatter. Check the label before applying any product outside painted panels.
Wax is also not a substitute for tire dressing or plastic protection. Each material has different needs, and using the wrong product can leave a greasy or uneven finish.
Common Mistakes to Avoid
The most common waxing problems come from rushing the preparation stage.
Avoid these mistakes:
• Waxing a dirty or wet car when the product requires a dry surface
• Working in direct sunlight
• Applying a thick layer
• Using one towel for the entire vehicle
• Reusing towels that contain grit
• Letting wax dry too long
• Waxing over water spots or bonded contamination
• Applying wax to hot paint
• Using household cleaners
• Ignoring the product’s instructions
A frequent beginner mistake is trying to create a mirror finish with wax alone. A mirror finish begins with clean paint, proper decontamination, and, when needed, polishing. Wax is the final protective step.
Another mistake is judging durability by water beading alone. Beading can decrease because of dust, soap, or environmental residue even when some protection remains. Use water behavior, surface feel, and product guidance together rather than relying on one sign.
How Often Should You Wax a Car?
How often to wax a car depends on the product and the environment. Traditional wax may last roughly several weeks to a few months. Synthetic waxes and sealants often last longer, but real-world durability varies.
Your car may need more frequent protection if it:
• Parks outside every day
• Faces strong sunlight
• Is exposed to road salt
• Drives through heavy rain or snow
• Sits under trees
• Is washed with strong chemicals
• Covers many miles each week
A garaged weekend car may need waxing less often than a daily driver parked outdoors. Instead of following a rigid calendar, inspect the finish during regular washes. If the surface no longer feels smooth or water no longer behaves as expected, it may be time to refresh the protection.
Do not repeatedly clay the car just because you are applying wax. Excessive decontamination can add unnecessary abrasion. Use a gentle maintenance wash between full detailing sessions.
Wax, Sealant, or Ceramic Coating?
Wax is only one type of paint protection.
Carnauba wax usually provides a warm appearance and pleasant depth. It is popular with enthusiasts who enjoy the hands-on process, though it may not last as long as synthetic protection.
Synthetic sealants use polymers designed for durability. They often provide longer protection and strong water behavior with less frequent application.
Ceramic coatings form a more durable chemical layer when properly prepared and installed. They can offer strong resistance to many contaminants, but they do not make paint scratch-proof. Professional preparation is often needed, and maintenance still matters.
Choose wax when you want:
• A simple weekend project
• A warm, glossy appearance
• Low upfront cost
• Easy product removal
Choose a sealant when you want longer service intervals. Choose a ceramic coating when you want a more involved protection system and understand its maintenance requirements.
No product makes a car immune to scratches, stains, or paint failure. Even coated vehicles need safe washing and prompt removal of bird droppings, tree sap, and road salt.
How to Maintain a Waxed Finish
Good maintenance helps your wax last longer. Wash the car regularly with a pH-balanced car soap and a clean microfiber mitt.
Use a gentle top-to-bottom wash method. Rinse well, dry with a soft towel, and avoid wiping a dusty car when possible. Dry dusting can drag grit across the paint.
For routine care:
• Wash every one to two weeks, depending on use and weather.
• Remove bird droppings as soon as possible.
• Clean tree sap before it hardens.
• Use separate tools for wheels and paint.
• Store microfiber towels in a clean, sealed container.
• Avoid automatic brushes that can spread grit and create swirls.
A spray wax or drying aid may refresh gloss between full applications. Use it only as directed, and do not treat it as proof that the original wax is still fully intact.
Frequently Asked Questions About How to Wax a Car
Should I wash my car before waxing it?
Yes. Always wash and dry the car before waxing. Dirt and grit beneath the wax can scratch the clear coat and prevent the product from bonding evenly.
Can I wax a car in direct sunlight?
It is best to avoid direct sunlight. Hot panels can dry wax too fast, which may cause streaks, high spots, and difficult removal.
How long does car wax last?
Many traditional waxes last several weeks to a few months. Durability depends on the formula, weather, washing method, parking conditions, and how much environmental contamination the vehicle faces.
Can car wax remove scratches?
No. Wax may make very light marks less noticeable by adding gloss, but it does not remove deep scratches or restore missing paint. Use polishing or professional repair for serious defects.
Is paste wax better than liquid wax?
Neither is always better. Paste wax can provide a rich finish, while liquid wax is often easier and faster to apply. Product quality and surface preparation matter more than the physical form.
Can I wax plastic trim?
Most traditional waxes should not be used on textured plastic or rubber trim. They can leave pale residue, so protect those areas or use a product specifically made for trim.
Do I need to clay my car before every wax?
No. Clay the car when the paint feels rough after washing. Overusing clay can add unnecessary abrasion, especially when the surface is already smooth.
Conclusion
Knowing how to wax a car comes down to clean preparation, thin application, soft towels, and patience. Wash the vehicle well, remove bonded contamination when needed, work in the shade, and follow the product directions instead of applying more wax than necessary.
Wax will not fix deep paint damage, but it can add shine and help protect a healthy finish from everyday exposure. Start with one panel, inspect your results, and build your technique over time. Try the process on your own car, then share your best detailing tips or explore more paint-care guides.