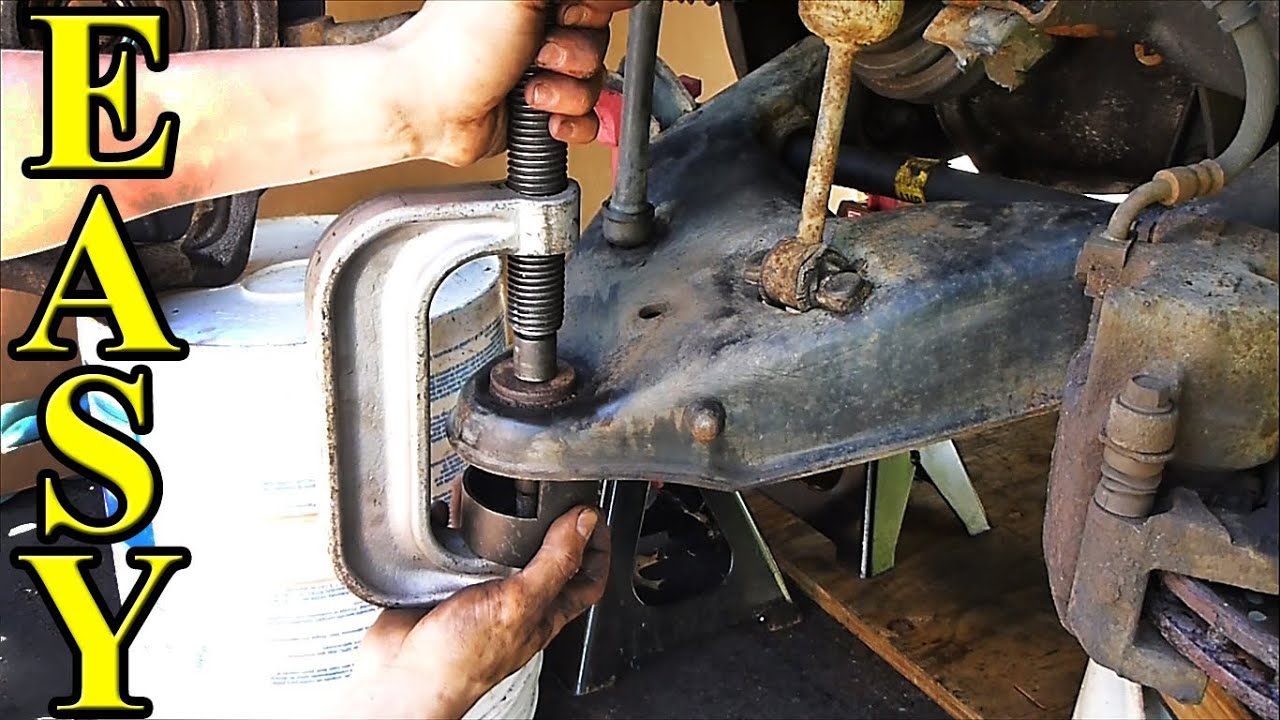
How To Repair Ball Joints: Easy DIY Guide
A worn ball joint is usually replaced, not repaired. A ball joint connects the steering knuckle to the control arm and lets the wheel move up and down while turning left and right. When its stud, socket, boot, or bearing surface wears out, the safe fix is a new ball joint or, on some vehicles, a new control arm assembly.
This guide explains how to check a ball joint, choose the right repair, replace it safely, and know when to stop and call a professional. The steps apply to cars and light trucks sold in the United States, but the exact design and torque values vary by year, make, model, and suspension type.

What a ball joint does
A ball joint is a pivot. It works much like a small hip joint in the suspension.
Most vehicles have:
- An upper ball joint
- A lower ball joint
- A control arm
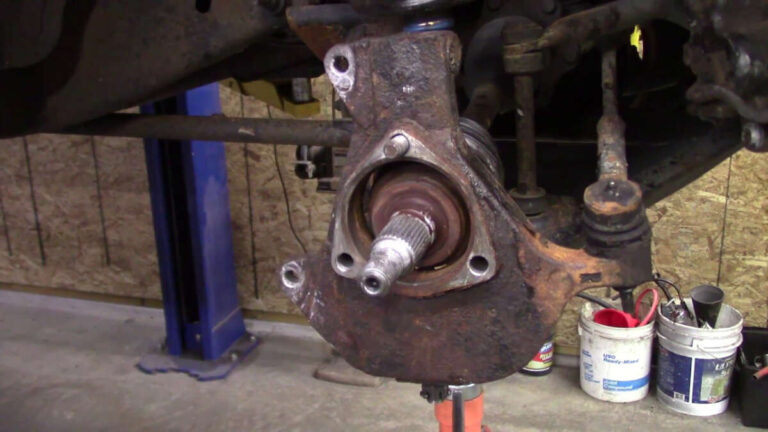
- A steering knuckle
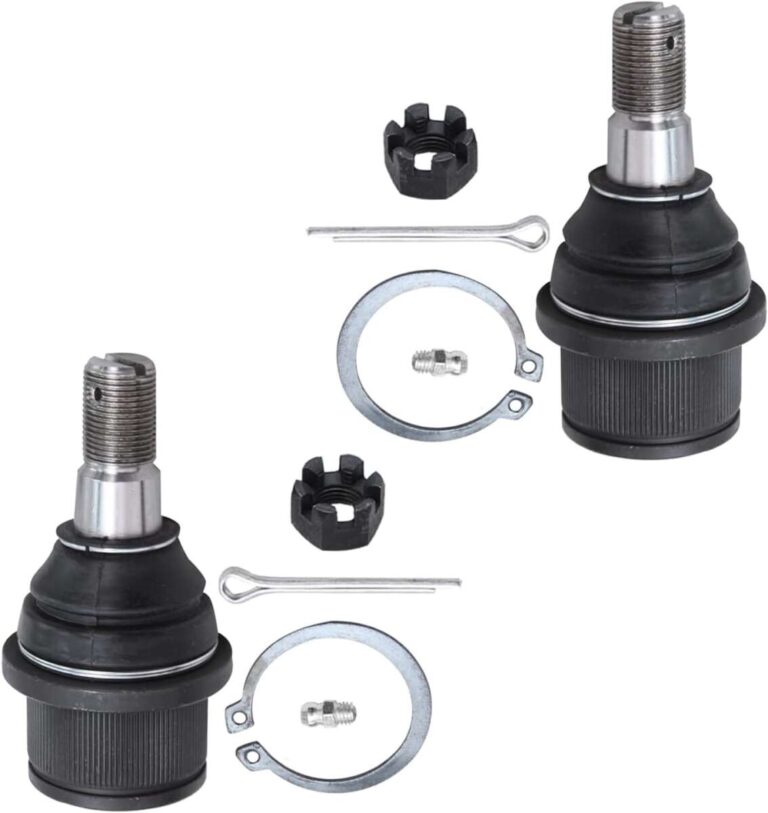
- A tapered ball-joint stud
- A rubber or polyurethane dust boot
Some vehicles use only one ball joint per side. Others use a separate upper and lower joint. A few designs use a ball joint built into the control arm.
The joint must carry suspension load while allowing the steering knuckle to move. It also helps keep the wheel aligned. If it becomes loose, the wheel can shift during braking, steering, or bumps.
A damaged ball joint can affect:
- Steering control
- Tire wear
- Wheel alignment
- Brake feel
- Suspension noise
- Vehicle stability
A failed ball joint may allow the suspension to separate. That can cause a loss of steering control. For this reason, do not treat severe play as a minor noise problem.
Can you repair a ball joint?
In most cases, no. A sealed ball joint is not designed for rebuilding in a home garage. The usual repair is replacement.
You may be able to service a greasable ball joint by adding the correct chassis grease through its fitting. Greasing can reduce friction, but it cannot fix a loose stud, worn socket, damaged housing, or torn boot that has allowed dirt inside.
Do not weld a ball joint, add shims, or tighten parts that are not designed to be adjusted. Those actions can create a dangerous suspension failure.
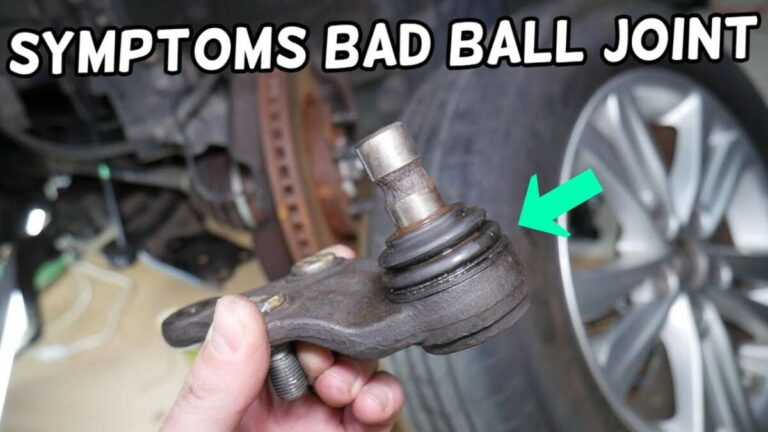
Signs of a bad ball joint
The most useful signs are looseness, a damaged boot, and noise that changes with suspension movement. One symptom alone does not prove the joint is bad, because worn tie rods, wheel bearings, control-arm bushings, and struts can cause similar problems.
Common symptoms include:
- Clunking over bumps
- Popping during turns
- Steering that feels loose
- The vehicle pulling to one side
- Uneven or rapid tire wear
- A steering wheel that does not return smoothly
- A crooked steering wheel
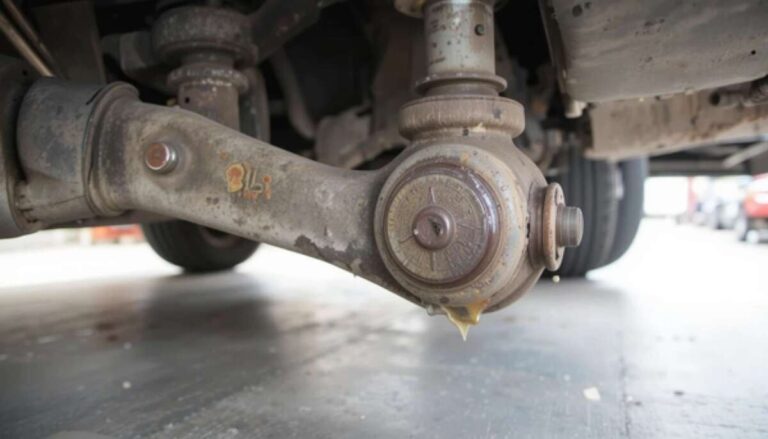
- Visible grease around a torn boot
- Uneven camber, which makes the top of the tire lean in or out
A torn boot does not always mean the joint has failed. However, it allows water and grit to enter. If the joint is sealed and the boot is torn, replacement is usually the correct choice.
Ball joint symptoms and possible causes
| Symptom | Possible cause | Useful check |
|---|---|---|
| Clunk over bumps | Ball joint, sway-bar link, bushing, strut mount | Check for joint play and inspect nearby parts |
| Uneven tire wear | Ball joint, alignment, worn bushing, tire problem | Inspect tread and measure suspension movement |
| Loose steering | Ball joint, tie rod, steering gear | Check each steering joint separately |
| Growling while driving | Wheel bearing or tire | Compare noise with vehicle speed |
| Popping during turns | Ball joint, tie-rod end, CV joint | Test while turning and inspect the joint |
| Wheel movement at 12 and 6 o’clock | Ball joint or wheel bearing | Repeat the test with the brake applied |
A wheel that moves does not automatically identify the ball joint. Diagnosis must separate the joint from other parts.

How to test a ball joint
Use the vehicle service manual for the approved inspection method. Ball-joint designs differ, and some joints carry the vehicle load in different directions.
What you need
Prepare:
- A level, hard surface
- Wheel chocks
- A floor jack with enough capacity
- Proper jack stands
- A lug wrench
- A flashlight
- A pry bar
- A dial indicator, if the service manual specifies one
- Safety glasses
- The vehicle service manual or repair database
Never rely on a floor jack alone. Support the vehicle with stands placed at approved support points. Keep your body out from under a vehicle that is supported only by a jack.
Basic inspection steps
- Park on a level surface.
- Set the parking brake.
- Place the transmission in Park or in first gear for a manual transmission.
- Chock the wheels that remain on the ground.
- Loosen the wheel nuts slightly before lifting the vehicle.
- Lift the vehicle at the correct jacking point.
- Place jack stands under the approved support points.
- Remove the wheel if it blocks the joint.
- Inspect the boot, stud, housing, and control arm.
- Check for movement using the method in the service manual.
Look for:
- A torn, split, or missing boot
- A loose or missing grease fitting
- Rust dust near the joint
- A loose nut or damaged cotter pin
- Movement between the ball-joint stud and housing
- A control arm that shifts while the knuckle stays still
A common home check
With the wheel off the ground, hold it at the 12 and 6 o’clock positions and rock it in and out. Watch the ball joint while a helper moves the wheel.
If the joint moves, apply the brake and repeat the test. If the movement stops when the brake is applied, a wheel bearing may be the main cause. If the movement remains, the ball joint or another suspension part may be worn.
This test is only a screening check. Some vehicles require a loaded test, while others require the suspension to hang freely. Use the factory procedure when possible.
Do not use a general play limit from another vehicle. The acceptable movement may be different for each model.

When to replace the ball joint
Replace the ball joint when it exceeds the manufacturer’s play limit, has a damaged bearing surface, or has a torn boot that has allowed contamination into a sealed joint.
Replace the complete control arm when:
- The ball joint is permanently built into the arm
- The manufacturer does not approve separate replacement
- The control-arm bushing is also badly worn
- The arm is bent, cracked, or corroded
- The cost and labor are lower than replacing parts separately
Replace only the joint when:
- The control arm is sound
- The joint is serviceable as a separate part
- The correct press or removal method is available
- The vehicle manufacturer allows that repair
If one joint is worn, inspect the joint on the opposite side. Do not replace both sides automatically. Replace the other side only if it also fails inspection or if the owner chooses preventive work based on similar age and mileage.
Replace or rebuild?
| Condition | Correct action |
|---|---|
| Torn boot, no confirmed play | Follow the vehicle procedure; replacement is often wise for a sealed joint |
| Loose stud or socket | Replace the ball joint |
| Greasable joint with no play | Lubricate with the specified grease |
| Ball joint built into the control arm | Replace the control arm assembly |
| Bent control arm | Replace the arm and inspect related parts |
| Severe corrosion | Have a repair shop assess the suspension |
| Broken or missing retaining hardware | Do not drive until repaired |

Tools and parts for ball-joint replacement
The tools depend on the vehicle. A bolt-in joint may need only hand tools. A pressed-in joint may require a ball-joint press, adapters, and a strong work area.
Typical tools include:
- Floor jack and jack stands
- Lug wrench
- Socket and wrench set
- Breaker bar
- Torque wrench
- Ball-joint separator
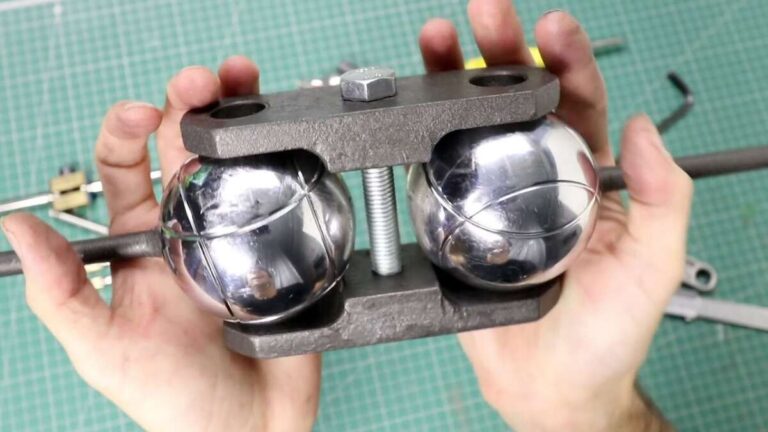
- Ball-joint press, when required
- Snap-ring pliers, when required
- Hammer and drift, if approved by the service procedure
- Wire brush
- Penetrating oil
- New cotter pins
- New lock nuts or mounting bolts, if specified
- Replacement ball joint or control arm
- Chassis grease, for a greasable design
Do not use an ordinary gear puller as a substitute for a ball-joint press unless the tool maker and vehicle procedure allow it. Do not strike the threaded end of the stud directly. That can damage the threads and make removal harder.
Choose a part that matches the exact vehicle configuration. Check:
- Model year
- Engine
- Drive system
- Two-wheel drive or four-wheel drive
- Suspension package
- Left or right side
- Upper or lower position
- Joint diameter and mounting style
Aftermarket parts can differ in grease fittings, boot design, hardware, and torque instructions. Follow the instructions supplied with the part when they differ from a general guide, but use the vehicle service manual for vehicle-specific procedures and torque values.

How to replace a ball joint
The following method is a general guide. The service manual for the vehicle comes first. Some vehicles use torsion bars, coil springs, air suspension, or other parts that store dangerous energy.
1. Confirm the failed part
Test the ball joint and inspect the tie-rod end, wheel bearing, control-arm bushing, strut, and sway-bar link. Replacing the wrong part wastes time and may leave the safety problem in place.
2. Read the service procedure
Find the instructions for:
- Lifting points
- Spring and suspension support
- Ball-joint removal
- Press direction
- Fastener replacement
- Torque values
- Torque angle, if used
- Wheel alignment requirements
Do not guess the press direction. Pressing a joint the wrong way can bend the control arm or damage the steering knuckle.
3. Secure the vehicle
Park on a hard, level surface. Chock the wheels. Lift the vehicle and set it on correctly placed jack stands. Remove the wheel.
If a coil spring or torsion bar must be unloaded, use the specified tool and method. A compressed spring can release enough energy to cause serious injury.
4. Support the suspension
Support the control arm or steering knuckle as required. Do not allow a brake hose, ABS wire, or CV axle to carry suspension weight.
Remove or move nearby parts only when the service manual permits it. Protect the ABS sensor and wiring from tools and heat.
5. Remove the ball-joint fasteners
Remove the cotter pin and nut from the stud. If the nut is a prevailing-torque or one-time-use type, plan to install a new one.
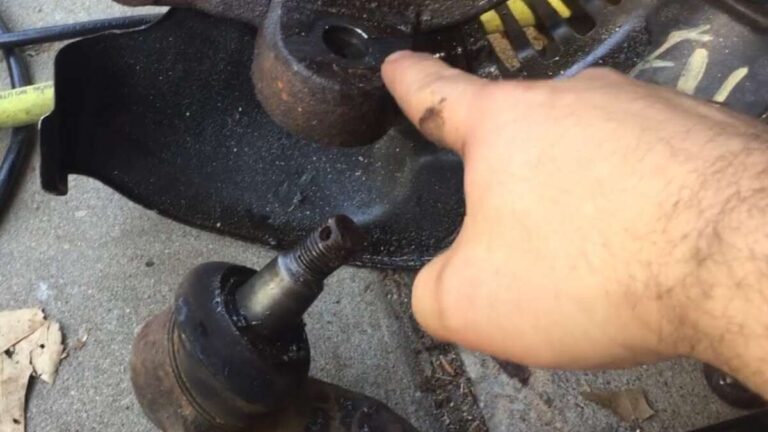
Use a ball-joint separator or approved press tool to release the tapered stud. Do not hammer directly on the threaded stud.
Remove the mounting bolts, snap ring, rivets, or other retainers. Some original joints use rivets. These must be drilled or ground out with care.
6. Press out the old joint
Clean the control arm or knuckle. Set the press adapters squarely on the part. Press the joint in the direction specified by the manufacturer.
Stop if the part starts to bend, crack, or shift in the tool. Corrosion may require a professional hydraulic press or replacement of the damaged control arm or knuckle.
7. Install the new joint
Clean the bore. Compare the new joint with the old one. Confirm that the boot, snap-ring groove, grease fitting, and stud angle match.
Press the new joint in squarely. Do not press on the stud or boot. Install the retaining ring, bolts, or other hardware as directed.
If the joint has a grease fitting, install it before access becomes difficult. Do not overfill the boot with grease.
8. Reassemble the suspension
Reconnect the stud and tighten the nut to the specified torque. Install a new cotter pin if the design uses one. Never loosen a castellated nut to align the cotter-pin hole. Tighten it farther to the next hole when the service procedure allows that method.
Reconnect brake and ABS components. Route wires and hoses as they were originally placed.
9. Torque the wheel and suspension fasteners
Use a calibrated torque wrench. Some control-arm bolts must be tightened at normal ride height because their rubber bushings can twist and fail early if tightened while the suspension hangs.
Install the wheel and torque the lug nuts in a star pattern to the vehicle specification.
10. Check and align the vehicle
Lower the vehicle and check steering movement. Make sure nothing binds or touches the tire.
A ball-joint replacement can change camber or toe. Have the alignment checked after the repair, especially if the steering wheel is off-center or the old joint had significant play.

What to do after the repair
A successful repair should leave:
- No abnormal play at the joint
- No loose or missing hardware
- A properly seated boot
- Correctly routed brake and ABS lines
- No binding through the steering range
- No new clunk during a slow test drive
- A steering wheel that remains centered
- An alignment within the vehicle specification
Start with a short drive in a safe area. Test braking, turning, and low-speed bumps. Stop if you hear a sharp pop, feel loose steering, or notice the vehicle pulling.
Recheck the repair if the noise remains. The original diagnosis may have missed a tie rod, wheel bearing, bushing, strut mount, or other worn part.
Do not assume a quiet ride proves the repair is safe. Correct torque, secure retainers, and measured joint play matter more than noise alone.

Common mistakes to avoid
Using the wrong torque value
Torque values are not universal. A ball-joint nut, control-arm bolt, and wheel lug nut may each have different specifications. Use the service information for the exact vehicle.
Reusing one-time-use hardware
Some manufacturers require new nuts, bolts, cotter pins, or pinch bolts. Reusing them can reduce clamping force or prevent proper locking.
Testing the joint the wrong way
A loaded joint can appear tight when it is not, and a hanging joint can show movement that is normal for that design. Follow the factory inspection method.
Pressing on the wrong surface
Pressing on the stud or boot can destroy a new ball joint. Support the housing and apply force to the correct outer edge.
Ignoring rust
Rust can weaken the control arm, knuckle, or mounting area. A new joint cannot make a corroded suspension part safe.
Skipping the alignment
Even a small change in suspension geometry can cause tire wear or poor handling. Check alignment after replacement.
Driving with severe looseness
If the wheel moves sharply, the joint is separating, or the stud is damaged, do not drive the vehicle to a repair shop. Arrange a tow.

When to use a repair shop
Use a qualified repair shop when the job involves a loaded spring, torsion bar, air suspension, heavy rust, a pressed-in joint without the right press, or a joint that cannot be diagnosed with confidence.
Professional help is also the safer choice when:
- You cannot place jack stands correctly
- The ball joint is part of a complex aluminum suspension
- The control arm is cracked or bent
- The joint will not press out
- A fastener spins inside the frame
- The vehicle has active suspension or ride-height sensors
- You lack a torque wrench
- The vehicle must be driven before an alignment check
A repair shop should inspect the full suspension, use the correct lifting points, follow the vehicle procedure, and verify alignment when needed.

Frequently asked questions
Can I grease a noisy ball joint?
Only if the joint has a grease fitting and the manufacturer allows lubrication. Use the specified chassis grease. Grease may quiet a dry joint, but it will not repair looseness or damage.
How long can I drive with a bad ball joint?
There is no safe distance or time limit. A slightly worn joint may last for some time, while a badly worn joint can separate without warning. Do not drive if the joint has excessive play, a broken stud, or a damaged mounting area.
Should ball joints be replaced in pairs?
Not always. Inspect both sides. Replace both when both fail inspection, when both have similar severe wear, or when the repair plan makes paired replacement practical. One worn joint does not prove the other one is defective.
Do I need an alignment after replacing a ball joint?
Often, yes. The joint affects suspension geometry, and removal can change camber or toe. Check the alignment after the repair, especially when the vehicle has uneven tire wear or a crooked steering wheel.
Is a ball joint the same as a tie-rod end?
No. A ball joint connects suspension parts and supports wheel movement. A tie-rod end connects the steering linkage to the steering knuckle. Both can cause loose steering, so test them separately.

Final answer: repair or replace?
For most cars and light trucks in the United States, the correct way to repair a failed ball joint is to replace the joint or the control arm that contains it. Lubrication is suitable only for an intact, greasable joint that passes its play inspection.
Use the exact service procedure for the vehicle, support the vehicle with jack stands, replace required locking hardware, torque every fastener correctly, and check the alignment afterward. If the suspension uses stored spring energy, has severe rust, or still shows unexplained movement, have the repair completed by a qualified technician.