How To Remove A Stuck Ball Joint: Easy Guide
To remove a stuck ball joint on a U.S.-market vehicle, support the vehicle on jack stands, remove the retaining hardware, separate the tapered stud with a ball-joint separator, and press the joint from the control arm or steering knuckle. Rust, a seized pinch bolt, or a joint pressed tightly into its bore may require penetrating oil, controlled force, heat used with care, or a hydraulic press.
Never rely on a floor jack alone. A stuck ball joint can release suddenly, so protect your hands, eyes, brake parts, and nearby wiring before applying force.

What You Need Before You Start
The exact removal method depends on how the ball joint is attached. Many vehicles use a pressed-in ball joint. Others use rivets, bolts, a threaded joint, or a joint held by a pinch bolt in the steering knuckle.
Check the service manual for your exact year, make, model, engine, and suspension design before taking anything apart. The manual should provide:
- Safe lift points
- Ball joint removal instructions
- Required special tools
- Fastener replacement rules
- Torque values
- Alignment requirements
- Whether the ball joint is serviced separately or with the control arm
Basic tools
You may need:
- Floor jack rated for the vehicle
- Two or more properly rated jack stands
- Wheel chocks
- Lug wrench or impact wrench
- Metric or SAE sockets
- Breaker bar
- Torque wrench
- Wire brush
- Penetrating oil
- Pry bar
- Ball-joint separator
- Snap-ring pliers
- Hammer and brass or steel drift
- Hydraulic press or vehicle-specific ball-joint press kit
- Safety glasses and gloves
- Rust penetrant-safe heat source, if appropriate
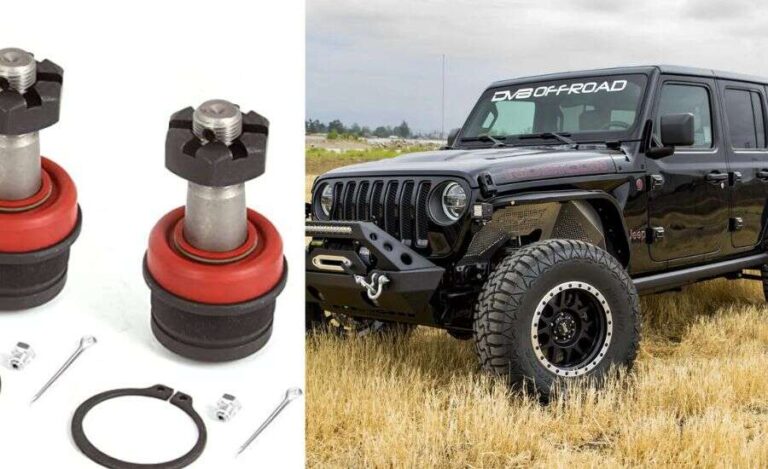
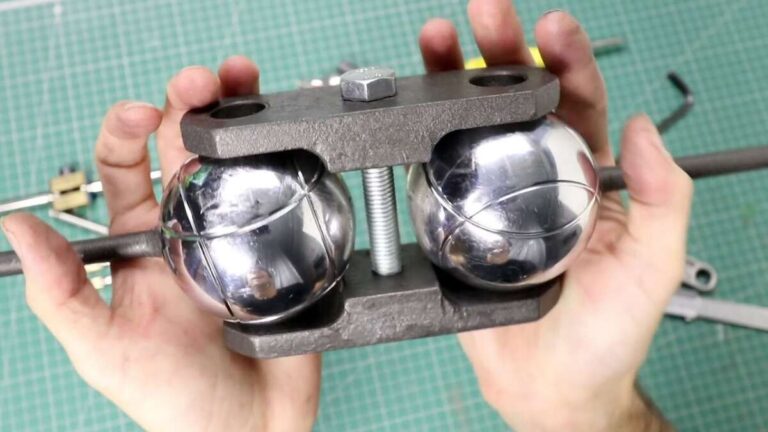
Use a ball-joint press for a pressed-in joint whenever possible. A press applies straight, controlled force. That lowers the chance of bending the control arm or damaging the steering knuckle.
Do not assume that a universal press kit fits every vehicle. The cups must support the part correctly, and the receiving cup must be large enough for the joint to pass through.
Before lifting the vehicle
Park on a solid, level surface. Set the parking brake and place wheel chocks behind the wheels that will remain on the ground.
Loosen the wheel lug nuts slightly before lifting the vehicle. Do not remove them fully until the vehicle rests securely on jack stands.
Inspect the replacement parts before disassembly. Compare the new joint with the old one, including:
- Stud taper
- Stud length
- Grease fitting position
- Snap-ring groove
- Mounting holes
- Boot shape
- Retaining hardware
A new joint that looks close but has the wrong taper or height can create a dangerous suspension problem.

Step 1: Lift and Support the Vehicle
Lift the vehicle at the manufacturer’s recommended lift point. Place jack stands under strong structural points, such as the frame or approved subframe locations.
Lower the vehicle slowly onto the stands. Give the vehicle a firm push at the body to confirm that it is stable before removing the wheel.
Keep the floor jack under a suitable suspension point when practical. It can provide extra support during disassembly, but it must not replace the jack stands.
Remove the wheel and place it flat under the vehicle as an added, secondary safeguard. Do not treat the wheel as a substitute for proper support.
Inspect the suspension before removing the joint
Look for:
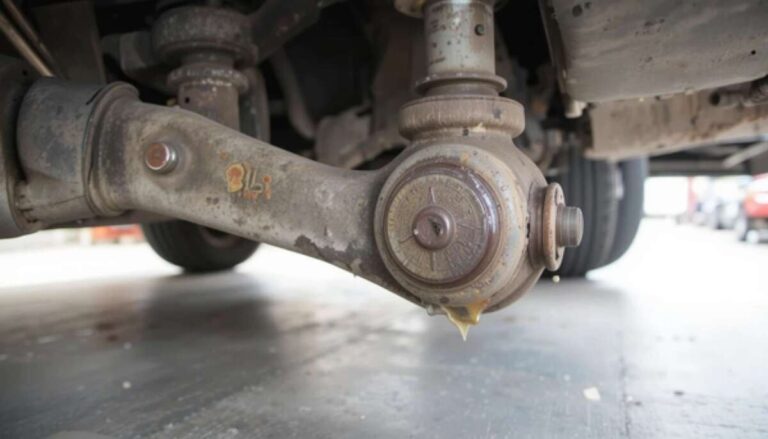
- A torn ball-joint boot
- Loose or missing hardware
- A bent control arm
- Cracks around the joint bore
- Severe rust scaling
- Damaged brake hoses
- A worn steering knuckle
- A loose or missing snap ring
If the control arm, knuckle, or mounting area is cracked or badly corroded, stop. Replacing only the ball joint may not make the suspension safe.

Step 2: Remove Parts That Block Access
Remove the cotter pin, locking cap, or other retainer from the ball-joint stud. Cut a seized cotter pin with side cutters if necessary. Do not reuse a damaged cotter pin.
Back the stud nut off until it is flush with the end of the stud. This protects the threads while you separate the tapered stud. On some vehicles, the service manual calls for removing the nut completely before using a special tool, so follow the vehicle-specific procedure.
You may also need to remove or move:
- The brake caliper
- The brake rotor
- The ABS wire bracket
- The sway-bar end link
- The tie-rod end
- A dust shield
- The axle or hub assembly
- A control-arm brace
Do not let a brake caliper hang by its hose. Support it with a hook, strong wire, or a suitable support strap.
Do not pry against an ABS sensor wire, brake hose, CV boot, or thin dust shield. These parts can look flexible but may fail later if cut or kinked.

Step 3: Break the Tapered Stud Free
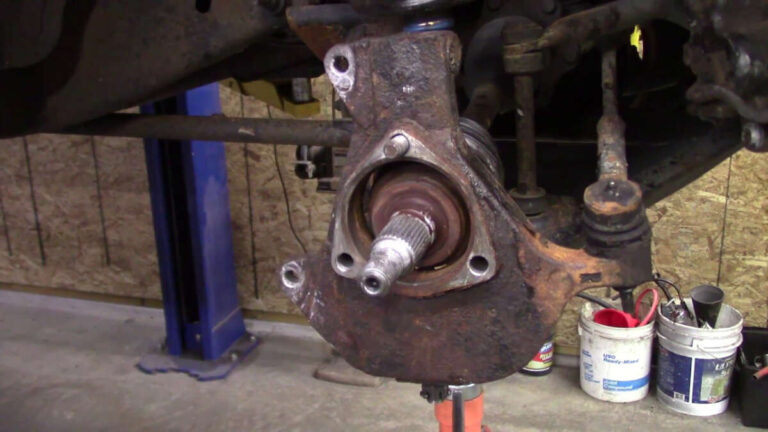
The ball-joint stud usually fits into a tapered hole. The nut holds the joint tight, but rust and load can make the taper feel welded in place.
A ball-joint separator is the safest general method.
Using a screw-type separator
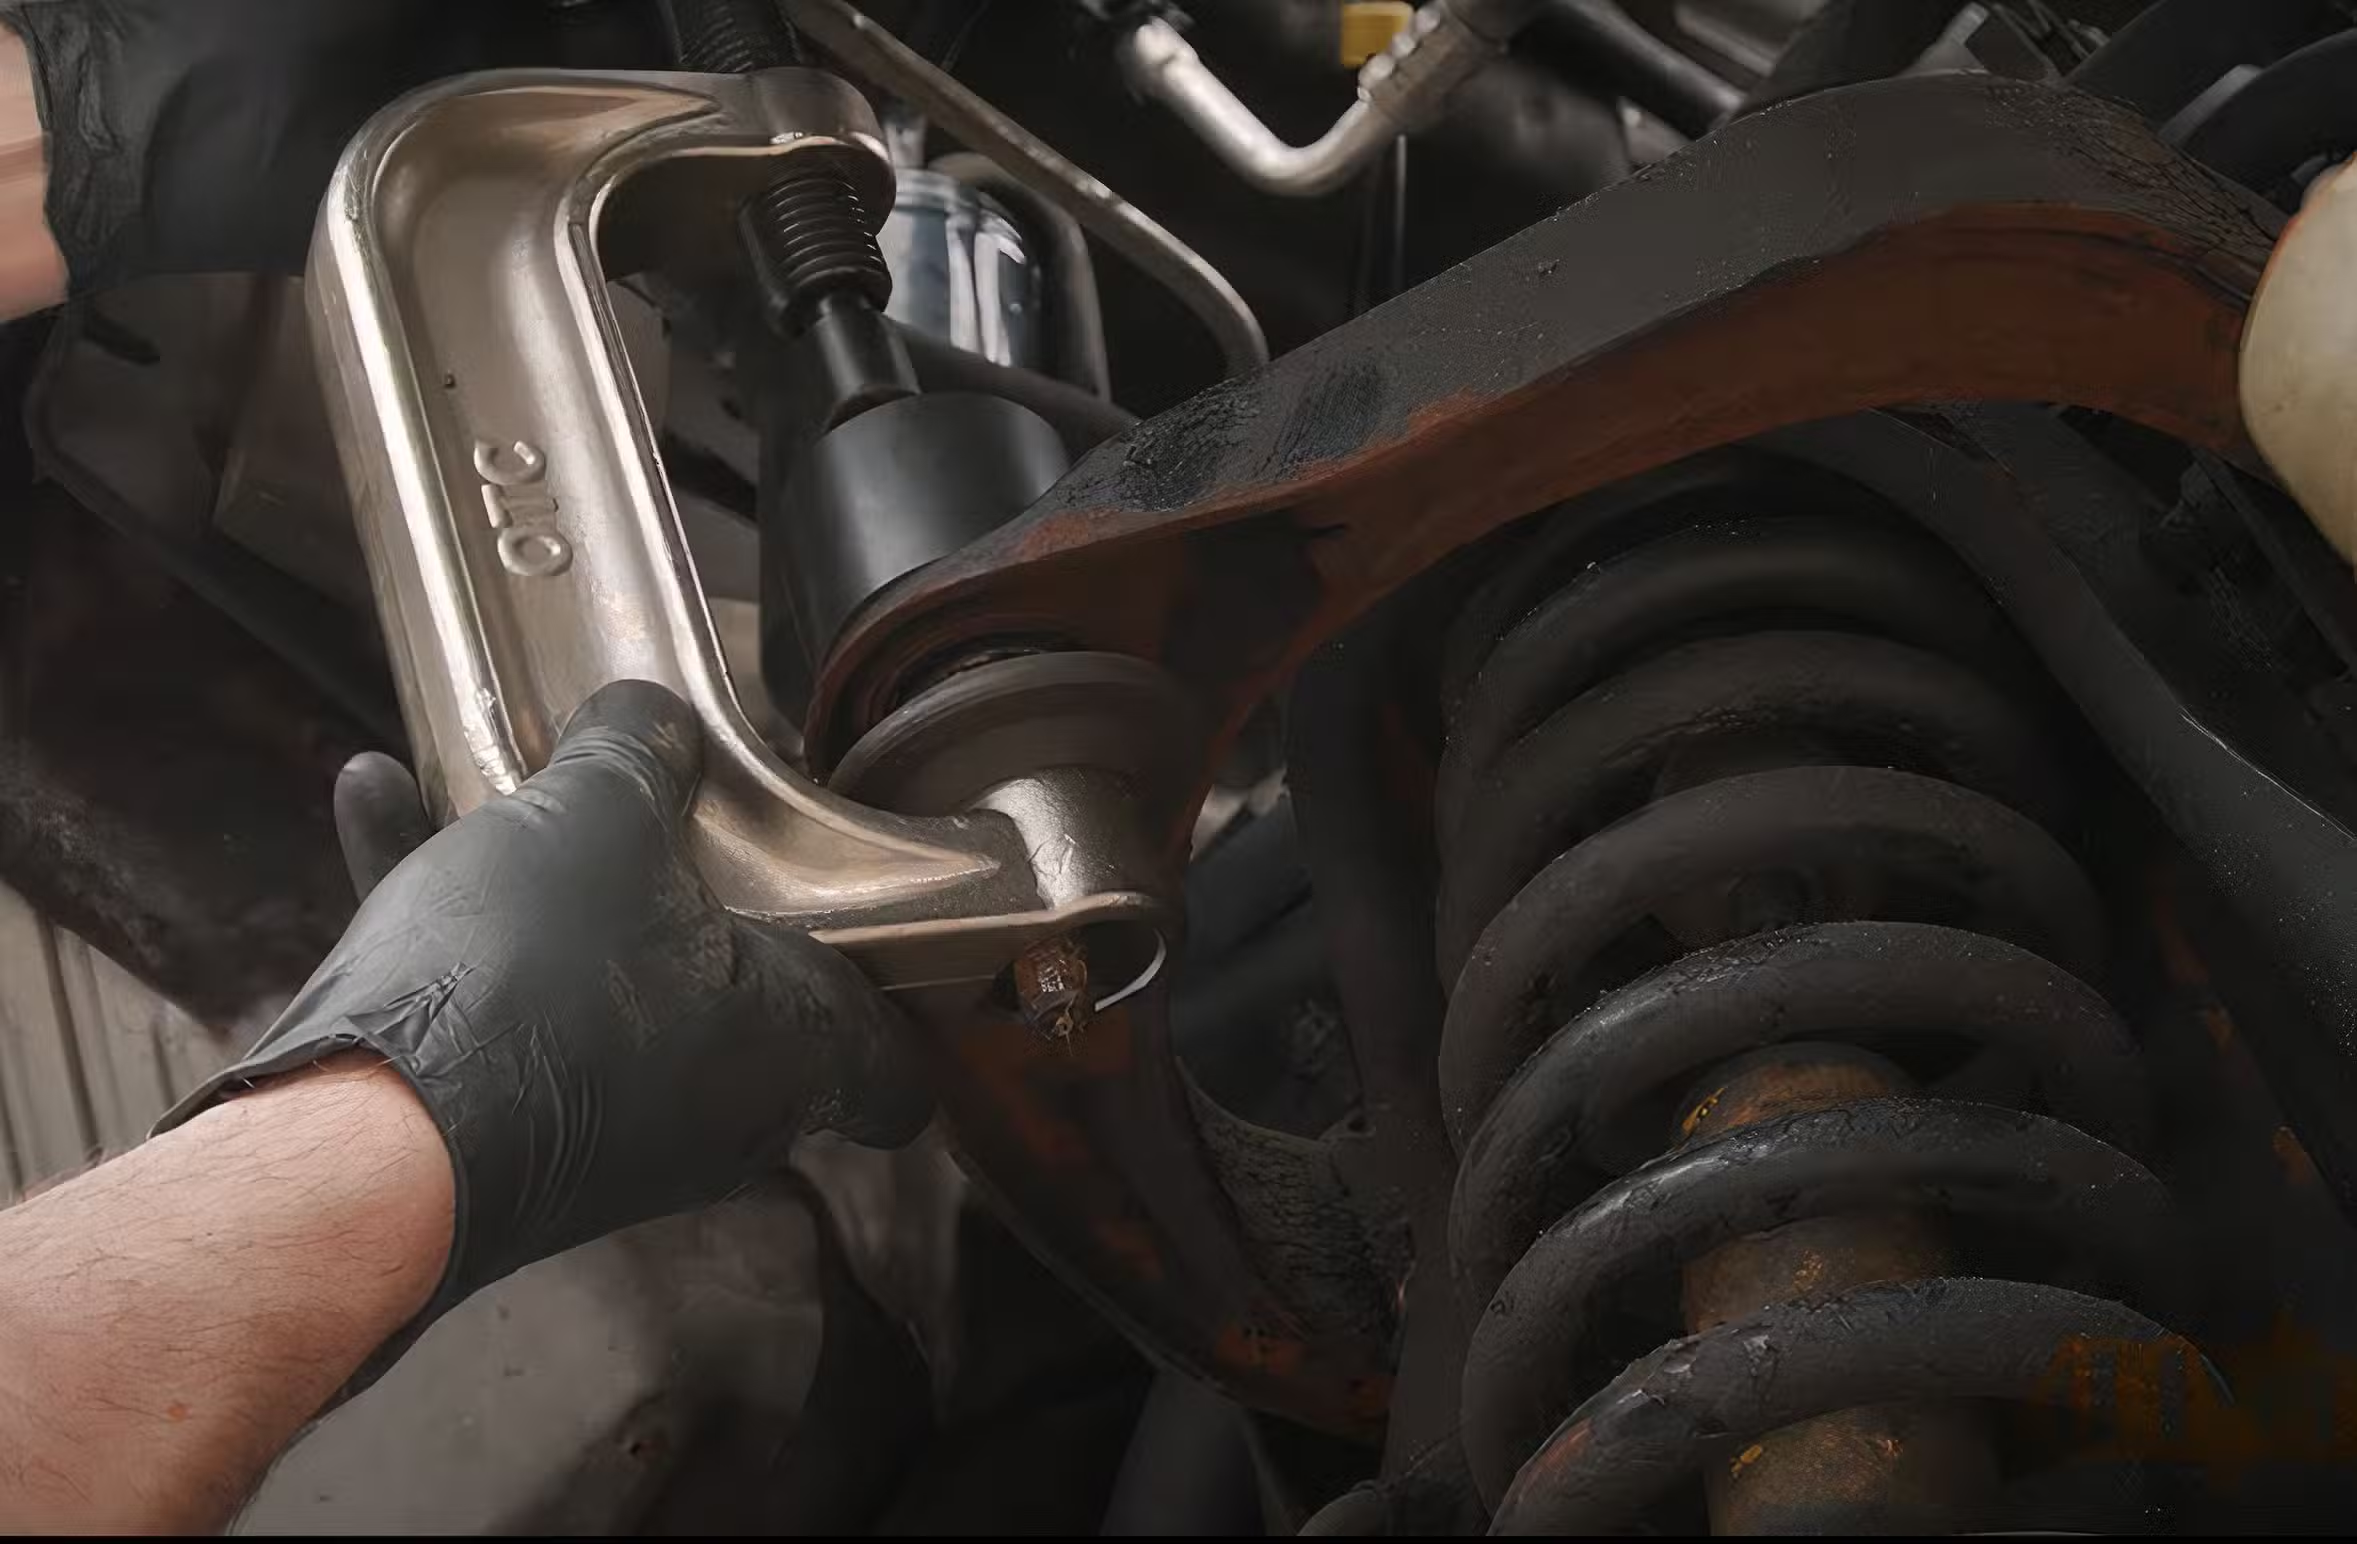
A screw-type separator, often called a ball-joint press or separator tool, pushes the stud out while supporting the surrounding metal. Tighten the tool slowly and keep it aligned with the stud.
Apply steady pressure. If the tool is under high load, keep your face and hands away from the tool and joint. The stud may release with a sharp pop.
Using a fork-style separator
A fork-style separator, sometimes called a pickle fork, drives between the joint and the steering knuckle or control arm. It works well when the old ball joint will be discarded.
The drawback is that the fork can damage the rubber boot and sometimes the joint’s sealing surface. Do not use it if you plan to reuse the ball joint.
Strike the fork with a suitable hammer. Do not strike the steering knuckle repeatedly with a hardened steel hammer unless the service procedure allows it. A damaged knuckle can be expensive and unsafe.
If the stud still will not release
Try this sequence:
- Confirm that the nut is loose but still protecting the stud threads.
- Clean rust from the exposed area with a wire brush.
- Apply penetrating oil around the tapered connection.
- Let the penetrant work according to its label.
- Load the separator with steady pressure.
- Tap the side of the steering knuckle near the taper with a hammer.
Strike the side of the knuckle, not the threaded stud. The vibration can help release the taper without mushrooming the threads.
Do not hit the ball-joint stud upward or downward with a hammer. That can damage the threads, deform the stud, or transfer force into the bearing.

Step 4: Remove a Seized Pinch Bolt
Some ball joints have a straight stud secured inside a steering-knuckle bore by a pinch bolt. These joints do not release like a tapered stud.
First, remove the nut and bolt. Clean the bolt and bore with a wire brush. Apply penetrating oil from both sides if the design allows it.
If the bolt is stuck:
- Use a six-point socket.
- Support the wrench squarely.
- Turn the bolt both ways to work the rust loose.
- Use controlled heat only after protecting nearby parts.
- Replace the bolt if its threads or shank are damaged.
If the pinch bolt will not come out, do not hammer directly on the threaded end. Thread the nut back on until it is flush with the end, or use a brass drift if the service manual permits it.
Never drill or heat a pinch bolt without checking for nearby ABS wiring, brake hoses, fuel lines, CV boots, and rubber bushings.
A seized pinch bolt may need an induction heater, air hammer, or professional extraction equipment. If the knuckle begins to spread, crack, or deform, stop immediately.

Step 5: Press Out the Stuck Ball Joint
Once the stud is separated, remove the joint from the control arm or steering knuckle.
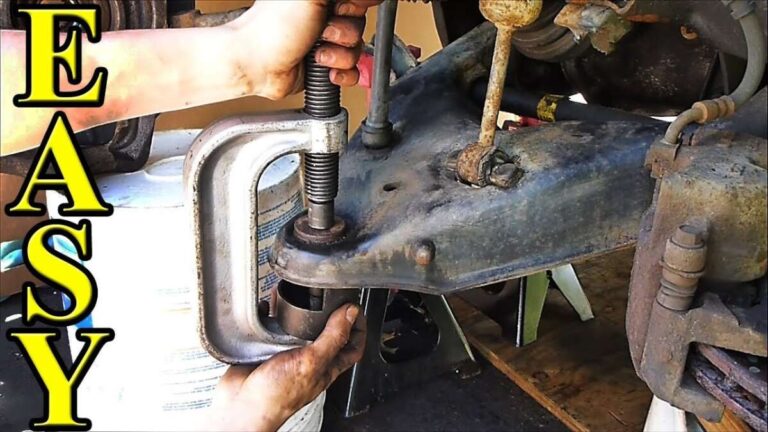
For a press-in ball joint
Remove the snap ring first, if fitted. Clean the joint bore and remove loose rust. Position the control arm or knuckle so the press force travels straight through the joint.
Use the correct press cups:
- One cup supports the control arm or knuckle.
- The other cup receives the old ball joint.
- The forcing screw pushes on the joint’s solid shoulder.
- No cup presses on a thin casting edge.
Tighten the press gradually. Stop and reset the tool if it tilts. A tilted press can slip or break.
If the joint will not move, release the pressure and check the setup. Common causes include:
- The snap ring is still installed.
- The receiving cup is too small.
- The press is pushing on the wrong part.
- Rust has bonded the joint to the bore.
- The control arm is not fully supported.
- The replacement procedure requires removing the control arm.
Controlled heat around the joint’s outer housing may help, but only when the part is removed from the vehicle or all nearby heat-sensitive components are protected. Keep flames away from rubber, grease, brake fluid, fuel, wiring, and painted surfaces.
For a riveted ball joint
Some factory ball joints are secured with rivets. Remove the rivet heads with a grinder or drill, then drive out the rivet bodies with a punch.
Wear eye protection and control the tool carefully. Do not grind into the control arm. Replacement joints usually use bolts, but install them exactly as directed by the manufacturer.
Use the supplied lock nuts or specified fasteners. Do not substitute ordinary hardware.
For a threaded ball joint
A threaded joint may require a large socket or a vehicle-specific removal tool. Clean the threads first and check whether the joint uses a left-hand thread.
Apply force in the correct direction. A long breaker bar can damage the control arm if the joint is not supported correctly.

Step 6: Install the New Ball Joint
Clean the bore before installation. Remove rust scale, dirt, and old grease without removing metal that the new joint needs for a tight fit.
Compare the new and old joints one more time. Check the stud direction and grease-fitting position before pressing the joint in.
Press the new joint into place using the correct installation cups. Push on the joint’s outer housing, not the stud or ball. Keep the joint square throughout the process.
Install the snap ring if the design uses one. Make sure the ring is fully seated in its groove.
If the joint uses bolts, install the bolts and nuts in the specified direction. If it uses a pinch bolt, make sure the stud sits at the correct depth before tightening the fastener.
Never draw a press-fit ball joint into place by tightening the mounting hardware. That can distort the joint or damage the control arm.
Tighten fasteners correctly
Use the torque values and tightening sequence in the service manual. Do not use a general ball-joint torque value from another vehicle.
Many suspension fasteners are torque-to-yield or one-time-use fasteners. Replace them when the manufacturer requires it.
Install a new cotter pin after torquing a castellated nut. If the hole does not align, tighten the nut slightly farther to the next alignment point if the service instructions allow it. Never loosen the nut to align the hole unless the manual specifically permits that method.
Do not reuse a damaged nylon-lock nut, distorted-thread nut, or stretched bolt.
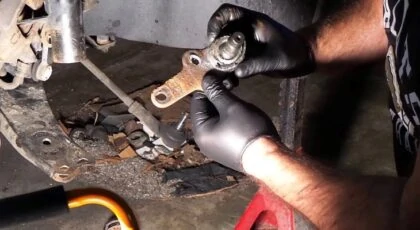
Step 7: Reassemble and Check Your Work
Reconnect every part removed during the job. Confirm that:
- The ball-joint boot is not twisted or pinched.
- The grease fitting is accessible and undamaged.
- The ABS wire is clipped into its original position.
- The brake hose is not stretched or rubbing.
- The brake caliper is firmly mounted.
- The axle nut, tie-rod nut, and sway-bar hardware are torqued correctly.
- No tool or loose part remains near the rotor.
Pump the brake pedal before moving the vehicle if the caliper or brake hose was disturbed. The pedal may feel soft until the pads contact the rotor again.
Grease the joint only if it has a grease fitting and the manufacturer specifies grease. Use the recommended lubricant. Do not fill a sealed boot with grease or pierce the boot to add lubricant.
Lower the vehicle and tighten the lug nuts to the specified torque. Recheck the wheel after a short drive if the wheel manufacturer or vehicle manual calls for it.
A ball-joint replacement can change suspension geometry. Get a wheel alignment if the control arm, steering knuckle, tie rod, ride height, or alignment adjustment was disturbed. Uneven tire wear or a steering wheel that is no longer centered is a clear reason to schedule an alignment.

What to Do When the Ball Joint Will Not Come Out
If the joint remains stuck, do not simply apply more force. First find out where the force is going.
| Problem | Likely cause | Safer next step |
|---|---|---|
| Stud spins with the nut | Damaged taper or worn joint | Apply upward pressure with a separator while removing the nut |
| Stud will not separate | Taper is rusted or loaded | Use a screw separator and tap the knuckle |
| Press bends or tilts | Poor cup alignment | Stop and reset the press |
| Joint moves a little, then stops | Rust ridge or incorrect receiving cup | Clean the bore and verify cup size |
| Pinch bolt will not move | Rust bond or distorted bolt | Use penetrant, heat with protection, or professional extraction |
| Control arm begins to deform | Force is on a weak casting area | Stop; change the support setup |
| New joint will not seat | Wrong part, rust, or damaged bore | Compare parts and inspect the bore |
| Boot tears during removal | Fork contacted the boot | Replace the old joint; inspect the new one before installation |
A hydraulic press is often the best answer when the control arm or steering knuckle is already removed. A professional shop may also have an induction heater, press adapters, and extraction tools that reduce damage risk.
Stop and seek professional help if:
- The vehicle cannot be supported securely.
- The suspension part is badly rusted or cracked.
- You cannot identify the correct fastener torque.
- The press tool slips or begins to deform the part.
- Heat is close to fuel, brake, or electrical components.
- A broken bolt must be drilled from a steering knuckle.
- You are unsure whether the joint is part of a loaded spring assembly.

Common Mistakes to Avoid
Using only a hammer
A hammer may free a tapered stud, but repeated blows can damage the knuckle, threads, bearing, or nearby sensor. Use a proper separator and controlled impact.
Heating the joint while it is on the vehicle
Heat can destroy boots, bushings, wheel-bearing seals, brake hoses, wiring insulation, and grease. If heat is needed, remove the part when possible and use a controlled heat source.
Supporting the vehicle under the control arm
The control arm may move when the joint is disconnected. Support the vehicle at approved structural points, and use a separate jack to control suspension movement.
Reusing old locking hardware
Cotter pins, torque-to-yield bolts, distorted-thread nuts, and some pinch bolts are not designed for reuse. Follow the service manual and replacement-part instructions.
Forgetting the alignment
The vehicle may drive after a ball-joint replacement but still have incorrect toe or camber. A wrong alignment can wear tires quickly and affect handling.
Ignoring rust damage
Surface rust is common. Deep scaling, cracks, enlarged bores, or thin metal around the joint are different. Rust can reduce the strength of the part, even if the new ball joint fits.
How to Tell the Job Is Complete
Before the first road test, verify that:
- All required retainers are installed.
- The ball-joint nut is torqued.
- The cotter pin is new and secured.
- The joint is fully seated.
- The snap ring is completely in its groove.
- The boot is intact and correctly positioned.
- Brake parts and ABS wiring are secure.
- The wheel lug nuts are torqued.
- The brake pedal feels normal.
- The steering turns freely without binding.
Start with a slow test in a safe area. Listen for clunks, clicks, grinding, or rubbing. Check for steering pull and confirm that the wheel returns toward center after a turn.
If you hear a sharp pop, feel looseness, or notice a change in braking or steering, stop driving and inspect the work.
Frequently Asked Questions
Can I remove a ball joint without a press?
Sometimes. A vehicle-specific screw-type ball-joint tool may remove and install the joint while the control arm remains on the vehicle. A hammer-and-punch method may work on some designs, but it is less controlled and can damage the bore or control arm.
Should I replace the control arm instead of the ball joint?
Replacing the complete control arm can make sense when the ball joint is not separately serviceable, the control-arm bushings are worn, or rust has damaged the joint bore. Compare the full part cost, labor, and manufacturer procedure for your vehicle.
Is penetrating oil enough for a seized ball joint?
Penetrating oil can help with rusted threads and exposed joints, but it will not always penetrate a tightly clamped taper or press-fit bore. It works best when combined with cleaning, time, proper tool alignment, and controlled force.
Can I drive with a bad ball joint?
A severely worn or separated ball joint can allow the wheel to move out of position or collapse under load. That can cause loss of steering control. If the joint has excessive play, a torn boot with looseness, or a clunk that comes with visible movement, avoid driving the vehicle and arrange safe transport.
Do I need an alignment after replacing a ball joint?
An alignment is wise when the control arm, steering knuckle, tie rod, ride height, or alignment hardware was disturbed. Even when the joint itself is not an adjustment point, an alignment check can find changes that affect tire wear and handling.
Final Takeaway
The safest way to remove a stuck ball joint is to separate the stud with the correct tool, then press the joint out with properly sized cups and steady force. Support the vehicle correctly, protect brake and ABS components, follow the exact service-manual torque values, and stop if rust or tool pressure begins to damage the suspension.
After installation, inspect every fastener, test the brakes, check for looseness, and arrange an alignment when suspension geometry may have changed.