

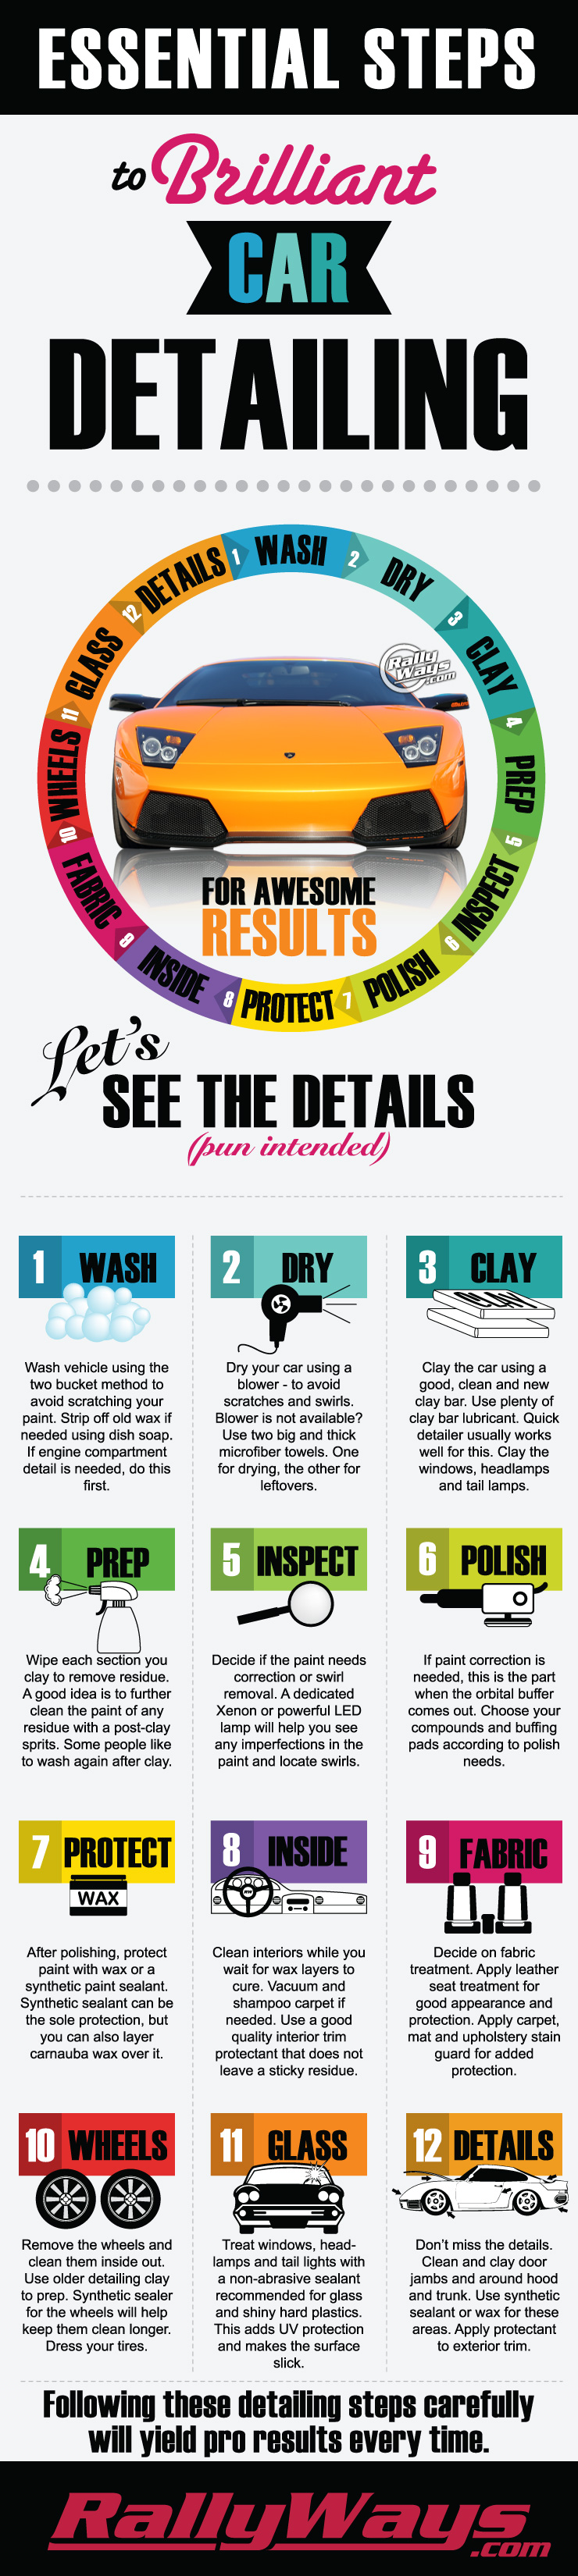
How to detail a car means washing, cleaning, polishing, protecting, and restoring each surface with the right safe method.
Learning how to detail a car can save money, protect your vehicle, and make every drive feel better. This guide explains the full process, from choosing supplies to cleaning paint, glass, wheels, tires, and the interior. It also covers common mistakes, safety tips, and practical methods used by professional detailers.
What Car Detailing Means
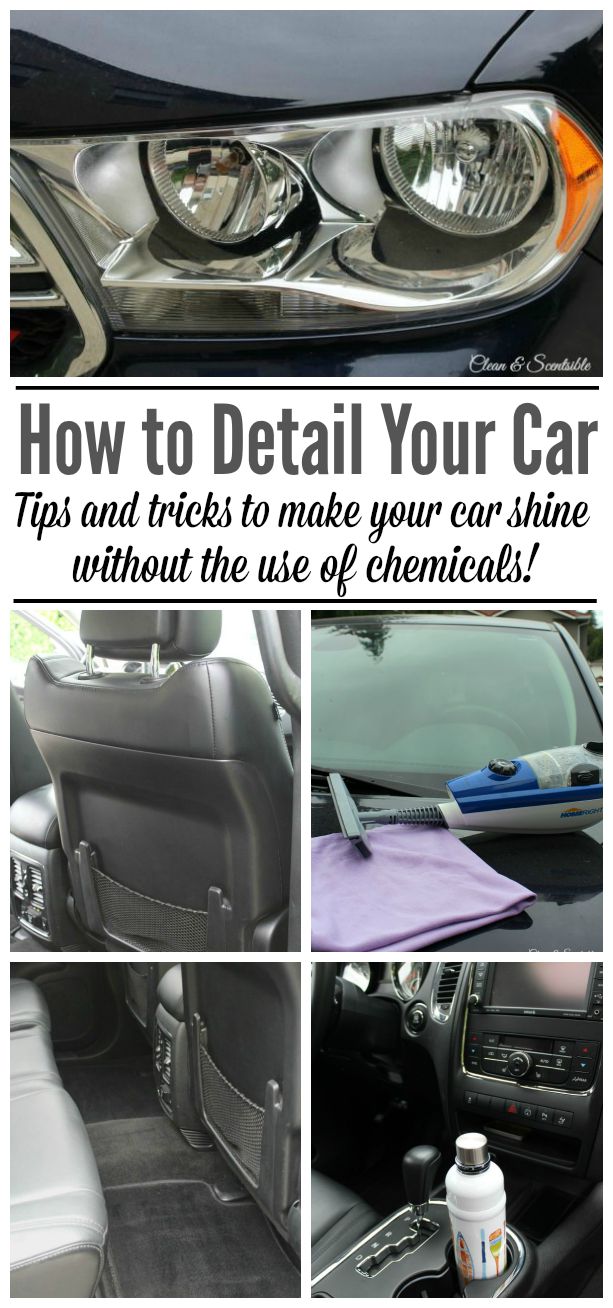
Car detailing is a deep cleaning and protection process. It goes far beyond a quick car wash. A proper detail cleans small areas that normal washing often misses, such as door jambs, air vents, cup holders, wheel wells, and trim gaps.
Detailing usually has two parts:
• Exterior detailing cleans and protects the paint, wheels, tires, glass, lights, trim, and other outside surfaces.
• Interior detailing cleans seats, carpets, floor mats, dashboards, door panels, vents, and storage areas.
The goal is not only to make a car look clean. A good detail also helps reduce stains, oxidation, odors, water spots, and wear. Still, detailing cannot fix every defect. Deep scratches, torn leather, severe paint failure, and heavy rust may need professional repair.
When learning how to detail a car, think of the work as restoring order. You remove dirt first, correct light defects next, and apply protection last. This order prevents you from rubbing grit into the paint or sealing dirt under a product.

Tools and Products You Need
You do not need a full professional shop to detail a car. A small set of quality tools will handle most home jobs. Clean tools matter as much as expensive products because dirty towels and brushes can scratch surfaces.
Basic exterior supplies
• Two wash buckets with grit guards
• A pH-balanced car wash soap
• A microfiber wash mitt
• Several clean microfiber towels
• A soft wheel brush
• A tire brush
• A soft detailing brush for trim and emblems
• A garden hose or pressure washer
• A dedicated glass cleaner
• A drying towel or air blower
• A tire dressing
• A paint sealant or wax
Basic interior supplies
• A vacuum with narrow attachments
• Interior-safe microfiber towels
• An all-purpose cleaner diluted for the surface
• An interior cleaner
• Soft interior brushes
• A carpet and upholstery cleaner
• A leather cleaner and conditioner, if needed
• A small crevice tool
• Cotton swabs for tight areas
Avoid using one towel for every task. A towel used on wheels can hold sharp brake dust. If you use that towel on paint, it may leave fine scratches.
I also recommend labeling bottles with their product name and dilution ratio. This simple habit prevents mistakes, especially when using concentrated cleaners. Always read the product label first because strong cleaners can damage delicate leather, aluminum, plastic, or coated surfaces.
Prepare the Car and Work Area
Good preparation makes detailing faster and safer. Park in a shaded place with good airflow. Direct sun can dry soap and cleaner too quickly, leaving streaks or spots.
Choose a clean surface away from trees, dust, and strong wind. Keep your supplies within reach, but place bottles on a stable surface. Do not set brushes or towels on the ground.
Before you begin:
Remove personal items, trash, floor mats, and child seats.
Close the windows and sunroof.
Check the paint for loose dirt, sap, bird droppings, and stuck-on debris.
Read the labels on each cleaner.
Test new products on a hidden area.
Keep separate towels for paint, wheels, glass, and the interior.
Bird droppings and tree sap should be removed as soon as possible. They can bond to paint and may etch the clear coat. Soak the area with a safe cleaner rather than scraping it dry.
Do not detail a hot engine or hot brake components. Let the car cool before cleaning those areas. Water on hot parts can create rapid temperature changes and may cause damage.

How to Detail a Car Exterior
The safest exterior process moves from the dirtiest areas to the cleaner areas. Wheels and tires collect heavy grime, so clean them before washing the paint. Start at the top of the car and work down because dirt and water flow toward the bottom.
1. Rinse the car
Rinse the entire car with clean water. Use a strong stream around the wheel wells, lower doors, bumpers, and rocker panels. This removes loose sand and reduces the chance of scratching the paint during washing.
If you use a pressure washer, keep the nozzle at a safe distance. Never aim high pressure directly at damaged paint, loose trim, window seals, cameras, or sensors.
2. Clean the wheels and tires
Use a wheel cleaner made for your wheel type. Painted, powder-coated, chrome, polished, and uncoated wheels may need different products. If you are unsure, use a mild soap solution and a soft brush.
Clean one wheel at a time:
• Rinse the wheel and tire.
• Spray the correct cleaner.
• Agitate the tire sidewall with a tire brush.
• Clean the wheel face and inner areas with a soft brush.
• Rinse well.
• Dry with a separate towel.
Brake dust can contain sharp metal particles. Never use a wheel towel on the paint. Also, avoid acidic wheel cleaners unless you understand the surface and follow the label closely.
3. Wash the paint with two buckets
Fill one bucket with car soap and water. Fill the second bucket with plain water for rinsing the mitt. Dip the mitt into the soap, wash a small section, and rinse the mitt before collecting more soap.
Work in this order:
Roof
Glass
Hood and trunk
Upper doors and fenders
Lower doors and bumpers
Use straight, light passes instead of hard circles. Rinse the car often so soap does not dry on the surface.
A foam cannon can help loosen dirt, but foam alone does not clean a car. It still needs safe contact washing. This is one of the most important lessons in how to detail a car: lubrication and gentle pressure matter more than force.
4. Rinse and dry the vehicle
Rinse from the top down. Remove all soap from mirrors, trim, badges, door handles, and panel gaps.
Dry the car with a clean microfiber drying towel. Lay the towel flat and pull it gently across the surface. Do not press hard. You can also use an air blower to remove water from mirrors, emblems, grills, and door handles.
Water trapped in trim can run out later and create streaks. After drying, open the doors and wipe the door jambs.
Remove Contamination From the Paint
A car can look clean and still feel rough. That rough texture often comes from bonded contaminants such as rail dust, industrial fallout, tree sap, tar, and road film.
Run a clean plastic bag over the wet paint. If the surface feels rough through the plastic, it may need decontamination. Use an iron remover for suitable metal particles and a clay bar or synthetic clay towel for bonded residue.
Follow this process:
Wash and rinse the car first.
Work in a shaded area.
Spray plenty of lubricant on a small section.
Move the clay product gently across the surface.
Wipe the area with a clean microfiber towel.
Check the surface before moving on.
Never use clay on dry paint. A lack of lubrication can create marring. Do not keep using a clay bar after it becomes dirty. Fold it often, or replace it if it picks up heavy contamination.
Decontamination improves smoothness, but it does not polish away deep scratches. If the paint still looks dull, polishing may be the next step.

Polish and Correct Light Paint Defects
Polishing removes or reduces very fine defects by refining the clear coat. It can improve light swirl marks, haze, oxidation, and dullness. It cannot safely remove every scratch.
A scratch that catches your fingernail may be too deep for simple polishing. If the clear coat is gone or the base color is exposed, paint repair may be needed.
For beginners, a dual-action polisher is generally safer than a rotary polisher. A rotary tool can correct paint quickly, but it can also create heat and visible burn marks when used incorrectly.
Use this careful method:
• Wash and decontaminate the car.
• Inspect the paint under bright light.
• Test a mild polish on a small area.
• Use a clean pad and a small amount of product.
• Work at a moderate speed with light pressure.
• Wipe the residue away and inspect the result.
• Increase cutting strength only if needed.
Polishing removes a small amount of clear coat. More cutting is not always better. The best detail often leaves a few deep defects in place rather than risking excessive paint removal.
This is a key part of how to detail a car safely. Aim for a clear, glossy finish, not perfect paint at any cost.
Protect the Exterior Surfaces
Protection helps reduce the effect of water, dirt, sunlight, and normal road exposure. Common options include wax, paint sealant, and ceramic coating.
Wax
Wax creates a warm look and can make water bead. It is easy to apply, but it usually needs more frequent reapplication than a sealant or coating.
Paint sealant
A sealant is a synthetic product designed for longer durability. It often provides a clean shine and easier maintenance.
Ceramic coating
A ceramic coating forms a durable chemical layer when properly prepared and cured. It can improve water behavior and chemical resistance, but it does not make paint scratch-proof. Professional coatings also require careful preparation and controlled application.
Before applying protection:
Ensure the paint is clean and dry.
Remove polishing oils if the product requires it.
Apply a thin, even layer.
Follow the product’s cure time.
Keep the car dry during the recommended period.
Do not apply wax or sealant to rubber, textured plastic, or glass unless the product is made for that surface. Use a separate tire dressing on clean, dry tires. Wipe away excess dressing to prevent sling onto the paint.
Clean the Car Interior
Interior detailing starts with removing clutter. Take out trash, bottles, floor mats, and removable items. Vacuum before using liquid cleaners because wet dirt can turn into mud.
Vacuum in stages:
• Seats and seat gaps
• Carpets and floor mats
• Under the seats
• Door pockets
• Center console
• Dashboard edges
• Trunk and cargo area
Use a soft brush attachment on delicate surfaces. For tight gaps, use a crevice tool with care. Avoid forcing the nozzle against plastic because it can leave marks.
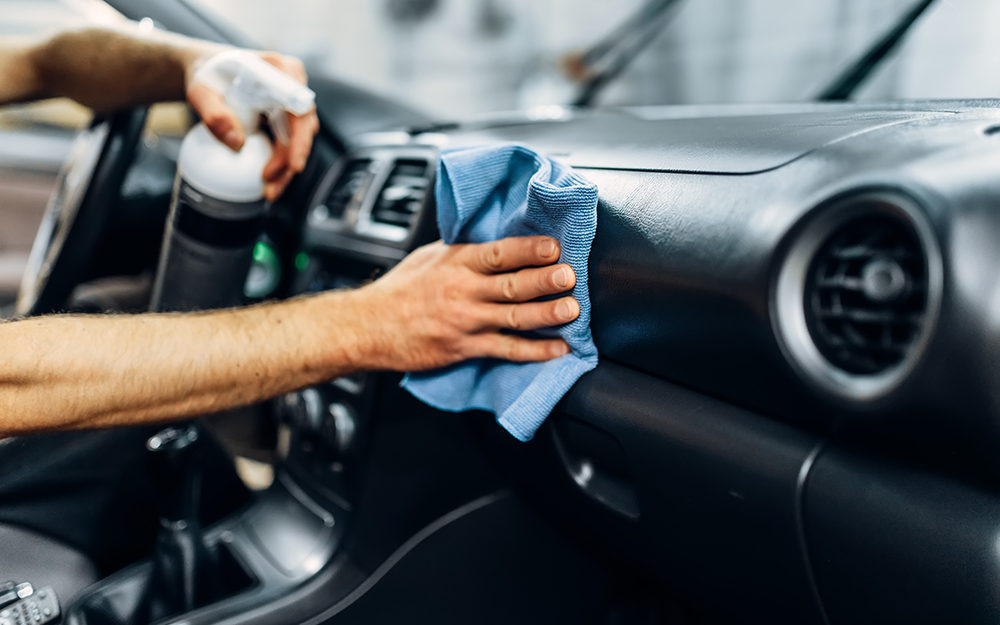
Clean from the top down. Start with the dashboard and vents, then move to doors, seats, carpets, and mats. This prevents dust from falling onto areas you already cleaned.
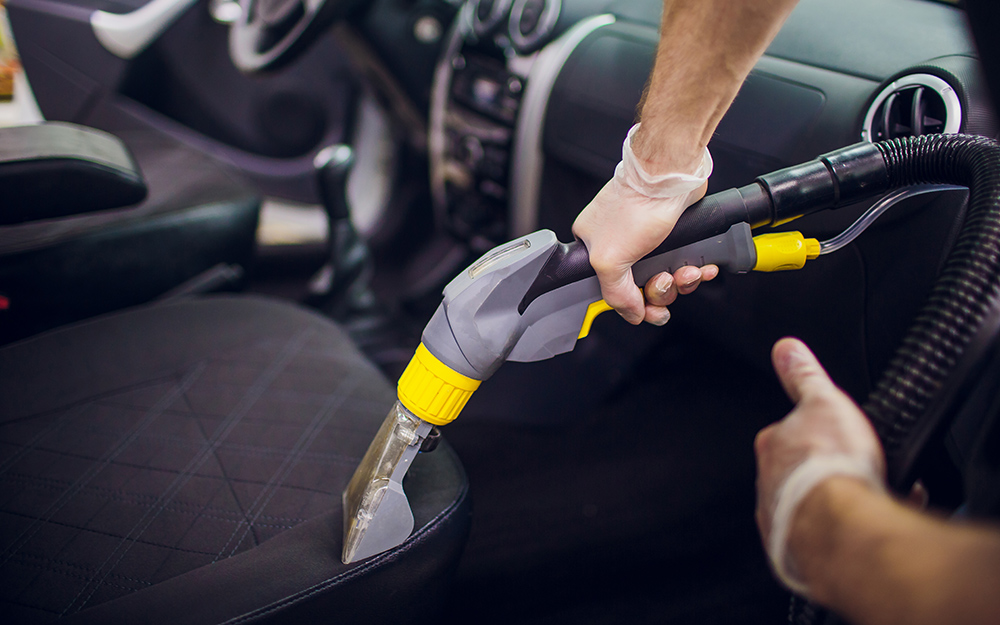
Spray cleaner onto a towel or brush instead of soaking the dashboard. Excess liquid can enter switches, screens, vents, and electronic controls. Use a damp towel on screens and check the manufacturer’s instructions for special finishes.
Fabric seats and carpets
Use a fabric-safe cleaner and a soft brush. Work in small areas, then remove moisture with a clean towel or extractor. Do not soak seats unless you have a reliable way to dry them.
A damp interior can develop odors and mildew. Leave the doors open in a safe, dry place until the fabric is fully dry.
Leather seats
Vacuum seams first. Apply a leather cleaner to a towel or soft brush, not directly into perforations. Wipe gently, then use a leather conditioner only if the leather needs it and the product is suitable for the finish.
Modern coated leather often needs cleaning more than heavy conditioning. Too much conditioner can leave a greasy surface that attracts dirt.

Clean Glass, Mirrors, and Interior Trim
Clean glass last or near the end of the process. This removes fingerprints and cleaner mist created during other steps.
Use a dedicated automotive glass cleaner and two clean, low-lint towels. Apply the cleaner to the towel when working near dashboards or electronic screens. Wipe in one direction on the inside and another direction on the outside. This makes it easier to identify which side has streaks.
Do not use household ammonia-based cleaners on tinted windows unless the product is confirmed safe. Strong chemicals may affect some tint films, seals, plastics, or screens.
For interior trim, use a mild cleaner and a soft microfiber towel. Avoid shiny dressings on the steering wheel, pedals, shifter, and floor. These surfaces need grip, not gloss.
A clean steering wheel is also a safety issue. Oils and dressing can make it slippery, especially in warm weather.
Clean the Engine Bay With Care
Engine bay cleaning can improve appearance and make leaks easier to spot. It also carries more risk than normal exterior washing because modern engine compartments contain sensors, connectors, fuse boxes, and exposed electrical parts.
For light dust, use a damp microfiber towel and a soft brush. For heavier dirt:
Let the engine cool completely.
Cover sensitive electrical components if needed.
Use a mild, diluted cleaner.
Agitate gently with a soft brush.
Rinse lightly only when the vehicle and product allow it.
Dry the area with towels or compressed air.
Avoid flooding alternators, air intake openings, fuse boxes, and exposed connectors. Never spray a hot engine with cold water.
Many engine bays do not need a powerful degreaser. A mild cleaner used with patience is often safer and gives a better result.
Common Car Detailing Mistakes to Avoid
Knowing what not to do is just as important as learning how to detail a car. Most damage comes from too much pressure, the wrong chemical, or a dirty tool.
Avoid these common mistakes:
• Washing in direct sun when soap can dry quickly
• Using dish soap for routine car washing
• Using one towel on wheels and paint
• Scrubbing dry dirt from the surface
• Applying tire dressing to brake components
• Using strong cleaners on unknown materials
• Letting water sit in door handles and mirrors
• Soaking electronic controls
• Polishing without testing a small area
• Using silicone-heavy products on steering wheels
• Applying too much wax, sealant, or dressing
• Reusing dirty microfiber towels
Dish soap may remove grease, but it is not designed for regular automotive paint care. It can strip existing protection and may dry rubber or plastic over time.
Wash microfiber towels separately from household laundry. Avoid fabric softener because it can reduce absorbency and leave residue. Inspect towels before use and discard any that feel rough or contain trapped grit.
How Often Should You Detail a Car?
The right schedule depends on weather, driving conditions, storage, and how clean you want the car to remain. A vehicle parked outside near trees needs more care than one stored in a garage.
A practical schedule looks like this:
• Wash the exterior every one to two weeks.
• Clean the interior every two to four weeks.
• Apply a spray protection product every few months.
• Apply wax or sealant according to the product label.
• Decontaminate the paint when it feels rough, often once or twice a year.
• Polish only when the paint needs correction.
• Clean spills and bird droppings as soon as possible.
Regular light care is easier than waiting until dirt becomes thick and bonded. In my experience, a short maintenance wash prevents many long detailing sessions. It is like brushing your teeth: small, steady work is easier than fixing a major problem later.
Seasonal care also helps. Before winter, protect the paint and clean the wheel wells. After winter, remove road salt and inspect the underside. In hot climates, use shade and protect the interior from intense sunlight.
Professional Detailing or DIY Detailing?
DIY detailing works well for routine cleaning and basic protection. It gives you control over the products and lets you learn your vehicle’s surfaces.
Professional detailing may be a better choice for:
• Heavy paint correction
• Ceramic coating installation
• Severe pet hair
• Deep stains
• Mold or mildew
• Odor treatment
• Leather repair
• Headlight restoration
• Paint overspray
• Large scratches or oxidation
A professional service is not automatically better. Ask what products and methods the detailer uses. Confirm whether paint correction is included, how many steps it involves, and what level of improvement is realistic.
Be cautious of claims that a coating is permanent or makes a car scratch-proof. No normal coating prevents all stone chips, deep scratches, or careless washing. Clear expectations are part of trustworthy detailing.
A Simple One-Day Detailing Plan
If you are new to how to detail a car, do not try to master every service at once. Break the job into clear stages.
Morning: exterior cleaning
Set up the work area.
Remove loose dirt with a rinse.
Clean the wheels and tires.
Wash the exterior with two buckets.
Rinse and dry the car.
Midday: interior cleaning
Remove trash and personal items.
Vacuum seats, carpets, mats, and storage areas.
Clean the dashboard, doors, and console.
Clean fabric or leather surfaces.
Clean the glass and mirrors.
Afternoon: finishing work
Inspect the paint.
Remove light contamination if needed.
Apply a sealant or wax.
Dress the tires lightly.
Wipe door jambs and trim.
Check for streaks, missed dirt, and trapped water.
Do not rush the final inspection. Walk around the car from several angles. Use a flashlight for dark areas and check the glass from both inside and outside.
Frequently Asked Questions About How to Detail a Car
How long does it take to detail a car?
A basic home detail may take three to six hours. A full detail with paint decontamination, polishing, stain removal, and protection can take a full day or longer.
Can I detail a car without a pressure washer?
Yes. A garden hose, two buckets, a wash mitt, and clean towels are enough for a safe basic detail. A pressure washer can improve rinsing, but it is not required.
What is the safest way to wash car paint?
Use a pH-balanced car soap, a clean microfiber mitt, plenty of water, and a two-bucket method. Work from the top down and use light pressure to reduce scratches.
How often should I wax my car?
Wax as often as the product label recommends, often every few months. If water no longer forms clear beads and the paint feels less protected, it may be time to reapply.
Can car detailing remove scratches?
Detailing can reduce or remove light surface scratches through polishing. Deep scratches that catch a fingernail may need touch-up paint, sanding, or professional bodywork.
Is car detailing worth the cost?
Detailing can be worthwhile because it improves appearance, protects surfaces, and may support resale value. Its value depends on the car’s condition, your goals, and the quality of the service.
Can I use household cleaners inside my car?
Some household cleaners may damage automotive plastics, leather coatings, tint, screens, or trim. Use products designed for the specific surface and test them in a hidden area first.
Conclusion
Learning how to detail a car is mostly about using the right order, gentle tools, and suitable products. Rinse loose dirt, clean wheels separately, wash the paint from top to bottom, dry with clean towels, and protect each surface according to its material.
For the interior, vacuum first, use small amounts of cleaner, avoid soaking electronics, and allow fabric to dry fully. Take your time with paint correction, because removing too much clear coat can create a bigger problem.
Start with one section this weekend, such as the wheels, interior, or full exterior wash. With steady practice, how to detail a car becomes less confusing and much more rewarding. Share your detailing results, explore trusted product guides, and keep building your skills with each clean.