

Most fresh stains on U.S. car seats can be removed with a vacuum, mild soap, clean water, and gentle blotting. The right method depends on the seat material, the type of stain, and whether you mean a vehicle seat or a child safety seat.
Before cleaning, check your vehicle owner’s manual or child-seat manual. Some covers can be removed and machine-washed, while others must stay in place. Never soak a seat with built-in airbags, wiring, sensors, or child-seat harness parts.
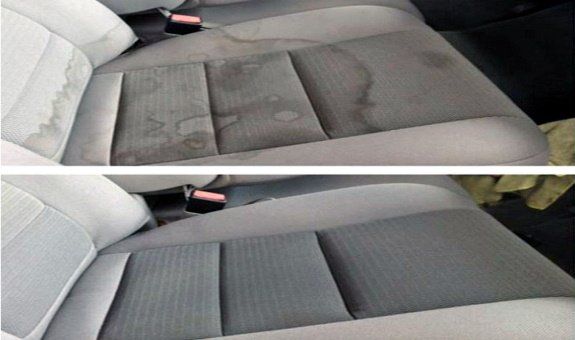
First, Identify the Seat Material
The seat material determines which cleaners and tools are safe. Cloth seats can usually handle mild soap and small amounts of water. Leather and vinyl need less water and may need a conditioner after cleaning.
| Seat type | Safe starting method | Main risk |
|---|---|---|
| Cloth or fabric | Vacuum, mild soap, and a damp cloth | Over-wetting can cause odor, rings, or mildew |
| Leather | Wipe with a damp microfiber cloth and mild leather cleaner | Strong cleaners can dry or discolor the finish |
| Vinyl or synthetic leather | Mild soap solution and a soft cloth | Abrasive scrubbing can dull the surface |
| Suede-like or microfiber trim | Follow the vehicle manual first | Water can leave marks or change the texture |
| Child car-seat cover | Use only the care instructions from the seat maker | Harsh cleaners may affect the cover or labels |
| Child-seat harness or straps | Wipe with water unless the manual says otherwise | Chemicals can weaken or damage the webbing |
A “car seat” can mean either a vehicle seat or a child safety seat. Treat these as separate cleaning jobs. A stain on the vehicle upholstery is mainly a cleaning issue.
A stain on a child-restraint harness can become a safety issue.

The National Highway Traffic Safety Administration recommends following the child-seat manufacturer’s instructions for use and care. The manual takes priority over general cleaning advice.
What You Need Before You Start
Gather simple supplies before you clean:
- A vacuum with a crevice tool
- Two or three clean microfiber cloths
- A soft interior brush or soft toothbrush
- Mild dish soap or an upholstery cleaner approved for the material
- A bowl of lukewarm water
- A spray bottle for light misting, if needed
- Paper towels for fresh spills
- Leather cleaner made for finished automotive leather, if needed
- A fan or open-air space for drying
Avoid bleach, ammonia, acetone, nail-polish remover, abrasive powders, and strong household degreasers. These products can fade fabric, damage leather finishes, or leave fumes inside the vehicle.
Do not mix cleaning products. A mixture that seems harmless can create irritating vapors or damage the upholstery.
How to Get Stains Out of Cloth Car Seats
For most fabric seats, remove loose dirt first, blot the stain, clean with mild soap, and dry the area fully. The goal is to lift the stain without pushing water deep into the cushion.
1. Remove loose debris
Take out trash, crumbs, and removable items. Vacuum the seat, seams, and gaps around the seatback. Use the crevice tool around the seat belt buckle and under the seat edge.
Do not press hard with a stiff brush. Rubbing dry grit into fabric can grind dirt into the fibers.
2. Blot fresh spills
use a dry paper towel or clean cloth to absorb as much liquid as possible. Press down and lift up. Repeat with a clean part of the towel.
Do not rub a fresh spill from side to side. Rubbing can spread the mark and drive it farther into the seat.


3. Test the cleaner
Mix a small amount of mild dish soap with lukewarm water. A few drops of soap in a bowl of water is a useful starting point.
Test the solution on a hidden area, such as the lower seat edge. Wait until it dries. If the color, texture, or finish does not change, continue.
4. Clean the stain
Dip a microfiber cloth into the solution, then wring it out well. The cloth should be damp, not dripping.
Blot the outer edge of the stain first and work toward the center. For an older mark, use a soft brush with light strokes. Apply small amounts of solution rather than soaking the seat.
5. Remove soap residue
Use a second cloth dampened with plain water. Wring it out well and blot the cleaned area.
Soap left in the fabric can attract more dirt. Use only enough water to lift the residue.
6. Dry the seat
Press a dry towel over the area. Then leave the doors or windows open in a safe, dry place. A fan can help move air across the seat.
Do not sit on the seat until it is dry. Heat from a hair dryer can damage some fabrics and finishes, so use cool air if you use a dryer at all.
7. Check the result
Look at the seat after it dries completely. A damp seat may look cleaner than it really is, and wet fabric can hide a darker ring.
If a faint mark remains, repeat the process once. Several light treatments are safer than one aggressive scrub.

How to Clean Leather and Vinyl Car Seats
Leather and vinyl usually need less water than cloth. Wipe the surface rather than saturating it, and use a product made for the specific material when the owner’s manual calls for one.
For leather seats
- Vacuum seams and cracks with a soft brush attachment.
- Wipe the area with a dry microfiber cloth.
- Apply a small amount of leather cleaner to the cloth, not directly to the seat.
- Wipe gently in small sections.
- Remove residue with a clean, slightly damp cloth.
- Dry with another soft cloth.
- Use a leather conditioner only if the manual or product instructions support it.
Finished automotive leather often has a protective coating. A harsh cleaner can damage that coating even if the leather looks clean at first.
Do not use household oils, petroleum jelly, or furniture polish as a substitute for automotive leather care. These products may leave a slick film and can change the surface appearance.
For vinyl or synthetic leather
Use a mild soap solution and a damp cloth. Wipe the stain gently, then remove soap with a clean damp cloth. Dry the area right away.


Avoid rough scrub pads. They can leave a dull patch that is harder to repair than the original stain.
If the stain has caused cracking, peeling, or color loss, cleaning will not restore the material. An automotive upholstery repair shop may be able to recolor or replace the damaged section.
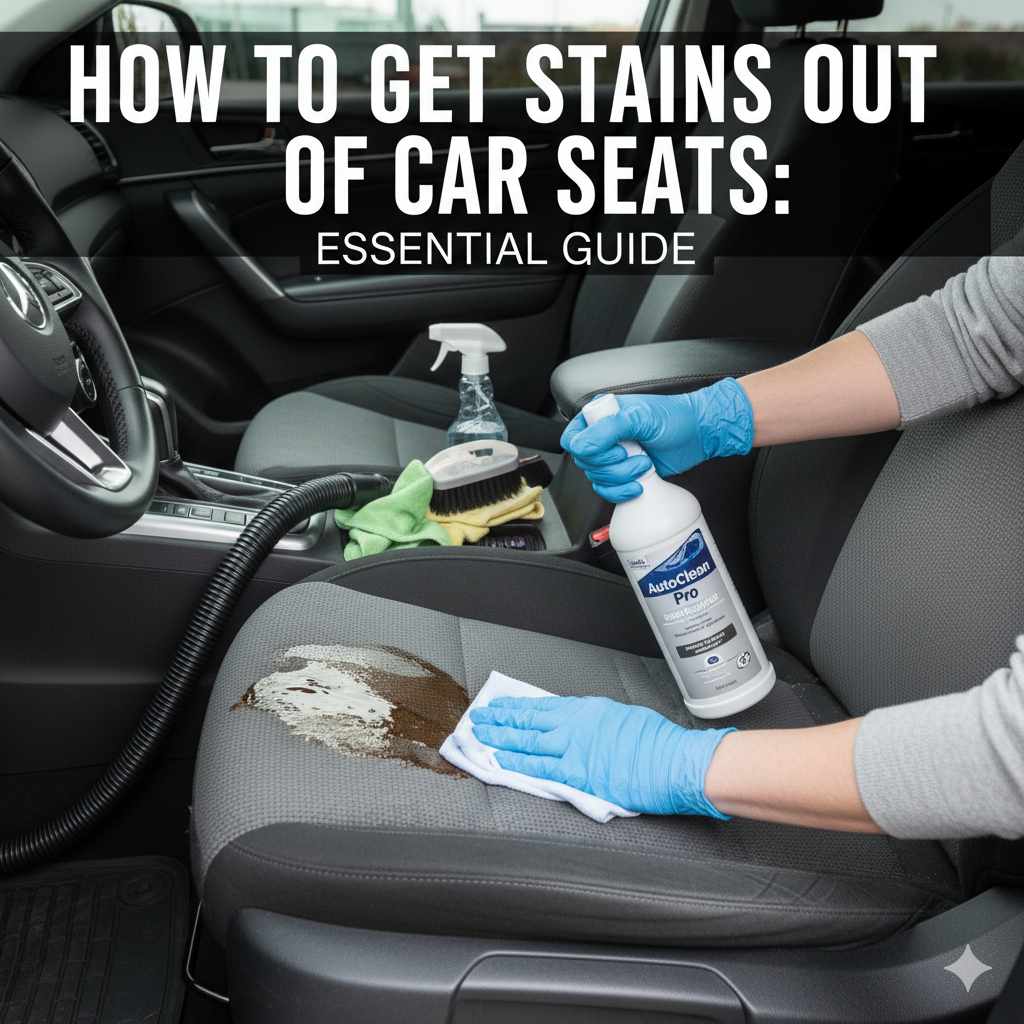
How to Remove Common Car Seat Stains
Different stains respond to different first steps. Always remove the excess before applying cleaner.
| Stain | First step | Follow-up |
|---|---|---|
| Coffee, soda, or juice | Blot with a dry towel | Use mild soap and water |
| Milk or formula | Blot, then clean with mild soap | Dry fully to limit sour odor |
| Grease or oil | Lift solids and blot | Use an upholstery-safe cleaner; avoid spreading it |
| Vomit | Remove solids with paper towels or a scraper | Clean, rinse lightly, and address odor |
| Blood | Use cold water on a cloth | Avoid hot water, which can set protein stains |
| Ink | Blot carefully | Test a specialized cleaner in a hidden spot first |
| Mud | Let it dry, then vacuum | Clean the remaining mark with mild soap |
| Pet urine | Blot immediately | Use an enzyme product only if approved for the material |
| Melted candy | Cool and harden it | Lift gently, then clean the sticky residue |
Coffee, soda, and juice
Blot the liquid at once. Use a damp cloth with a small amount of mild soap. Work from the outside toward the center.
Sugary drinks can leave a sticky film. Rinse the area lightly with a clean, damp cloth after cleaning, then dry it well.
Milk, formula, and food
Remove solid food with a spoon or dull edge. Blot liquid without rubbing. Clean with mild soap and water.
Milk and formula can smell sour when they remain in the cushion. If the odor returns after the surface dries, the spill may have reached the foam. Repeatedly soaking the seat can make the problem worse, so consider professional upholstery cleaning.
Grease and oil
Lift any solid residue first. Blot the remaining oil with a clean towel. Do not spread it with a wet cloth at the start.
Use a cleaner labeled for automotive upholstery and the correct material. Test it first. On leather or vinyl, use a cleaner made for that surface rather than a household degreaser.
Blood
Use cool water, not hot water. Dampen a white cloth and blot the spot. Then use mild soap if the material allows it.
Do not use bleach on automotive upholstery. It can damage the surface and may leave irritating residue.
Ink
Ink is difficult because strong solvents can remove the seat’s dye or protective finish along with the ink. Blot gently and stop if the color transfers to the cloth.
Test any ink-removal product in a hidden area. If the mark is large or the seat is expensive leather, professional cleaning is the safer option.
Vomit and other biological spills
Wear disposable gloves. Remove solids with paper towels and place them in a sealed bag. Clean the area with a material-safe product, then use a small amount of clean water to remove residue.
Do not flood the seat. Odor may remain if the liquid entered the foam, and excess water can spread contamination deeper.


Pet urine
Blot as much liquid as possible. A pet-odor enzyme cleaner may help on some fabric, but confirm that the label allows use on automotive upholstery. Test it first.
Avoid enzyme products on leather, suede-like trim, or child-seat parts unless the material or seat maker approves them. If urine reached the foam, surface cleaning may not solve the odor.

How to Clean a Child Car Seat Without Damaging It
Clean a child safety seat only according to its manufacturer’s instructions. The cover, harness, buckle, shell, and padding may have different care rules.
Start by identifying the seat model. Look for the model name and date information on the seat label. Then read the owner’s manual or the manufacturer’s care guide.
Cover
Many covers can be removed and washed, but washing temperature, cycle, detergent, and drying method vary. Some covers must air-dry. Do not assume that a standard washing machine cycle is safe.
Do not reinstall a cover while it is damp. Moisture can create odor and may make the seat uncomfortable for the child.
Harness straps
Do not machine-wash, bleach, iron, soak, or use strong chemicals on harness straps unless the manufacturer specifically permits it. In many cases, the safe basic method is to wipe the straps with water and let them air-dry.
Never scrub hard enough to fuzz or fray the webbing. Replace the harness or contact the manufacturer if the straps are cut, frayed, melted, badly stained, or contaminated in a way the manual does not address.
Buckle
Crumbs can prevent a buckle from locking correctly. Follow the seat maker’s instructions for cleaning the buckle. Do not force tools into the buckle or use oil.
After cleaning, confirm that the buckle clicks and releases as designed. If it sticks or does not latch, stop using the seat until the manufacturer provides guidance or replaces the part.
Plastic shell
Wipe the shell with mild soap and water if the manual allows it. Avoid solvents and abrasive cleaners. Do not drill, alter, or add unapproved padding.
The NHTSA car-seat guidance provides general safety information, but the seat manufacturer’s manual controls the cleaning method for a specific model.

How to Remove Odor After Cleaning
Odor usually means residue or moisture remains in the seat. Clean the source first rather than covering it with fragrance.
Use this order:
- Remove visible material.
- Blot liquid.
- Clean with a material-safe product.
- Remove soap or cleaner residue.
- Dry the seat completely.
- Repeat once only if needed.
Avoid spraying perfume or air freshener directly onto a child car seat, harness, or buckle. Fragrance may mask the odor without removing the source.


If a vehicle seat still smells sour or musty after it is fully dry, the spill may have reached the foam. Professional extraction may help. Tell the cleaner about built-in seat heaters, side airbags, occupancy sensors, and other seat electronics before work begins.
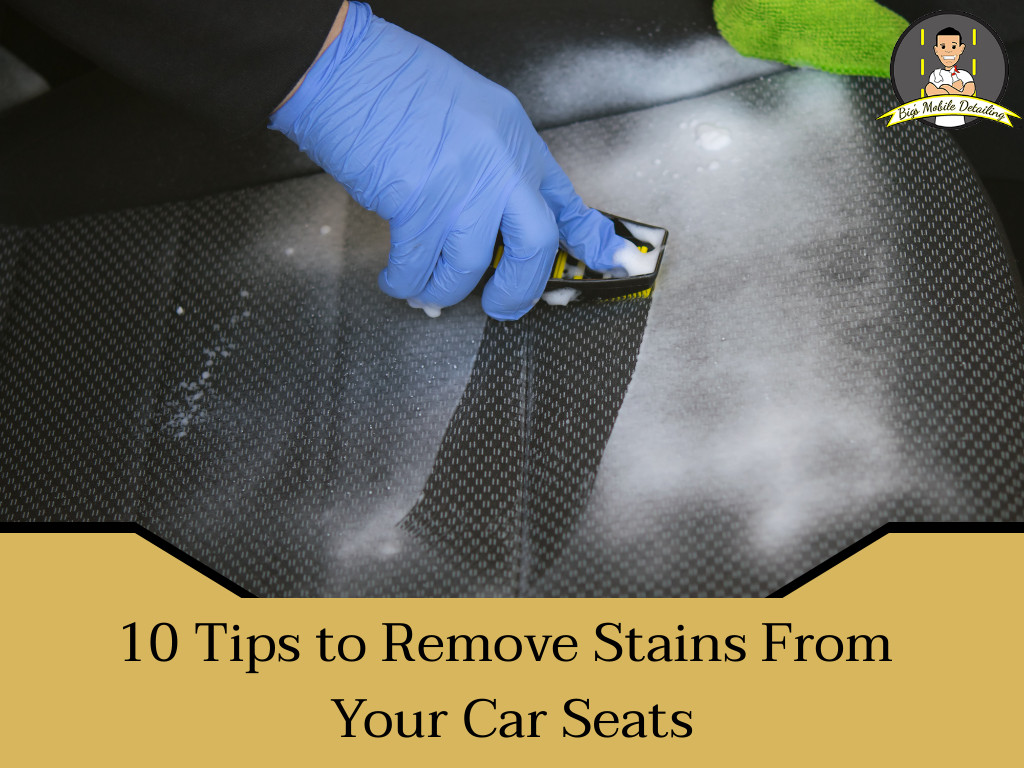
When DIY Cleaning Is Not the Best Choice
Professional help makes sense when the stain has reached the foam, the seat has a strong odor, or the material has been damaged. It is also wise when the seat contains electronics or airbags and you are unsure how much moisture it can tolerate.
Stop cleaning and seek guidance if:
- The color begins lifting onto the cloth.
- The surface becomes sticky, cracked, or rough.
- A side-airbag seam is wet or damaged.
- A child-seat harness is frayed or contaminated.
- The buckle does not latch or release normally.
- Mold-like growth remains after drying.
- A chemical cleaner has already caused discoloration.
For a child safety seat, contact the manufacturer before replacing or treating a damaged harness, buckle, or structural part. Do not improvise with sewing, glue, tape, or aftermarket straps.

Common Mistakes to Avoid
The most common cleaning mistake is using too much water. Car-seat foam dries slowly, and trapped moisture can cause odor, stains, or mildew.
Avoid these errors:
- Scrubbing a stain before blotting it
- Using hot water on blood or other protein-based stains
- Applying cleaner directly to leather or electronics
- Mixing cleaning products
- Using bleach on fabric or harnesses
- Cleaning around an airbag without checking the manual
- Closing the vehicle while the seat is still damp
- Using a steam cleaner without material and vehicle approval
- Washing a child-seat cover with the wrong cycle
- Assuming a clean-looking harness is safe after chemical exposure
A clean seat is not worth damaging a safety part. When the manual and a general cleaning tip disagree, follow the manual.

How to Prevent New Car Seat Stains
Prevention is easier than deep cleaning. Keep a small towel and a few paper towels in the vehicle so you can blot spills at once.
Useful habits include:
- Use a washable towel under snacks, but do not place unapproved padding under a child car seat.
- Keep drinks in closed containers.
- Vacuum food crumbs before they become sticky.
- Clean spills before parking the vehicle in strong heat.
- Check under child seats for trapped food and moisture.
- Follow the vehicle manual for seat protectors and accessories.
- Clean high-touch areas during routine interior care.
For child restraints, use only accessories approved by the seat manufacturer. A loose mat, cushion, or cover can affect how the restraint fits or performs.

FAQs About Removing Car Seat Stains
Can I use baking soda on car seats?
You can use a small amount of dry baking soda on some fabric surfaces to help absorb a mild odor, but vacuum it up fully. Do not use it as a replacement for cleaning the stain, and avoid putting powder into buckles, harness parts, seat controls, or airbag seams.
Can I use vinegar to clean car upholstery?
Vinegar may help with some odors, but it can affect dyes, finishes, and materials. Test it first, and do not use it on a child-seat harness or buckle unless the manufacturer approves it. A material-specific cleaner is usually the safer choice.
How do I get a water ring out of a cloth car seat?
Lightly clean the full fabric panel around the ring instead of wetting only the center. Use very little water, remove soap residue, and dry the panel evenly. A ring can return if the seat dries unevenly or if cleaner remains in the fabric.
Can I use a carpet cleaner or extractor on car seats?
Only if the vehicle or upholstery manufacturer permits it. Keep water away from electrical controls, seat heaters, occupancy sensors, and side-airbag areas. Do not use an extractor on a child safety seat unless its manufacturer gives specific instructions.


How often should I clean car seats?
Clean spills as soon as possible. Vacuum vehicle seats every few weeks or when crumbs build up, then deep-clean only when needed. Clean a child safety seat according to its manual and inspect the harness and buckle during routine use.
Final Takeaway
The safest way to get stains out of car seats is to match the method to the material. Vacuum first, blot instead of rubbing, use mild cleaner sparingly, remove residue, and dry the seat completely.
For leather, vinyl, vehicle electronics, and child safety seats, the owner’s manual comes first. If a stain reaches the foam or a safety part is damaged, stop using aggressive cleaners and contact the vehicle or child-seat manufacturer.