How To Read Tire Pressure Gauge: Easy Step-By-Step Guide
A tire pressure gauge tells you how much air is in a tire, usually in pounds per square inch (psi). To read it correctly, press the gauge firmly onto the tire’s valve stem, note the number shown, and compare it with the recommended pressure on your vehicle’s driver-side doorjamb label. Check tires when they are cold, and do not use the pressure printed on the tire sidewall as your normal target.
This guide explains how to read stick, dial, and digital gauges used on cars, trucks, SUVs, and trailers in the United States.

What the Numbers on a Tire Pressure Gauge Mean
The number on a tire pressure gauge is the air pressure inside the tire. Most U.S. drivers use psi, which means pounds per square inch.
Some gauges also show:
- bar, a metric pressure unit
- kPa, or kilopascals
- kg/cm², found on some older or imported gauges
The same pressure can appear as different numbers on different scales:
| Pressure | Approximate bar | Approximate kPa |
|---|---|---|
| 30 psi | 2.1 bar | 207 kPa |
| 32 psi | 2.2 bar | 221 kPa |
| 35 psi | 2.4 bar | 241 kPa |
| 40 psi | 2.8 bar | 276 kPa |
| 50 psi | 3.4 bar | 345 kPa |
If your vehicle recommends 35 psi, read the psi scale and look for 35. Do not confuse it with 35 kPa or 3.5 bar.
The correct tire pressure for your vehicle is usually printed on a label inside the driver’s door or doorjamb. It may also appear in the owner’s manual. The National Highway Traffic Safety Administration (NHTSA) explains that the vehicle placard provides the recommended cold tire inflation pressure.

How to Read a Tire Pressure Gauge Step by Step
You can read most tire pressure gauges in less than a minute. The basic process is the same for stick, dial, and digital gauges.
1. Find the recommended pressure
Open the driver’s door and look for the tire information label. It may list separate pressures for:
- Front tires
- Rear tires
- A temporary spare tire
- Different load conditions
Use the number listed for your vehicle. For example, the label may say 35 psi front and 33 psi rear.
Do not use the number molded into the tire’s sidewall as your everyday setting. That number is usually the tire’s maximum allowed inflation pressure, not the pressure selected by the vehicle manufacturer.
2. Check the tires when cold
A cold tire has not been driven recently or has been parked for about three hours. This gives you the most useful comparison with the pressure on the vehicle placard.
Driving heats the tire and raises its pressure. A warm reading can be several psi higher than a cold reading. Do not release air from a warm tire simply because the reading is above the cold recommendation.
3. Remove the valve cap
Unscrew the small cap from the tire’s valve stem. Keep it in a safe place while you take the reading.
The valve cap helps keep out dirt and moisture, but it does not set the tire pressure or replace a proper seal.
4. Press the gauge onto the valve stem
Place the gauge straight over the valve stem and press firmly. You should hear only a brief hiss as the gauge makes contact.
A long hiss usually means the gauge is not seated correctly. Adjust it until the sound stops and the reading becomes steady.
5. Read the correct scale
Read the scale labeled psi unless your vehicle label uses another unit.
How each common gauge works:
- Stick gauge: A small rod slides out of the body. Read the number at the edge of the rod.
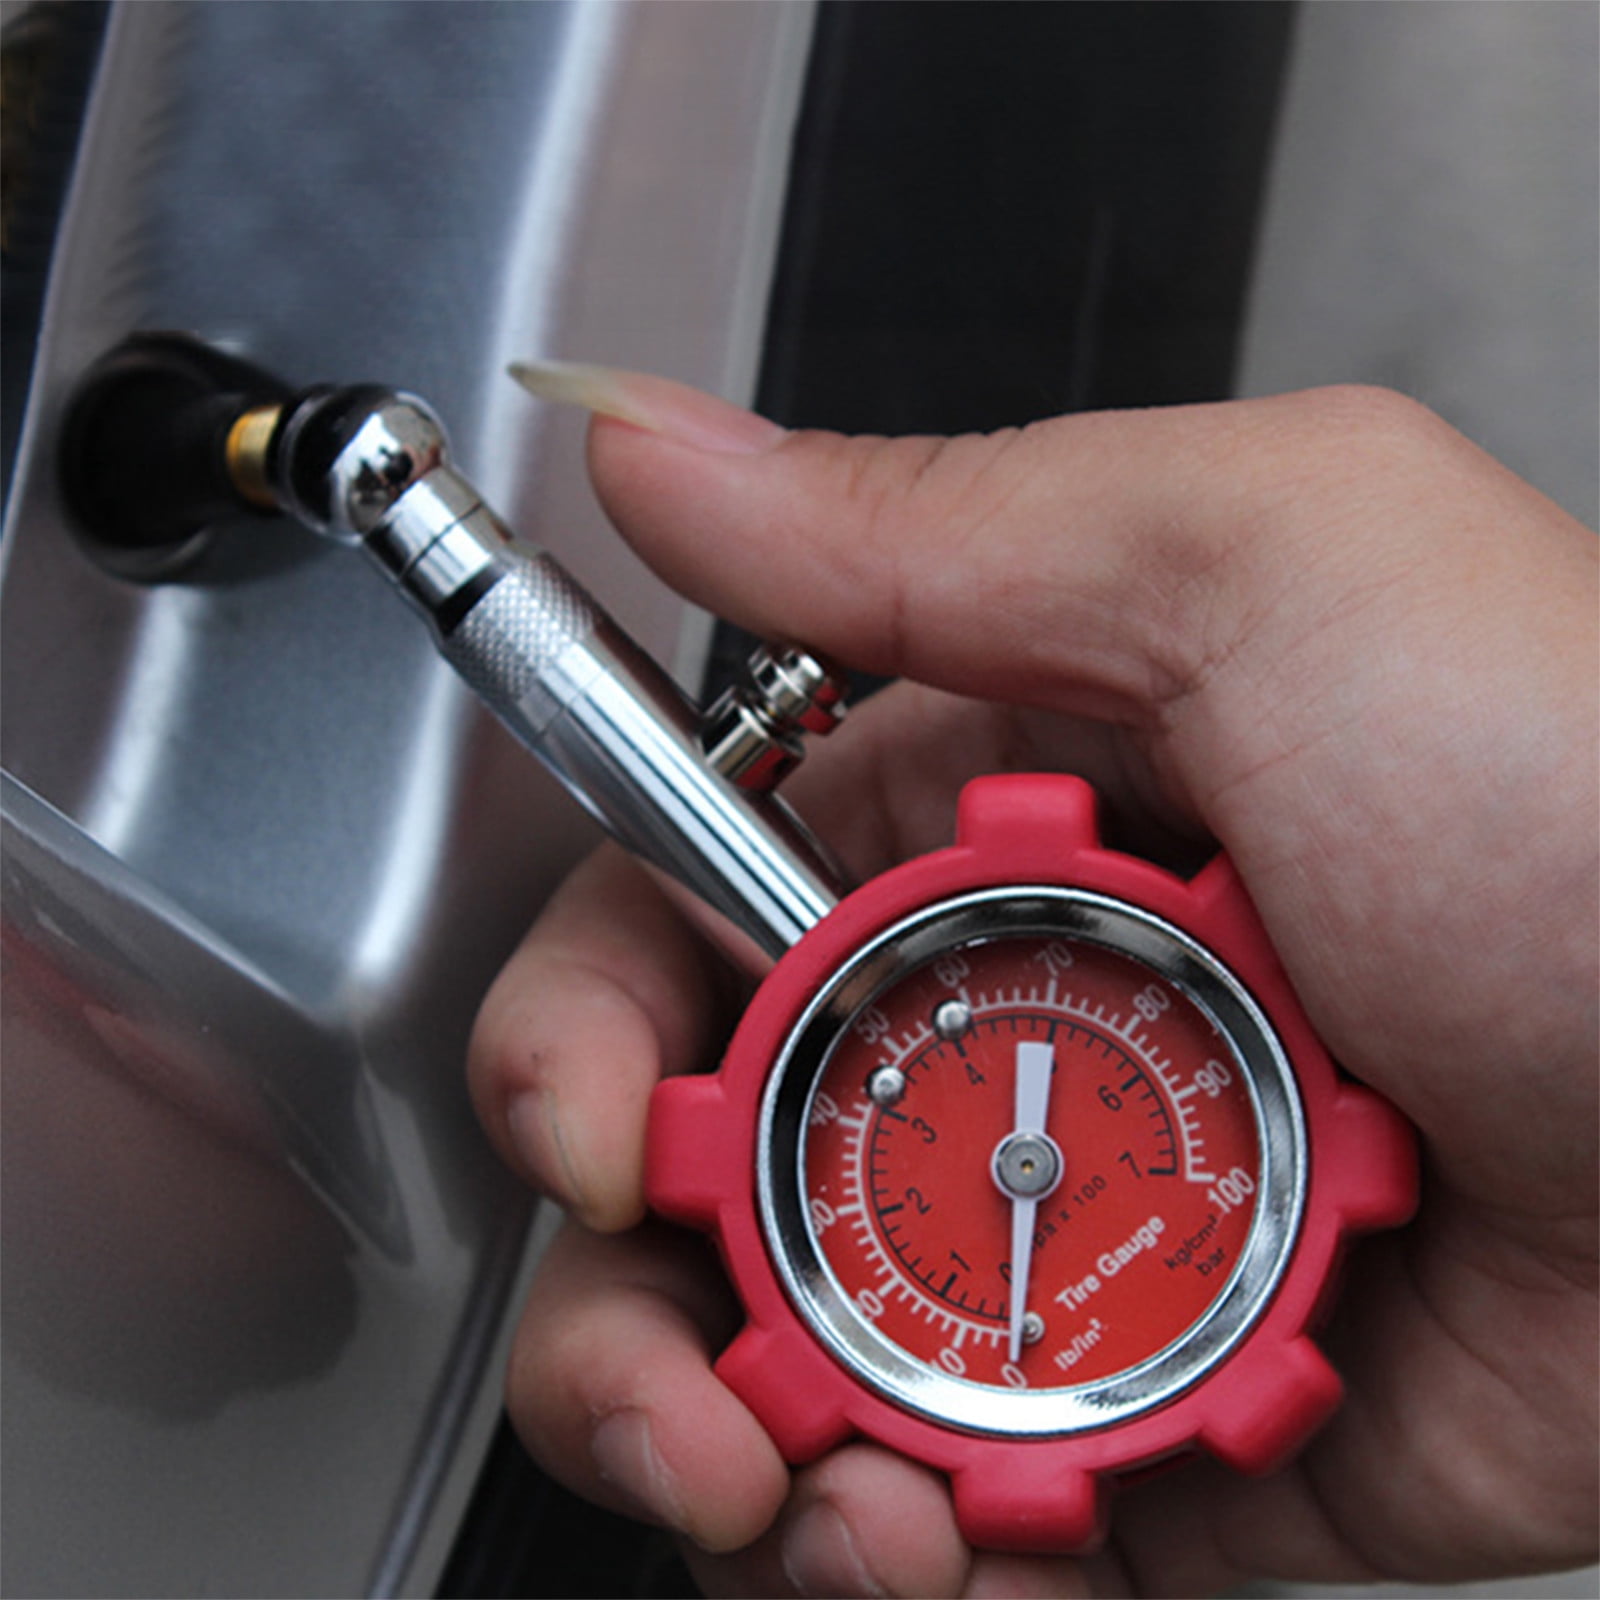
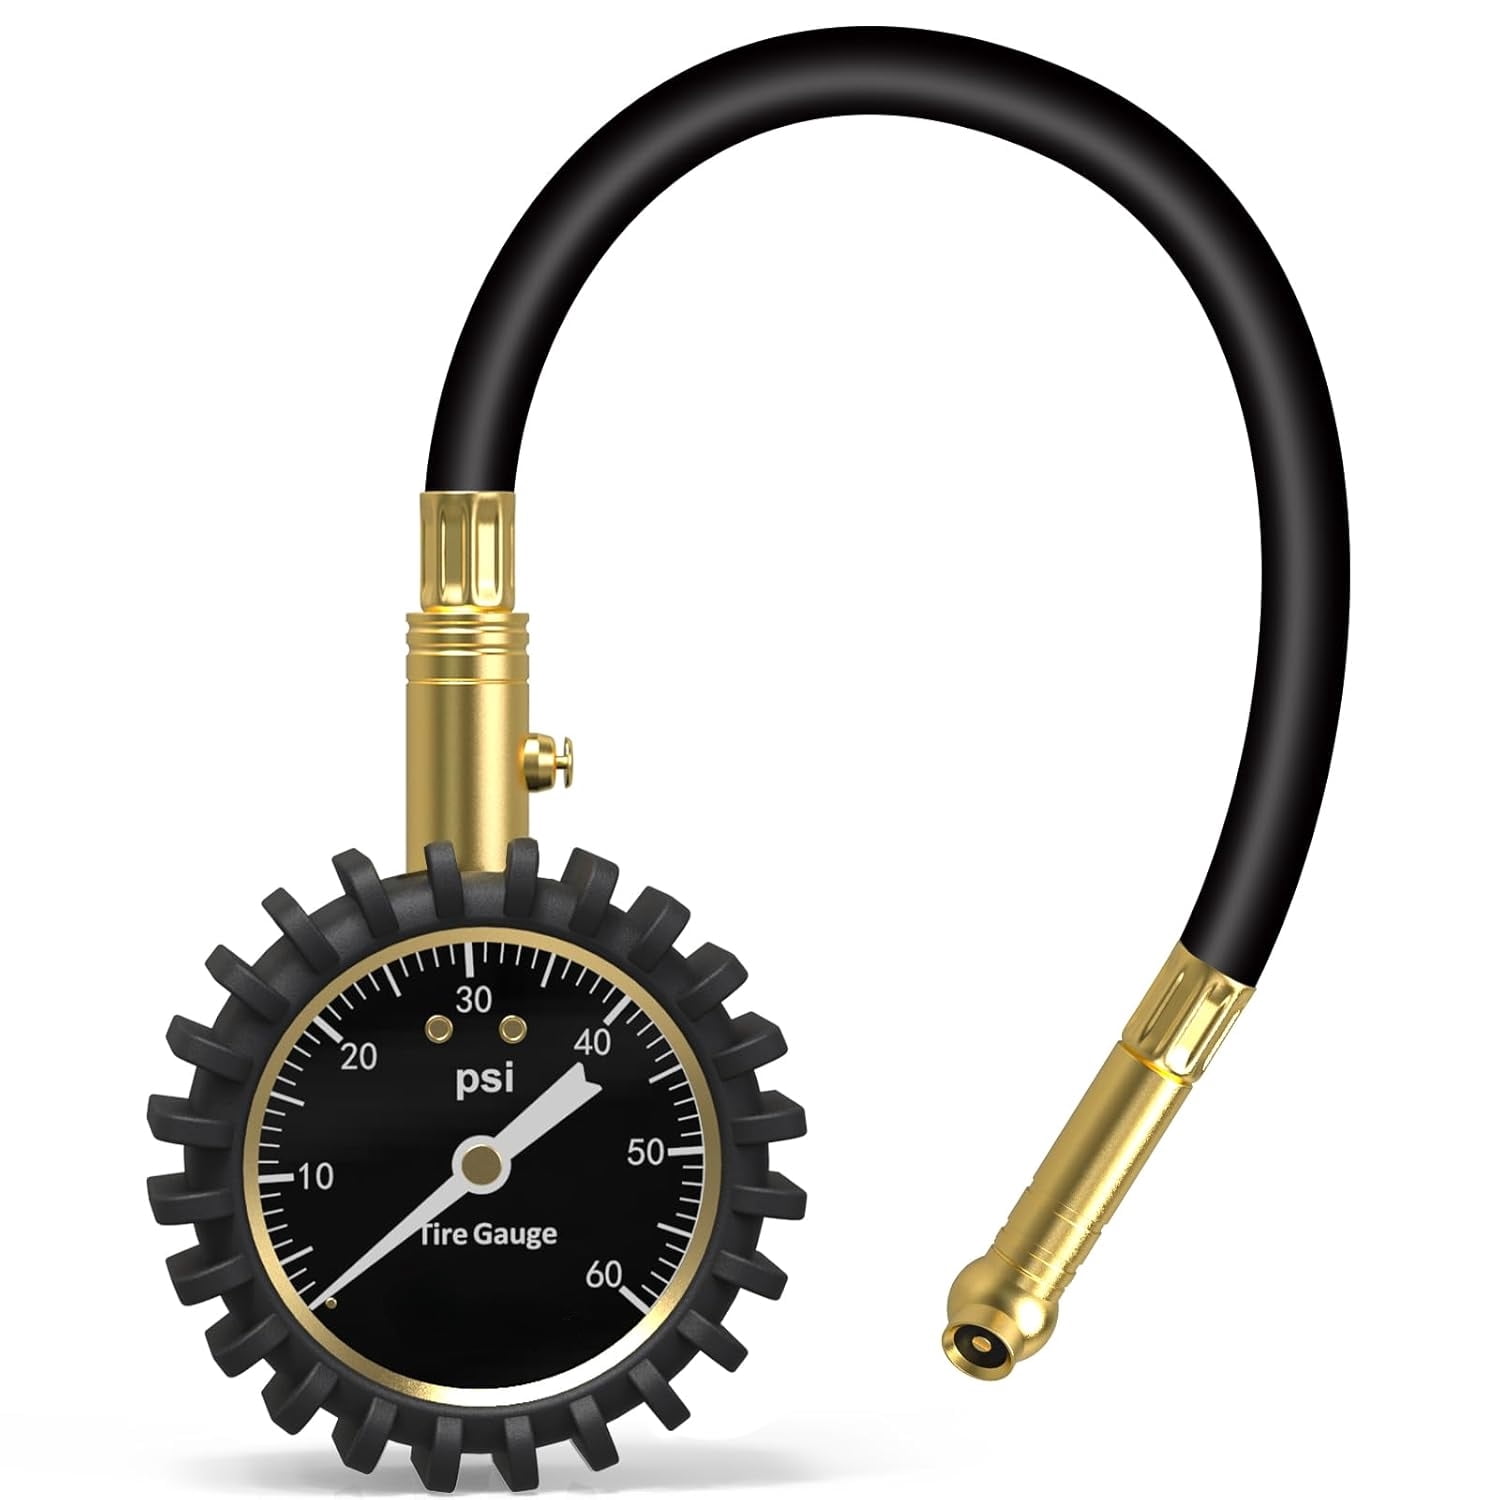
- Dial gauge: A needle points to the pressure number around the face.
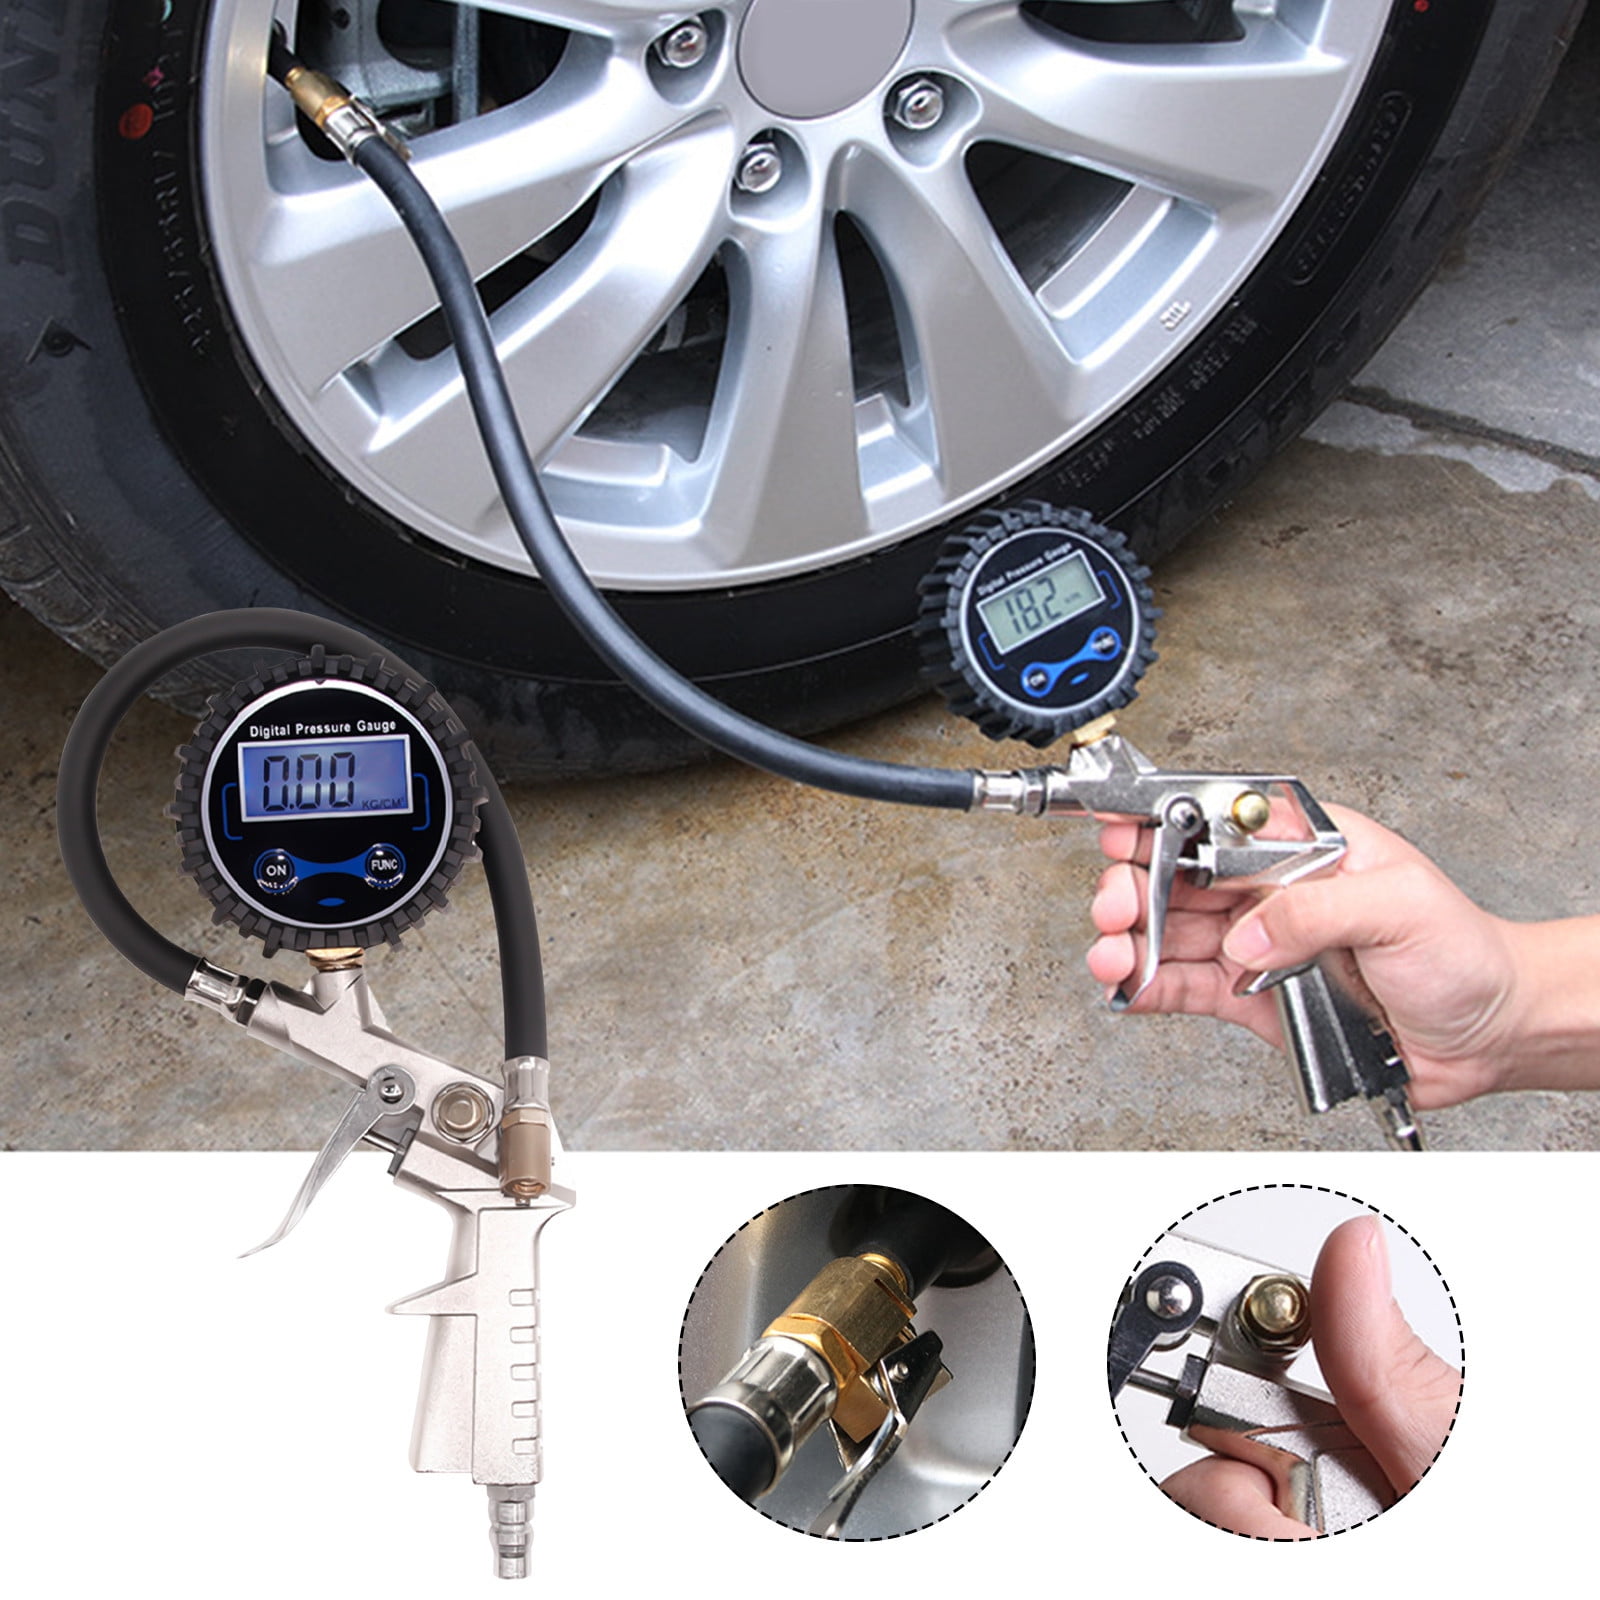
- Digital gauge: The pressure appears on a screen, often in psi.
Read the gauge at eye level when using a dial model. This helps prevent viewing errors.
6. Compare the reading with the placard
Suppose the door label says 35 psi and the gauge reads 29 psi. The tire is 6 psi low.
If the gauge reads 38 psi, the tire is 3 psi above the recommended cold pressure. You may need to release a small amount of air, but only after confirming that the tire is cold.
7. Add or release air, then check again
Add air in short bursts. After each burst, wait briefly and measure again.
To release air, press the small metal pin inside the valve stem with the back of some gauges or with a valve tool. Remove only a little air at a time. Recheck the pressure after each adjustment.
Replace the valve cap when finished.
How to Read a Stick Tire Pressure Gauge
A stick gauge is a narrow metal or plastic tool with a sliding measuring rod. It is common, inexpensive, and does not need batteries.
To read it:
- Hold the gauge by its thicker body.
- Press the opposite end onto the valve stem.
- Let the numbered rod slide outward.
- Find the number closest to the edge of the gauge body.
- Make sure you are reading the psi side, not bar or kPa.
For example, if the rod stops near 32 on the psi scale, the tire pressure is about 32 psi.
The markings can be small. If two numbers seem close, take a second reading. A stick gauge can also be harder to read in low light than a digital gauge.
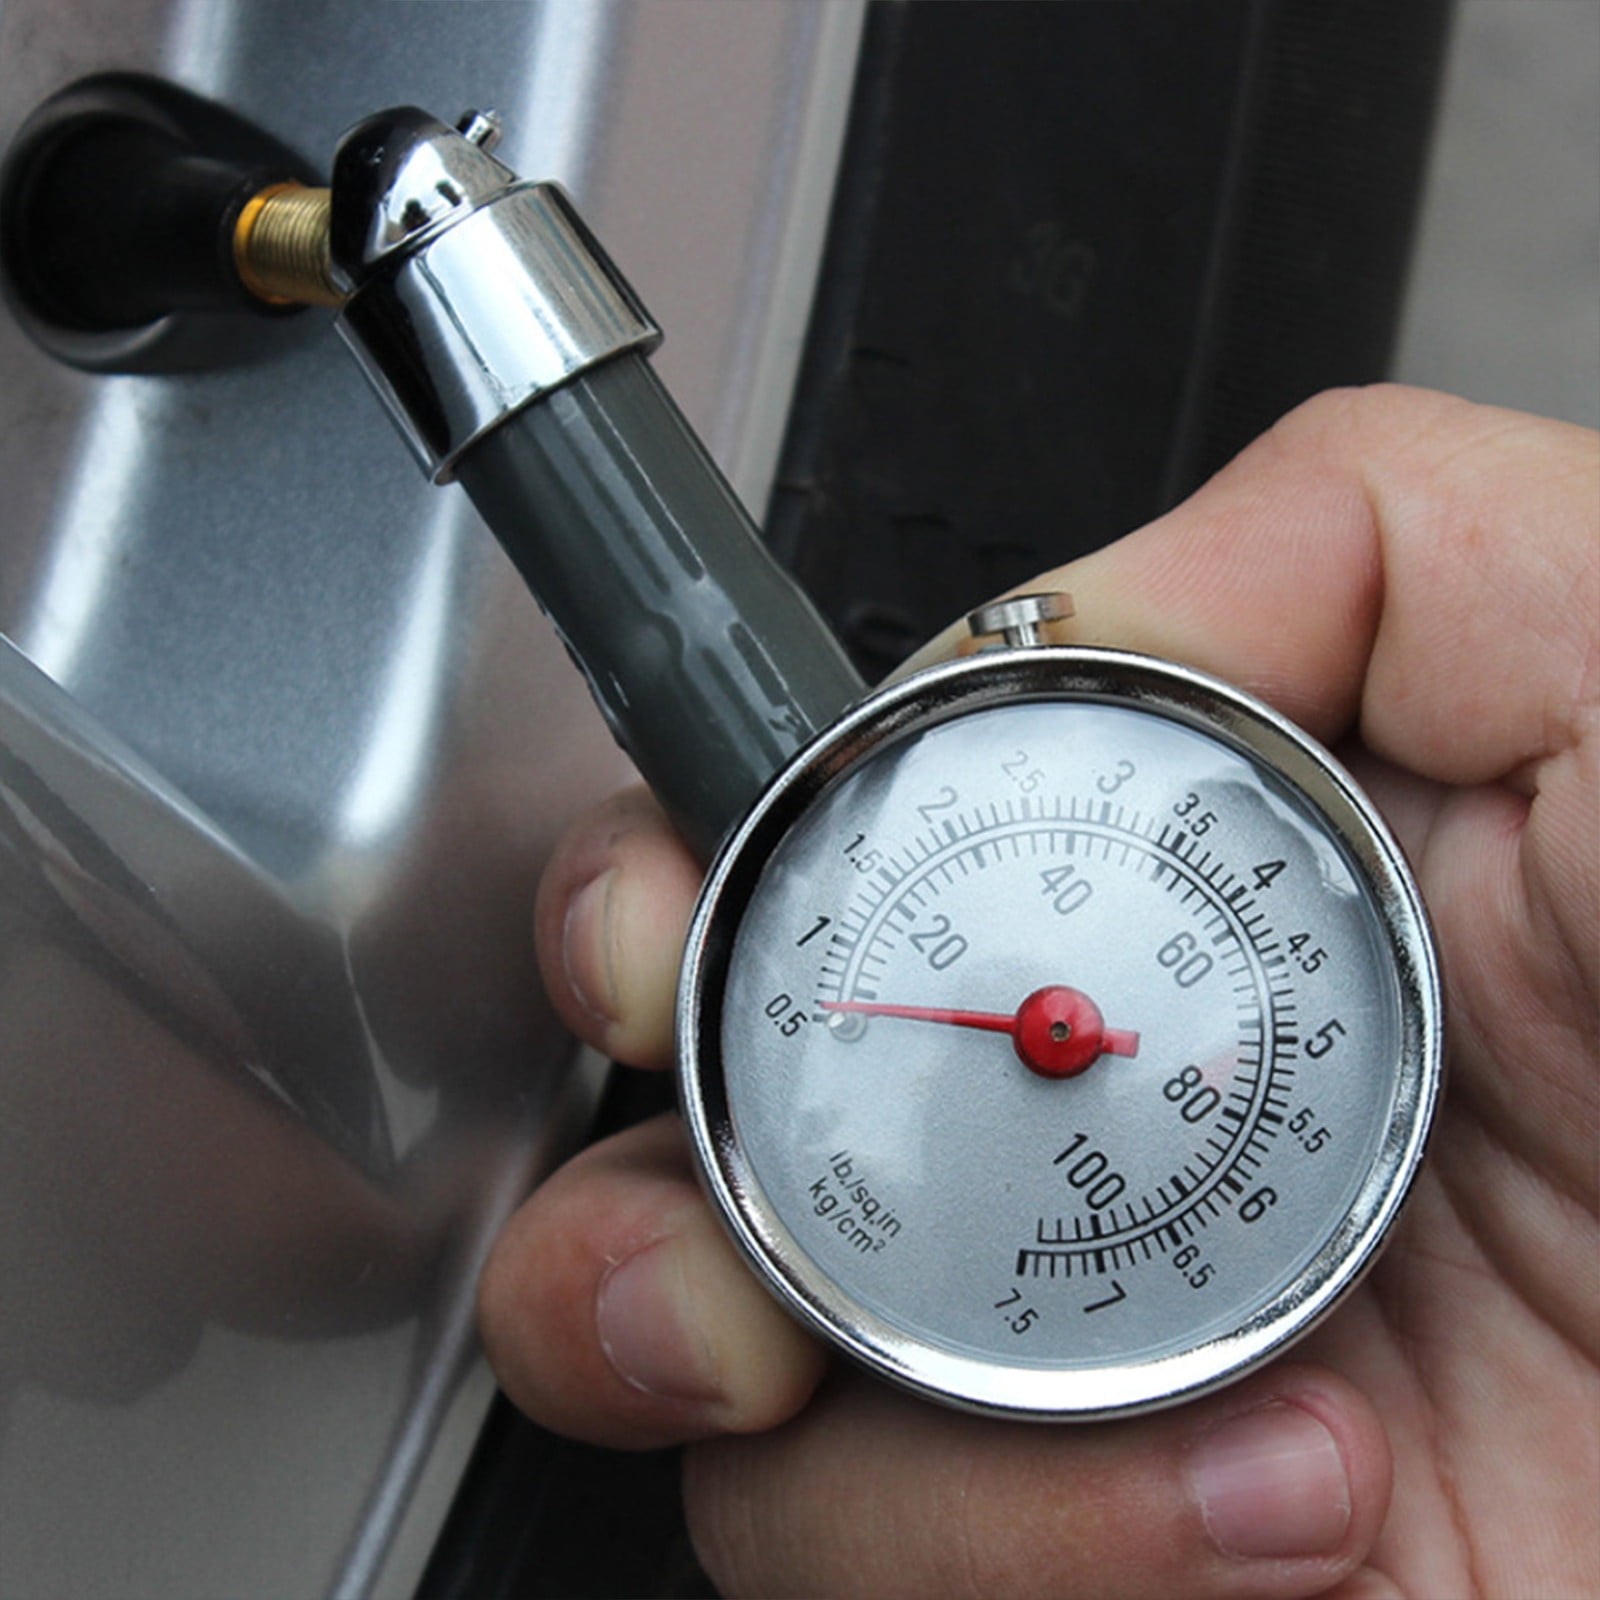
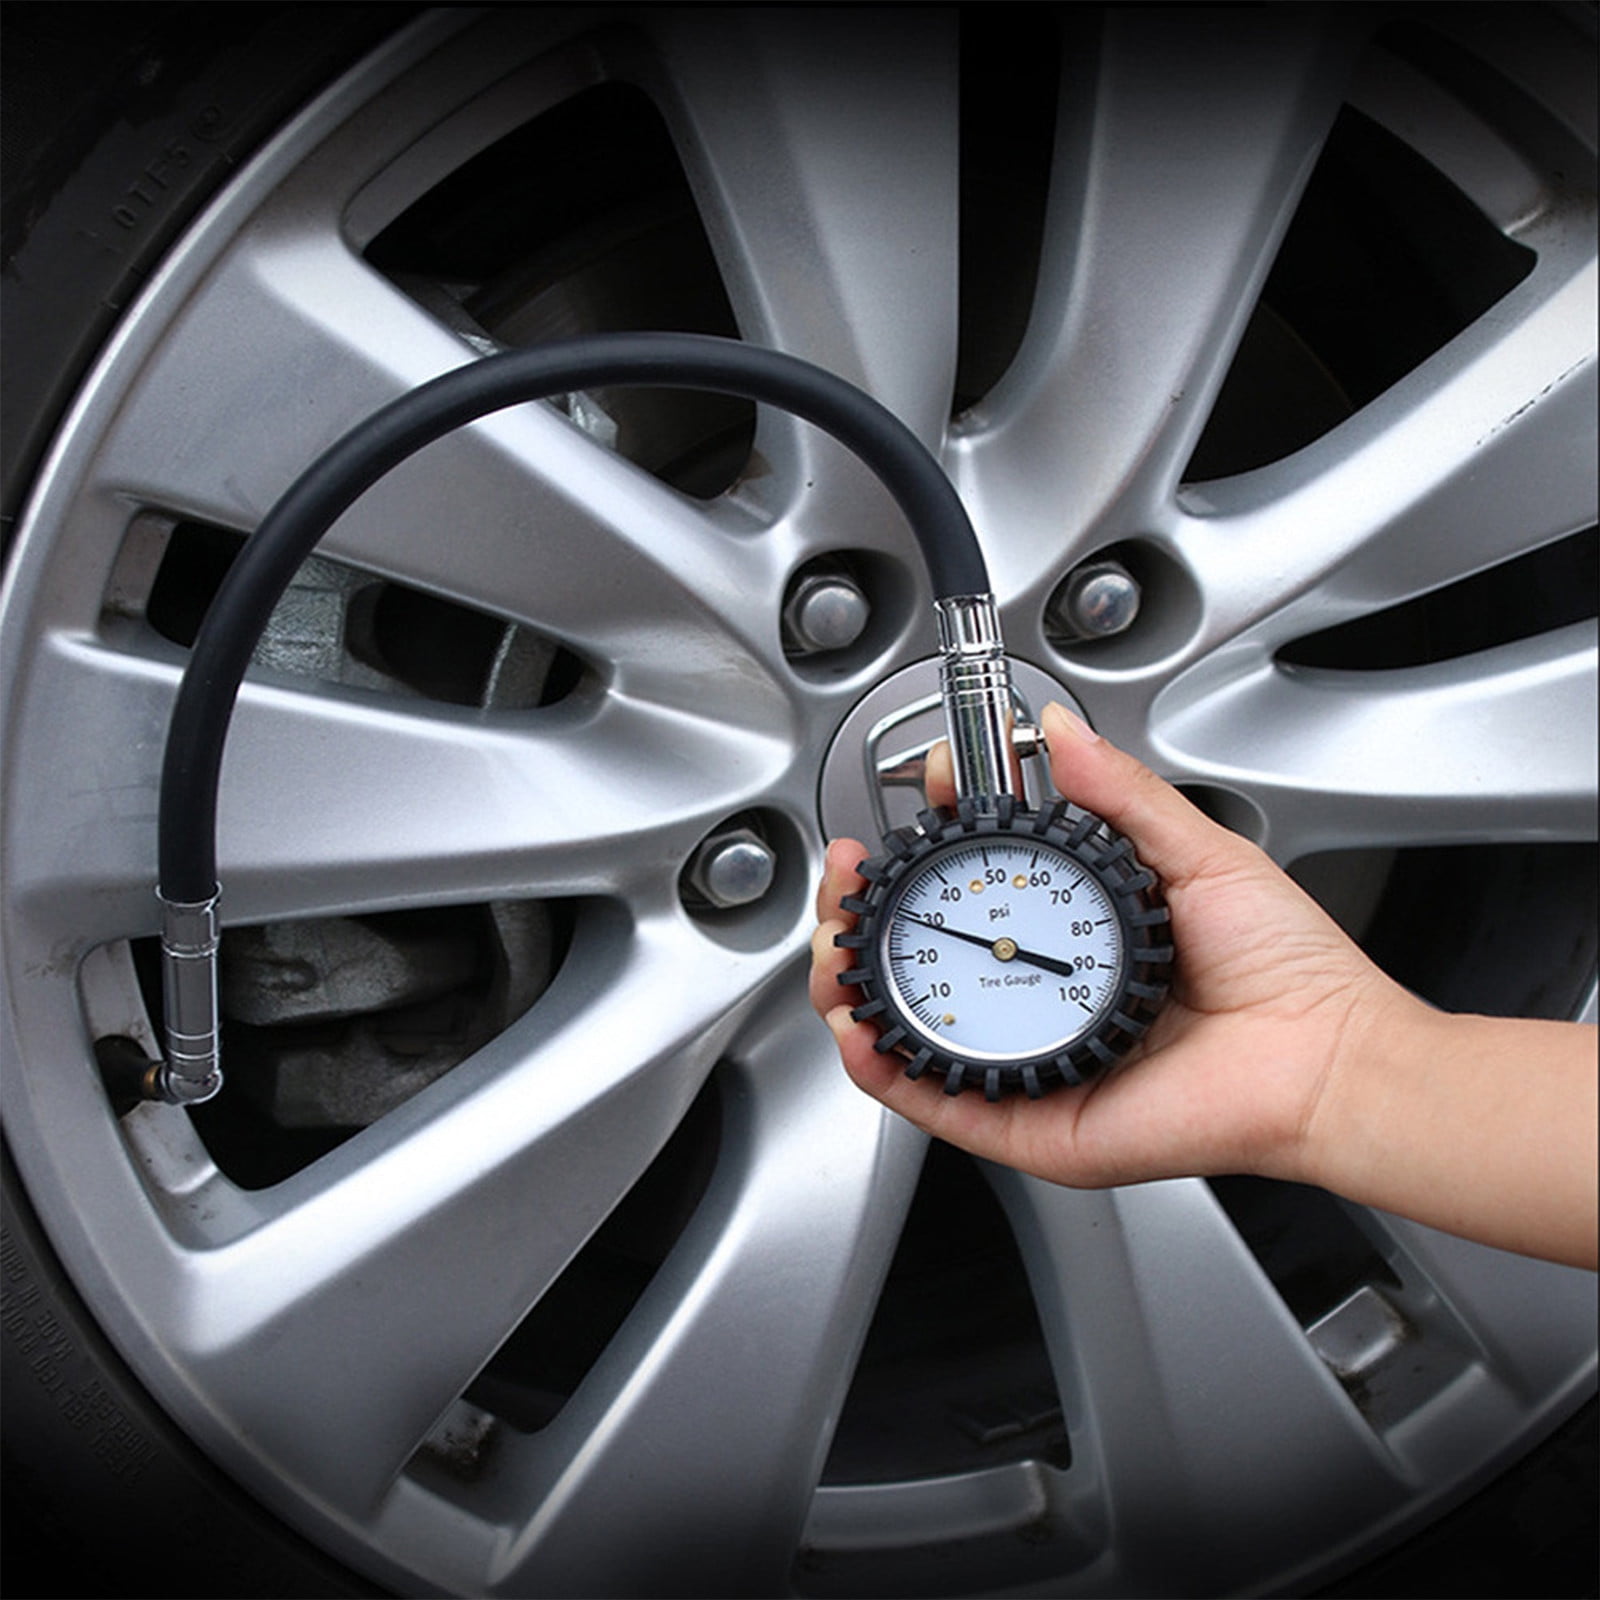
How to Read a Dial Tire Pressure Gauge
A dial gauge has a round face and a needle. The numbers usually increase around the face in a clockwise direction.
To read one:
- Connect the gauge to the valve stem.
- Wait for the needle to settle.
- Identify the scale marked psi.
- Read the number where the needle points.
- Estimate between markings if needed.
If the needle points between 30 and 35 psi, the reading may be about 32 or 33 psi, depending on the small divisions on the dial.
Hold the gauge steady. A loose connection can make the needle jump or give a low reading. Some dial gauges have a pressure-release button. This lets you remove air without disconnecting the gauge.
How to Read a Digital Tire Pressure Gauge
Digital gauges show the pressure as a number on a screen. They are often easy to read, but the unit setting still matters.
Before measuring, check whether the display says:
- PSI
- BAR
- KPA
If the gauge shows 2.4 bar, that is about 35 psi. If it shows 240 kPa, that is about 35 psi as well.
Many digital gauges turn on when pressed onto the valve stem. Others require a power button. Wait for the number to stop changing before recording it.
Replace the battery if the display is dim, slow, or inconsistent. A low battery can make the gauge harder to use, although the exact effect depends on the model.
Which Tire Pressure Should You Use?
Use the pressure on the vehicle’s tire information placard, not a guess and not automatically the sidewall number.
The placard is commonly found:
- On the driver-side doorjamb
- On the inside of the fuel door
- Inside the glove box
- In the owner’s manual
The label may show different pressures for the front and rear axles. It may also list a higher pressure for a heavily loaded vehicle.
Example
Imagine the placard says:
| Tire position | Recommended cold pressure |
|---|---|
| Front left | 35 psi |
| Front right | 35 psi |
| Rear left | 33 psi |
| Rear right | 33 psi |
A correct check would compare each tire with its own target. You should not inflate all four tires to 35 psi unless the vehicle instructions say to do so.
The tire sidewall may show a maximum pressure such as 44 psi. That is not necessarily the right pressure for your vehicle. Vehicle handling, ride quality, load rating, and tire design all affect the recommended setting.

What Does a Low or High Reading Mean?
A small difference can often be corrected with air. A large or repeated difference needs more attention.
| Gauge reading compared with placard | Likely action |
|---|---|
| 1–2 psi low | Add air and recheck |
| 3–5 psi low | Add air soon; inspect for a slow leak |
| More than 5 psi low | Inflate before normal driving; inspect the tire |
| 1–2 psi high when cold | Release a small amount if needed |
| Much higher than the placard | Confirm the unit, tire position, and temperature |
These ranges are practical guidance, not a replacement for the vehicle manual or tire service advice.
A tire that loses pressure again after inflation may have:
- A puncture
- A leaking valve stem
- A damaged wheel
- A poor bead seal
- A temperature-related pressure change
Do not keep adding air without finding the cause.
Why Tire Temperature Changes the Reading
Tire pressure rises as air inside the tire warms. It falls when the air cools.
A tire can read higher after:
- Highway driving
- Heavy braking
- A long trip
- Sitting in direct sun
A tire can read lower during:
- Cold winter mornings
- A sharp drop in outdoor temperature
- Extended parking outdoors
A commonly used rule is that pressure changes by roughly 1 psi for every 10°F change in temperature, but the actual change varies by tire, vehicle, starting pressure, and conditions.
For a reliable check, measure all tires under similar cold conditions. If one tire reads much lower than the others, investigate it rather than blaming temperature alone.

How to Check Tire Pressure Without Making a Mistake
Use this short routine:
- Check the doorjamb label.
- Confirm the gauge is set to psi.
- Measure all four tires when cold.
- Check the spare if it is a full-size spare.
- Compare each tire with the correct axle pressure.
- Add or release air in small amounts.
- Measure again.
- Replace every valve cap.
Avoid checking only the tire that looks low. Modern radial tires can lose a large amount of pressure before they look visibly flat.
Do not rely only on the dashboard tire pressure monitoring system, or TPMS. TPMS is useful for warning you about significant underinflation, but it may not show the exact pressure. A hand gauge gives you a direct measurement.
What to Do if the Gauge Reading Seems Wrong
If the reading does not make sense, repeat the test before changing the pressure.
Check these points:
- The gauge is firmly attached to the valve stem.
- You are reading psi, not kPa or bar.
- The tire is cold or you have accounted for heat.
- The valve stem is not damaged.
- The gauge is not visibly cracked or bent.
- The gauge gives similar results on repeated checks.
You can compare the gauge with another known-good gauge. Small differences may occur because gauges have different accuracy limits. If two gauges disagree by several psi, use a trusted replacement or ask a tire shop to check the pressure.
A pressure gauge is a measuring tool, not a leak detector. If the tire loses air, a professional may need to inspect it with soapy water or remove it for an internal inspection.
Tire Pressure and TPMS Warning Lights
A steady TPMS warning light usually means one or more tires are underinflated. Check the tire pressure with a gauge as soon as it is safe.
A TPMS light that flashes and then remains on can indicate a system fault, depending on the vehicle. The owner’s manual explains the warning pattern for that model.
After correcting the pressure, some vehicles turn the light off after driving. Others require a TPMS reset procedure. Do not reset the system before correcting the actual tire pressure.
If the light returns, inspect the tires and have the system checked. A warning light can result from a puncture, a damaged sensor, a sensor battery problem, or another fault.
Safety Limits: When Not to Drive
Do not drive normally on a tire that is visibly flat, badly damaged, or losing air quickly.
Stop and seek help if you notice:
- A bulge or bubble in the sidewall
- A cut that reaches deep into the tire
- Exposed cords
- A nail or screw with rapid air loss
- A tire that will not hold pressure
- Severe vibration or pulling after pressure loss
Inflating a damaged tire can be dangerous. Tire pressure cannot repair structural damage.
If the tire is only somewhat low and shows no visible damage, inflate it to the vehicle’s cold recommendation before driving farther. A tire shop should inspect any tire that repeatedly loses air.
Common Tire Pressure Gauge Mistakes
Reading the sidewall number as the target
The sidewall number usually states the tire’s maximum pressure. Use the vehicle placard for the normal setting.
Checking only one tire
Uneven pressure can affect handling and tire wear. Check all tires.
Measuring after a long drive
Heat raises pressure. Measure cold when possible.
Pressing the gauge at an angle
An angled connection can leak air and produce a false reading. Press the gauge straight onto the valve stem.
Using the wrong unit
A reading of 35 kPa is not the same as 35 psi. Confirm the unit before adding air.
Deflating a hot tire
A hot reading is not a fair comparison with the cold placard pressure. Wait until the tire cools.
Ignoring the spare
A full-size spare can lose air while sitting unused. Check it during routine maintenance. A temporary spare often has a much higher recommended pressure, so read its label or the owner’s manual.
Key Takeaways
- Read tire pressure in psi unless your vehicle uses another unit.
- Use the pressure on the driver-side doorjamb label or in the owner’s manual.
- Check tires when they are cold.
- Press the gauge firmly and straight onto the valve stem.
- Check all four tires and the spare when applicable.
- Do not use the tire sidewall’s maximum pressure as the normal target.
- Investigate any tire that repeatedly loses air.
- Do not drive on a visibly damaged or rapidly deflating tire.
Frequently Asked Questions
How accurate should a tire pressure gauge be?
A consumer gauge should provide a consistent reading for normal maintenance. The exact accuracy depends on the model and its condition. If your gauge gives different results each time or disagrees greatly with a trusted gauge, replace it or have the pressure checked professionally.
Should all four tires have the same pressure?
Not always. Many vehicles specify different pressures for the front and rear tires. Follow the separate numbers on the vehicle placard.
Is 40 psi too high for a car tire?
It depends on the vehicle and tire. Compare 40 psi with the recommended cold pressure on the doorjamb label. It may be correct for some vehicles, but too high for others.
Can I check tire pressure at a gas station?
Yes, but check the pressure before driving there when possible. Driving heats the tires and can raise the reading. Gas-station inflators may also be less precise than a good personal gauge.
How often should I check tire pressure?
Check it at least once each month and before long trips. Also check it after major temperature changes, after hitting a pothole, or whenever the vehicle’s TPMS warning appears.
Conclusion
To read a tire pressure gauge, connect it firmly to the valve stem, identify the psi reading, and compare that number with the cold pressure listed on your vehicle’s doorjamb label. Measure all tires, adjust them in small steps, and check again.
The best next action is simple: check your tires when they are cold, write down each reading, and correct any tire that does not match the vehicle’s recommended pressure.