How To Make Car Seat Covers: Easy DIY Guide
Introduction
You can make car seat covers at home with fabric, paper, a sewing machine, and careful measurements. The basic process is simple: measure the seat, make a paper pattern, cut the fabric, sew the panels, and test the fit.
Safety comes first in any U.S. vehicle. A homemade cover must not block a side-impact airbag, change how a seat belt fits, cover a seat sensor, or interfere with a child safety seat. Always check the vehicle owner’s manual and the seat cover instructions from the vehicle maker before you begin. The National Highway Traffic Safety Administration (NHTSA) warns that seat covers not designed for a vehicle’s side airbags may stop those airbags from working as intended.
For that reason, a DIY cover is usually best for a rear bench seat without integrated airbags, a removable headrest, or a simple seat cushion. Front seats need much more care.

What You Need to Make Car Seat Covers
The right materials make the cover easier to sew and less likely to slip. Choose fabric based on the seat’s use, the local climate, and whether the cover must be washed often.
Materials
You will need:
- Durable upholstery fabric, canvas, denim, twill, or automotive-grade fabric
- Paper, kraft paper, or an old sheet for the pattern
- Flexible measuring tape
- Ruler or straightedge
- Fabric scissors
- Fabric chalk or a washable marker
- Sewing machine
- Matching polyester thread
- Pins or sewing clips
- Elastic cord or flat elastic
- Hook-and-loop tape, if needed
- Webbing straps or buckles for the underside
- Seam ripper
- Iron and ironing board
Use polyester thread rather than cotton thread for most vehicle covers. Polyester handles moisture and abrasion better. A size 14 or 16 universal needle often works for medium-weight upholstery fabric, but test the needle on a fabric scrap first.
Choosing the Fabric
A medium-weight woven fabric is the easiest choice for a first project. It is stable, washable, and less likely to stretch while you sew.
| Fabric | Best use | Main benefit | Limitation |
|---|---|---|---|
| Canvas | Work trucks and daily use | Strong and stable | Can feel stiff |
| Denim | Casual covers | Easy to find and sew | May fade |
| Twill | General use | Smooth and durable | Can cost more |
| Neoprene-style fabric | Water resistance | Helps shield seats from spills | Harder to sew and fit |
| Quilted fabric | Comfort and warmth | Soft, padded feel | Can add bulk |
| Stretch fabric | Snug custom fit | Follows seat curves | Can shift or distort |
Avoid slippery satin, loose knits, and very thin fabric. These materials can move under the driver or passenger and may bunch near the seat belt or seat controls.
If you want a padded cover, use thin quilt batting. Do not add thick foam around a seat belt opening, airbag seam, child seat contact area, or seat sensor.
How Much Fabric Do You Need?
Measure the seat before buying fabric. For one front seat, many projects need about 1.5 to 2.5 yards of 54- to 60-inch-wide fabric. A full rear bench may need more.
That estimate changes with:
- Seat width and height
- Separate or attached headrests
- A split-fold rear seat
- Armrests
- Center seat belts
- Pockets or extra padding
- Pattern direction
- Fabric width
Buy extra fabric for shrinkage, mistakes, and matching stripes or prints. If the fabric can shrink, wash and dry it as the care label allows before cutting.
Check Your Vehicle Before You Cut
Do not begin with the fabric. Begin with the vehicle.
Read the owner’s manual and inspect the seat. Look for labels that say “SRS,” “airbag,” or “airbag deployment area.” These labels often mark the side of a front seat backrest where an airbag may deploy.
A safe cover must leave these areas clear or use a design approved for that vehicle. A homemade seam placed across an airbag opening can delay or redirect deployment. Do not cut or sew into the original seat, remove factory upholstery, or attach anything to an airbag module.
Also check for:
- Seat belt buckles that pass through the seat
- Seat belt anchors mounted near the cushion
- Occupant detection sensors
- Heated or ventilated seat controls
- Power seat tracks
- Folding seat hinges
- Removable headrests
- Child restraint lower anchors
- Center armrests
- Seat-back release handles
Child Safety Seats Need a Separate Check
A seat cover can change friction, fit, and the shape of the vehicle seat. Those changes may affect a child restraint installation.
Before using a cover under a child safety seat, check:
- The vehicle owner’s manual.
- The child seat manufacturer’s manual.
- The child seat installation method, such as LATCH or seat belt.
- The final tightness of the installation.
NHTSA recommends that a child safety seat move no more than 1 inch from side to side or front to back when checked at the belt path. Check the exact instructions for the child seat because installation rules vary.
Do not place a thick, soft layer under a child restraint unless the child seat maker specifically allows it. A cover made for pets, comfort, or style is not automatically safe for a child seat.

Measure the Car Seat Accurately
Good measurements produce a good cover. Measure the seat in its normal upright position, not with the cushion compressed by your hand.
Write down each measurement and label it clearly.
Measurements for a Front Seat
Measure:
- Cushion width at the front edge.
- Cushion width at the back edge.
- Cushion depth from front to back.
- Cushion thickness or side height.
- Backrest width at the bottom.
- Backrest width at shoulder height.
- Backrest height from the cushion to the top.
- Headrest width, height, and thickness.
- The distance between the headrest posts.
- Locations of seat belt openings and controls.
Measure both sides if the seat is not symmetrical. Many vehicle seats have bolsters, curves, or a tilted cushion.
Measurements for a Rear Bench
Measure:
- Total cushion width
- Cushion depth
- Cushion height at the front edge
- Backrest height
- Backrest width
- Split points
- Center armrest width
- Seat belt buckle positions
- Headrest positions
- Lower anchor locations
Mark whether each measurement is for the left, center, or right section. A 60/40 split seat needs separate pieces if you want the seats to fold or move independently.
Add Ease and Seam Allowance
“Ease” is the small amount of extra room that lets a cover fit over curves. “Seam allowance” is the fabric between the cut edge and the stitch line.
A useful starting point is:
- Add 1 inch for seam allowance on most edges.
- Add 1.5 to 2 inches where elastic or a drawstring will be inserted.
- Add about 1/2 inch of ease on a firm, non-stretch fabric.
- Add less ease for fabric with noticeable stretch.
Do not add large amounts of extra fabric. A loose cover can wrinkle, slide, or catch on seat controls.

Make a Paper Pattern First
A paper or muslin pattern helps you find mistakes before you cut expensive fabric.
For a simple seat, make separate pattern pieces for:
- Seat cushion top
- Cushion front edge
- Cushion side panels
- Seat back front
- Seat back rear panel
- Headrest
- Optional armrest or center section
Tape paper or an old sheet over the seat. Smooth it over the main surfaces without pulling it tight. Mark seams, corners, folds, openings, and the direction of the fabric.
For a rear bench, draw the split points and mark every buckle location. Cut the paper into sections where the real cover will need seams.
Mark Important Details
Write these notes on each pattern piece:
- “Front”
- “Top”
- “Driver side” or “passenger side”
- “Cut two”
- “Place on fold”
- Grain direction
- Seam allowance
- Opening locations
Use a different mark for the top edge and bottom edge. This simple step prevents many sewing errors.
Test the Pattern
Pin or clip the paper pattern together and place it on the seat. Check that:
- The cushion corners line up.
- The backrest reaches the correct height.
- The headrest posts have clear openings.
- The seat belt buckles remain accessible.
- The seat can still fold or slide.
- The cover does not reach an airbag deployment seam.
- The pattern is not too tight around the bolsters.
If the paper pulls hard, add width or depth. If it wrinkles, remove excess material or add a seam that follows the seat’s curve.
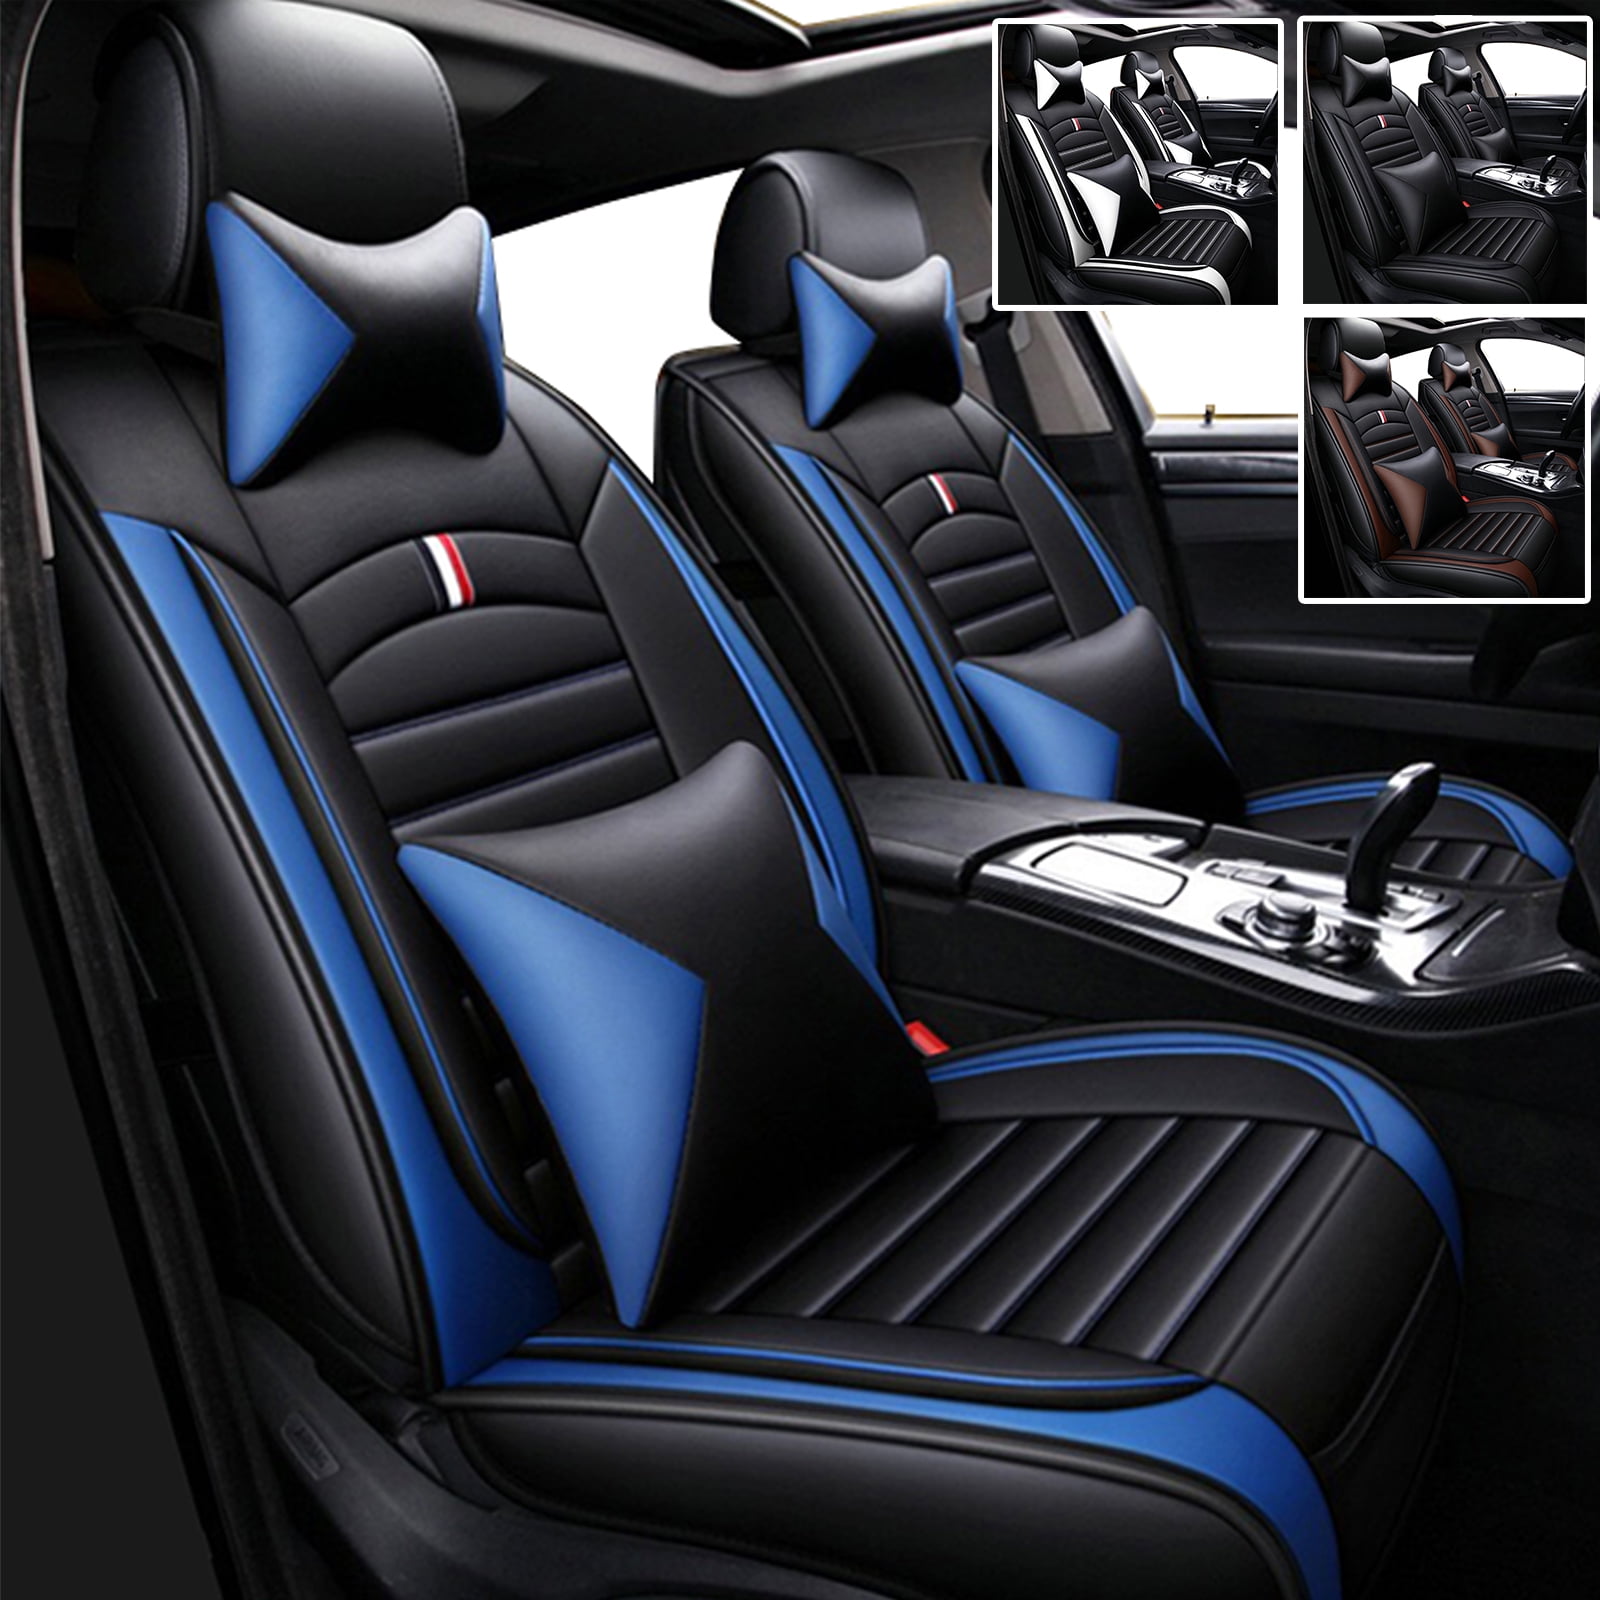
Cut and Sew the Car Seat Cover
Once the pattern fits, transfer it to the fabric. Place the fabric on a clean, flat surface with the wrong side facing up.
1. Transfer the Pattern
Trace around each pattern piece. Include the seam allowance in the traced line. Mark notches where two curved pieces must meet.
A notch is a small cut or chalk mark that helps you match fabric sections. Put one notch on one side of a seam and two notches on the other if the pieces could be confused.
2. Cut the Fabric
Cut slowly with sharp scissors or a rotary cutter. Keep the grain direction consistent across matching pieces.
If you use a print, stripe, or directional fabric, check the pattern before cutting. A seat cover with one panel facing the wrong way can look uneven even when the fit is correct.
3. Sew the Main Panels
Join the panels in this order:
- Sew small curved sections, such as side bolsters.
- Attach the cushion top to its side panels.
- Sew the front edge to the cushion.
- Join the seat-back front to its side panels.
- Add the rear panel, leaving the planned openings.
- Sew the headrest cover.
- Add elastic, straps, or hook-and-loop closures.
Use a straight stitch with a medium stitch length. Backstitch at the start and end of each seam. Press seams as you go, but follow the fabric care instructions.
4. Finish the Seams
Upholstery fabric can fray. Finish raw edges with one of these methods:
- Zigzag stitch
- Overlock or serger stitch
- Bound seam
- Folded hem
- Fabric designed not to fray
Trim bulky corners, but do not cut through the stitching. Clip curved seam allowances so the fabric can turn without pulling.
5. Add the Fit System
A cover needs a way to stay in place. Use:
- Elastic around the lower edge
- Straps under the cushion
- Hook-and-loop sections
- Buckles attached to webbing
- A drawstring in a sewn casing
Attach straps only to safe, non-moving parts of the seat frame or cover. Never wrap a strap around a seat belt, airbag module, power-seat track, or moving hinge.
Do not use loose cords where feet can catch them. Keep all fasteners under the seat or inside a finished channel.
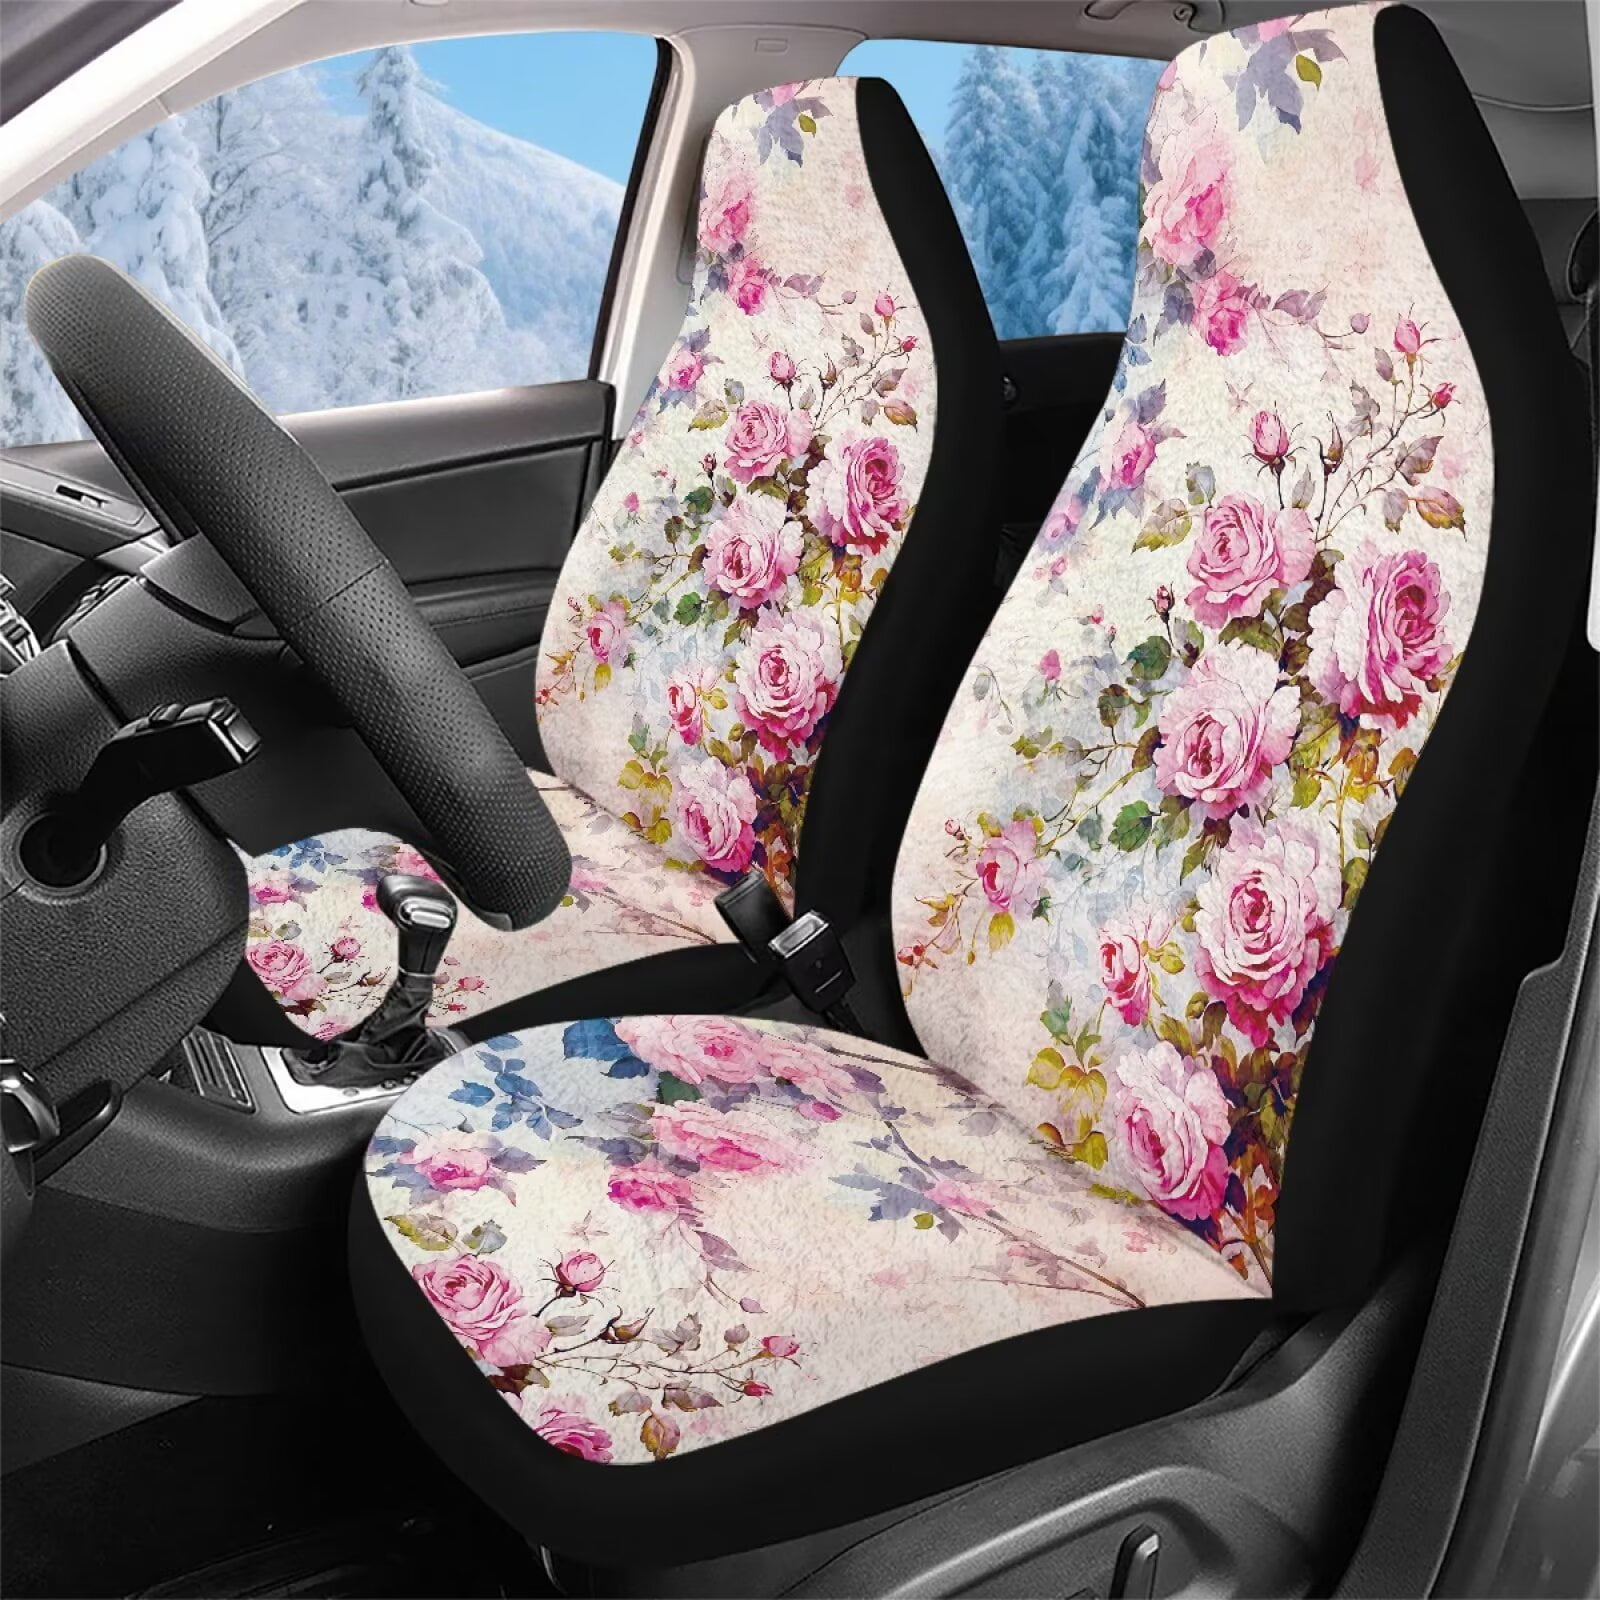
Make Openings for Headrests and Seat Belts
Openings need reinforcement because they receive repeated stress.
Headrest Openings
For a removable headrest, make a small reinforced slit or a fitted opening for each post. Use a facing, binding, or stitched buttonhole-style edge.
The headrest should return to its normal position after the cover is installed. Do not leave the headrest loose, tilted, or blocked from locking.
If the headrest cannot be removed, use a two-piece cover with an opening that closes around the posts. Do not force fabric between the headrest and seat back.
Seat Belt Buckle Openings
Mark buckle locations on the pattern before cutting. Make the openings only as large as needed for the buckles.
Reinforce each opening with:
- A bound edge
- A sewn facing
- An extra fabric patch
- Heavy stitching around the opening
The buckle must rise freely and click without pressure from the cover. The cover must not twist the belt, cover the release button, or make the buckle hard to reach.
Airbag Areas
Never place a normal seam across a front-seat side airbag deployment area. A factory-approved seat cover may use a special tear seam, thread, and construction method. A basic home-sewn seam has not been proven to work the same way.
If you cannot identify the airbag area or confirm a safe design in the owner’s manual, do not make a cover for that seat. Choose a rear seat without integrated airbags or use an approved cover made for the exact vehicle and seat.
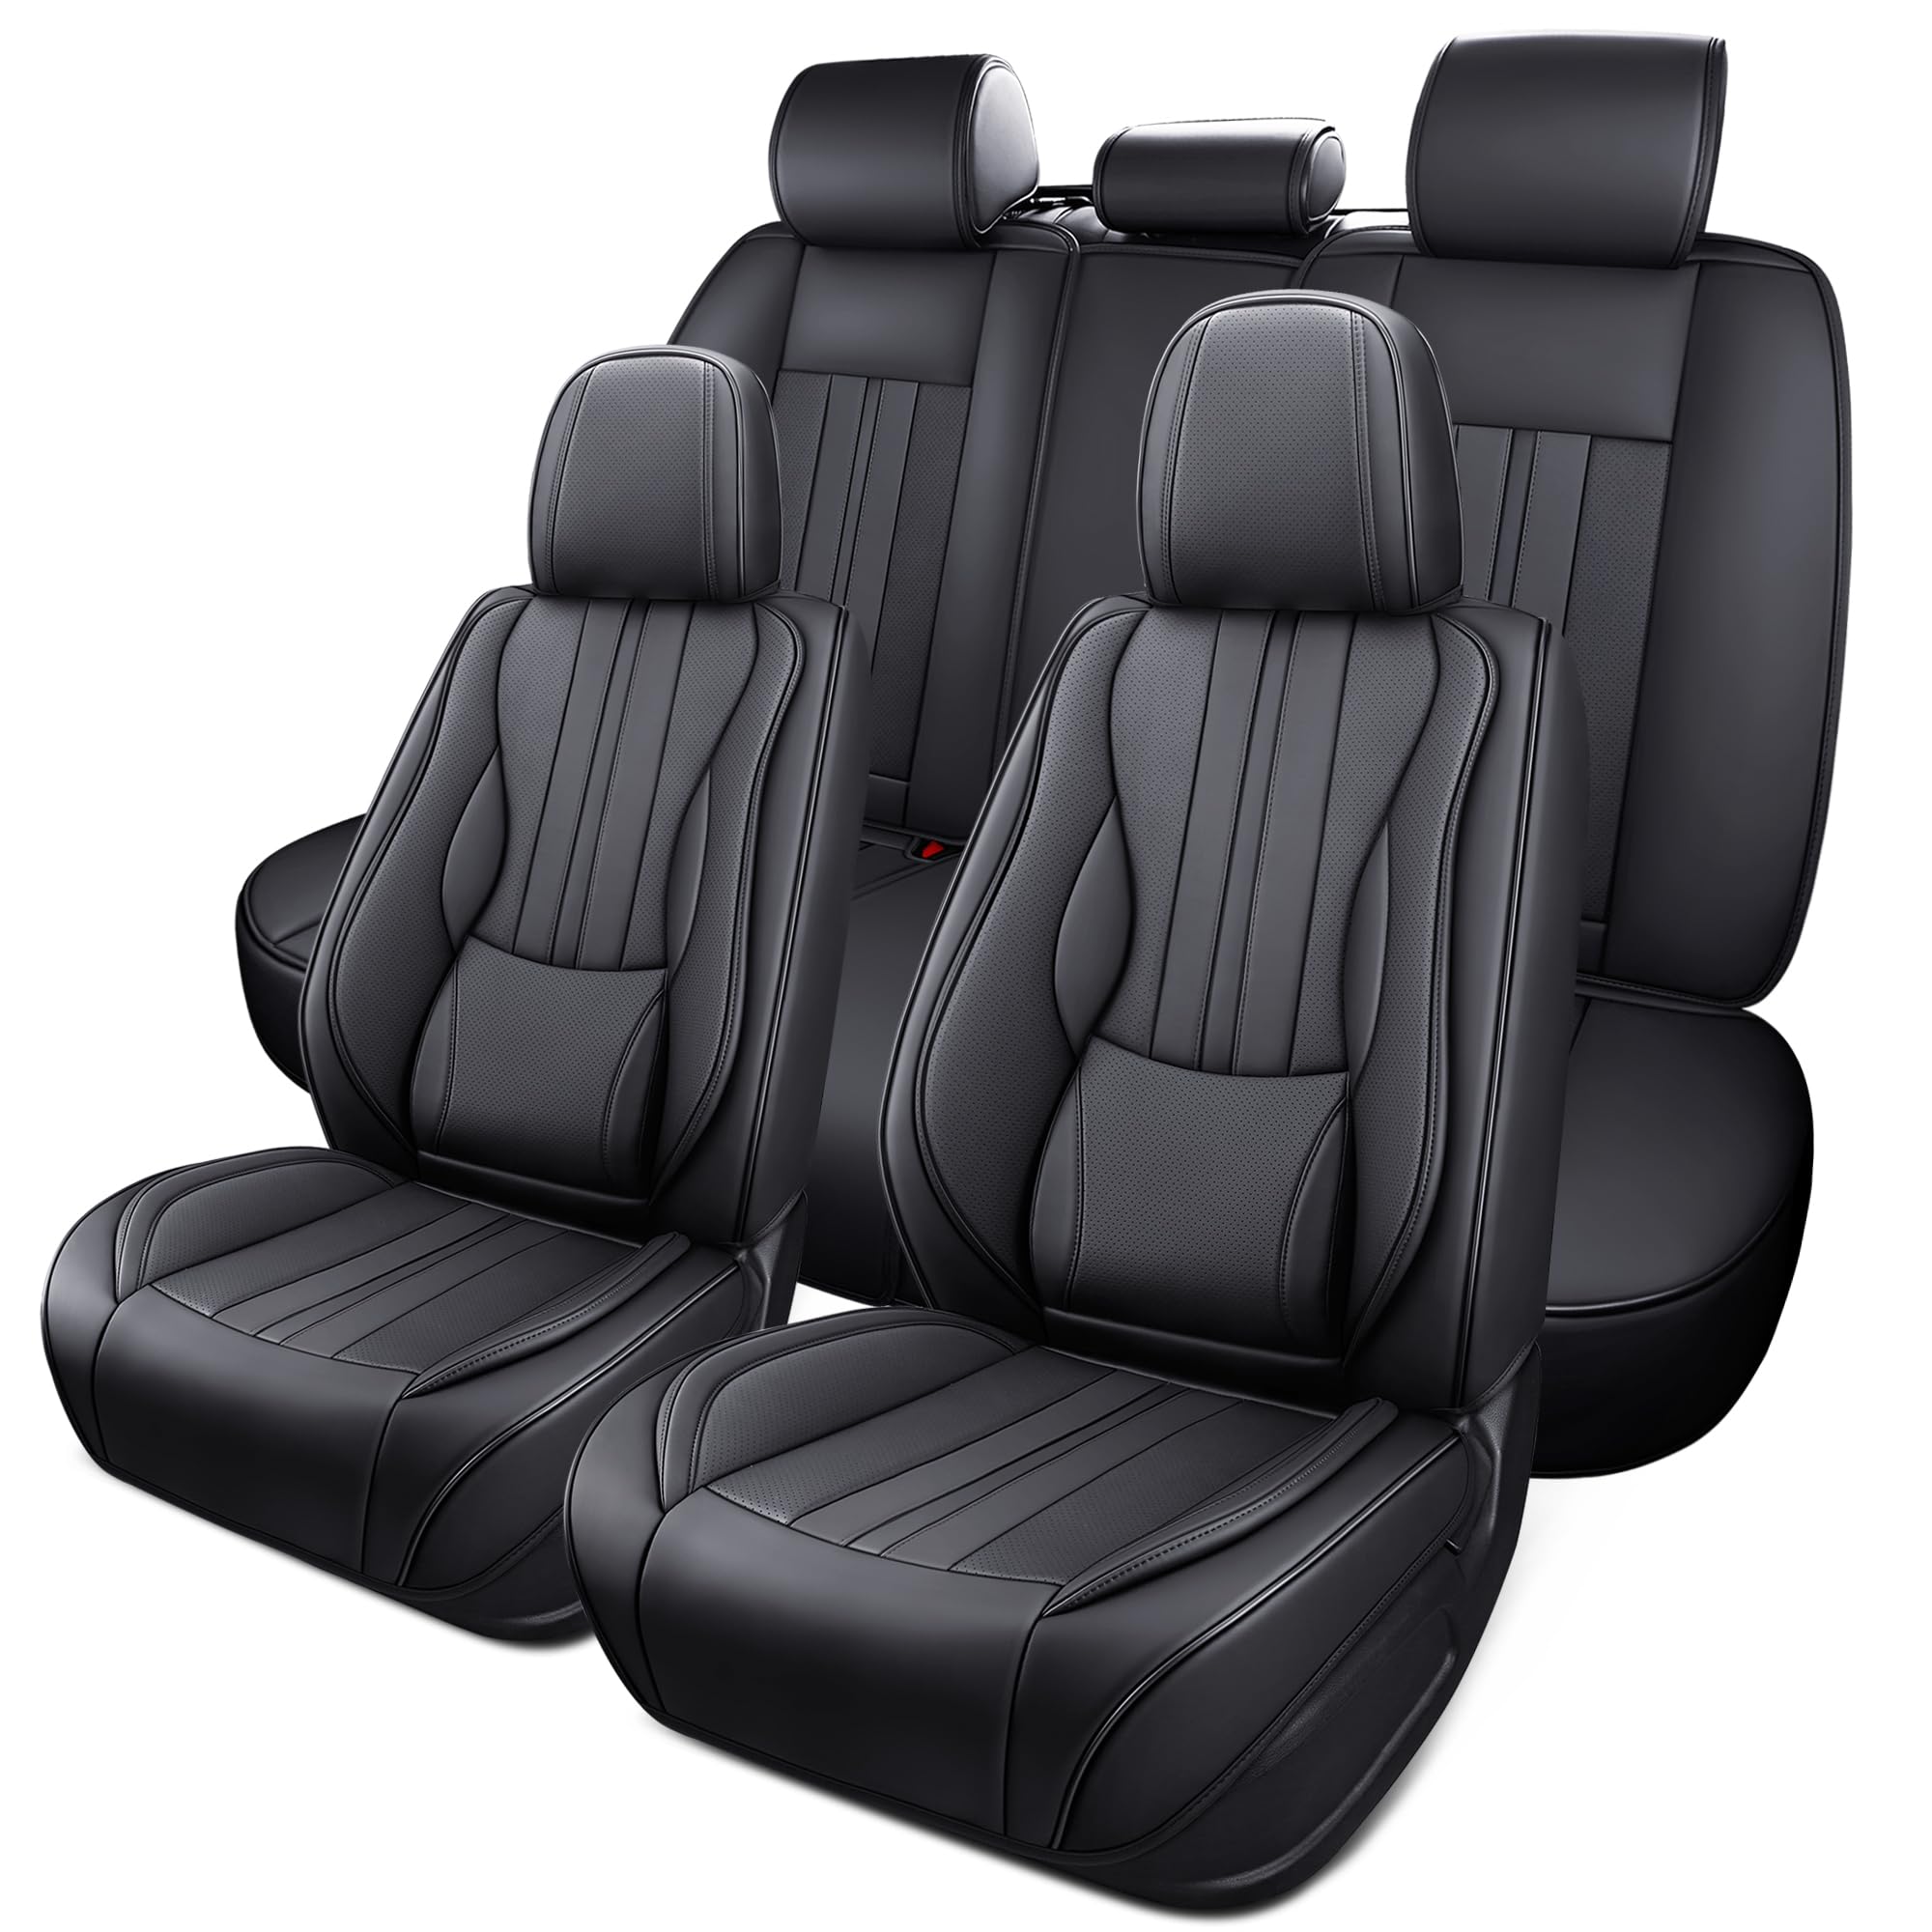
Fit and Test the Finished Cover
The first fitting is a safety check, not just a style check.
Install the cover with the seat in its normal position. Look for:
- Wrinkles under the driver’s sitting area
- Fabric near the brake or accelerator pedals
- Blocked seat belt buckles
- Covered child restraint anchors
- Interference with seat controls
- Pressure on an airbag seam
- Loose straps near moving parts
- A headrest that cannot lock
- A seat that can no longer fold
Sit in the seat and shift your weight from side to side. The cover should stay in place without sliding forward. Adjust the elastic or straps if it moves.
Move the seat through its full safe range if it is a power seat. Watch the straps and lower edges. They must not pull tight, snag, or enter the seat track.
For a heated or ventilated seat, confirm that the cover maker and vehicle manual allow a cover. Thick or insulated fabric can reduce heat transfer and may affect ventilation. Do not cover a seat’s heating or ventilation controls.

Common Problems and Fixes
| Problem | Likely cause | Fix |
|---|---|---|
| Cover slides forward | Not enough grip or tension | Add a fitted rear panel, elastic, or safe underside straps |
| Seat corners wrinkle | Pattern is too large | Remove excess fabric or add curved seams |
| Seams pull apart | Too little seam allowance or weak thread | Use a larger allowance and polyester thread |
| Headrest does not fit | Post spacing was measured incorrectly | Recheck the posts and enlarge only the needed opening |
| Buckle is hard to use | Opening is too small or misplaced | Reposition and reinforce the opening |
| Cover bunches under a child seat | Too much padding or loose fabric | Remove bulk and follow both manuals |
| Fabric frays | Raw edges were not finished | Zigzag, bind, or hem the edges |
| Cover blocks an airbag area | Wrong seat or pattern design | Stop using it and redesign for a safe seat |
| Power seat catches a strap | Strap is near the track | Remove it and reroute it away from moving parts |
| Cover feels too hot | Fabric traps heat | Use a lighter, breathable fabric if the manual permits |
Do not solve a safety problem by adding more straps or tightening the cover blindly. First find what is moving or being blocked.
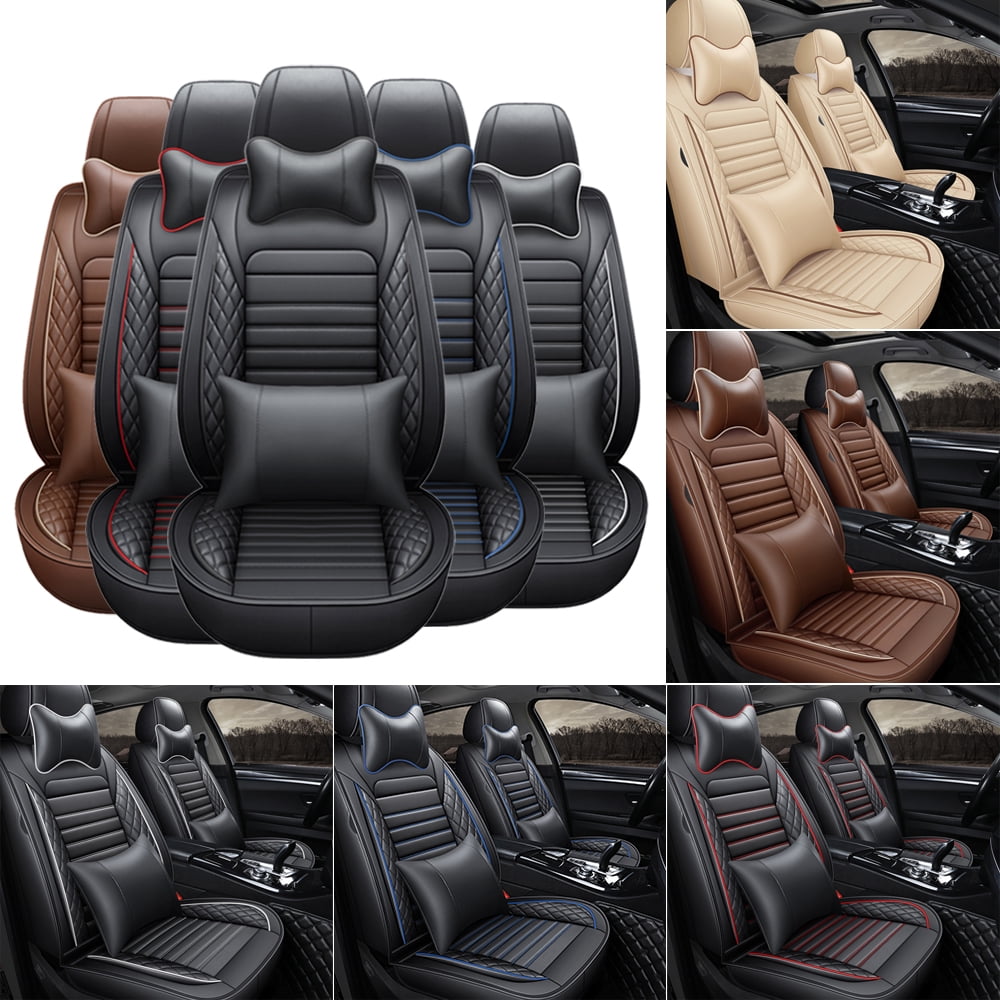
How to Care for Homemade Car Seat Covers
Wash the cover according to the fabric care label. Remove straps, buckles, and rigid parts before washing if the design allows it.
Inspect the cover after each wash. Look for:
- Loose seams
- Frayed openings
- Stretched elastic
- Broken buckles
- Exposed cords
- Shrinkage
- New wrinkles under the sitting area
Repair small seam problems early. Replace the cover if it no longer stays flat or if an opening has spread near a seat belt.
Do not use harsh chemicals on fabric near a child seat unless the fabric maker allows them. Strong cleaners can weaken fibers or leave residue.
If the cover has absorbed liquid, dry it fully before reinstalling it. Damp fabric can develop odor and may damage some seat materials over time.

When a DIY Car Seat Cover Is Not a Good Idea
A homemade cover may not be suitable when:
- The front seat has a side-impact airbag.
- The seat contains an occupant detection sensor.
- The seat has complex power controls.
- The cover must fit around a built-in seat belt.
- The seat has heating or ventilation.
- A child restraint will rest on the cover.
- The fabric is thick, slippery, or highly flammable.
- You cannot keep the cover away from moving parts.
- The owner’s manual prohibits aftermarket covers.
Vehicle seats are safety equipment, not just cushions. If the cover changes the position of a belt, airbag, sensor, or child restraint, use an approved product or ask a qualified automotive interior professional for help.
For airbag questions, contact the vehicle manufacturer or an authorized dealer. For child restraint installation, use a certified Child Passenger Safety Technician through the NHTSA-supported inspection resources.

Frequently Asked Questions
Can I make seat covers without a sewing machine?
Yes, but sewn covers are usually stronger and more secure. You can make a simple temporary cover with a fitted blanket and elastic, but it may shift more easily. Avoid loose fabric around the driver, seat belts, pedals, and child restraints.
What is the easiest car seat cover to make?
A simple rear bench cushion cover is usually the easiest. It has fewer controls, no front-seat side airbag concern, and a flatter shape. Start with one cushion before attempting a full front-seat set.
Can I use a regular bedsheet for a car seat cover?
A bedsheet can work for a paper pattern or a temporary rear-seat cover. It is often too thin for long-term use and may slide or tear. It is not a safe substitute for a vehicle-specific cover around front-seat airbags.
Should car seat covers have holes for the headrests?
Yes, if the headrests pass through the cover. The openings should be small, reinforced, and placed so the headrests can lock normally. Do not remove a required headrest just to make the cover easier to install.
Can I put a homemade cover under a child car seat?
Only if the vehicle and child seat manufacturers allow it. A thick or slippery cover can change the child seat’s fit. Check the final installation at the belt path and follow the child seat manual.
How do I stop a car seat cover from sliding?
Use a fitted pattern, elastic around the lower edge, and properly placed straps under the cushion. Keep straps away from seat tracks, hinges, airbag parts, and seat belts. Adding more loose material usually makes sliding worse.
Key Takeaways
- Measure the seat and make a paper pattern before cutting fabric.
- Use durable, washable fabric and polyester thread.
- Leave seat belts, headrests, controls, sensors, and moving parts clear.
- Do not cover a front seat airbag area with a standard homemade seam.
- Check both the vehicle manual and child seat manual before using a cover under a child restraint.
- Test the finished cover through normal seat movement before regular use.
Conclusion
Making car seat covers is a practical sewing project when the seat has a simple shape and the cover does not affect safety equipment. Take accurate measurements, build a paper pattern, sew a fitted cover, and add secure but safe closures.
For the safest starting point, choose a rear bench seat without integrated airbags. If you are working on a front seat, stop and confirm the airbag, sensor, belt, and seat-control requirements before cutting fabric. A neat cover is useful, but a cover that preserves the vehicle’s safety systems matters more.